Introduction
Being a mom is one of the most rewarding jobs in the world, but it can also be incredibly demanding on your body. From lifting toddlers and carrying heavy grocery bags to long hours spent hunched over a laptop, back pain often becomes an unwelcome companion.
If you’re tired of that persistent ache, you’re not alone. The good news is that relief doesn’t have to mean expensive treatments or time-consuming appointments. A few simple, targeted Yoga Poses can make a world of difference, helping you build strength, increase flexibility, and melt away tension.
This guide is designed for you, the busy mom who needs effective solutions that fit into a packed schedule. We’ll walk you through 12 gentle yet powerful poses that can help you reclaim your comfort and get back to enjoying life, pain-free.
Key Takeaways
- Yoga offers a gentle, effective way to manage back pain. It strengthens core muscles, improves posture, and increases flexibility in the spine.
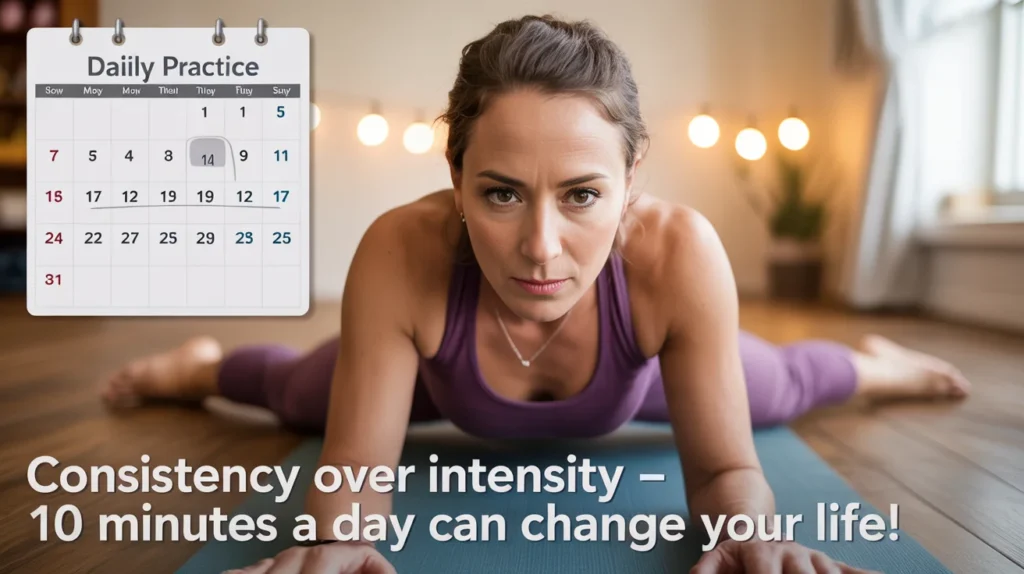
- Consistency is more important than intensity. Even 10-15 minutes of daily practice can provide significant relief.
- Proper form is crucial to prevent injury. Always listen to your body and avoid pushing into sharp pain.
- These Yoga Poses can easily be done at home with minimal equipment, making them perfect for a busy mom’s schedule.
Why Yoga is a Game-Changer for Back Pain
Back pain is one of the most common physical complaints, affecting millions of adults. For moms, the causes are often multifaceted: postural changes during and after pregnancy, the physical strain of childcare, and the stress that comes with juggling endless responsibilities.
This stress can cause muscles, especially those in your back and neck, to tighten, leading to chronic pain and stiffness.Yoga addresses back pain holistically. It’s not just about stretching; it’s about creating a balance of strength and flexibility. Many back issues stem from weak core muscles, which fail to properly support the spine.
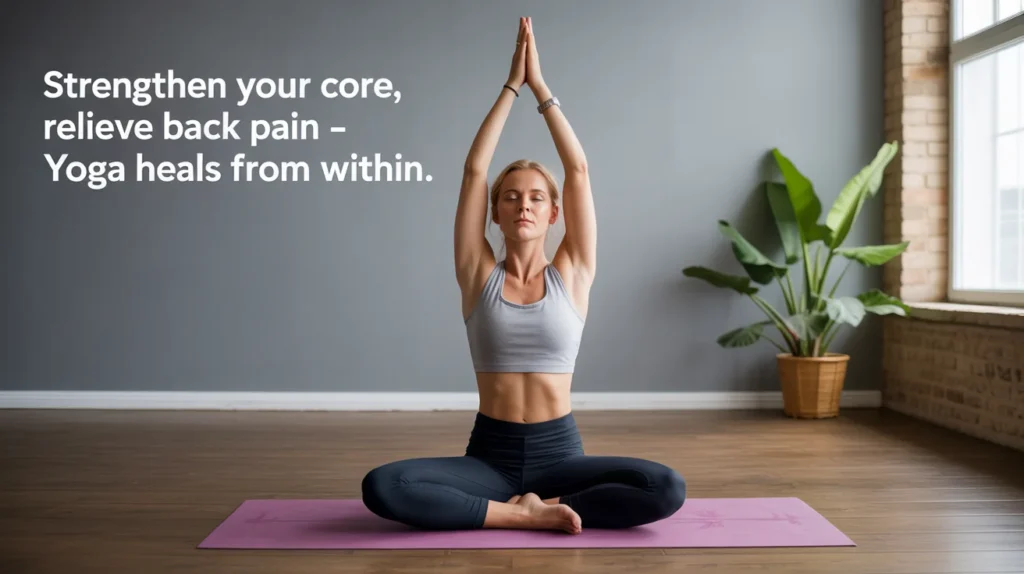
Certain Yoga Poses specifically target the deep abdominal and back muscles, building a natural “corset” that stabilizes your spine and improves your posture. Furthermore, the practice encourages mindfulness and deep breathing, which helps calm the nervous system and release muscle tension caused by stress.
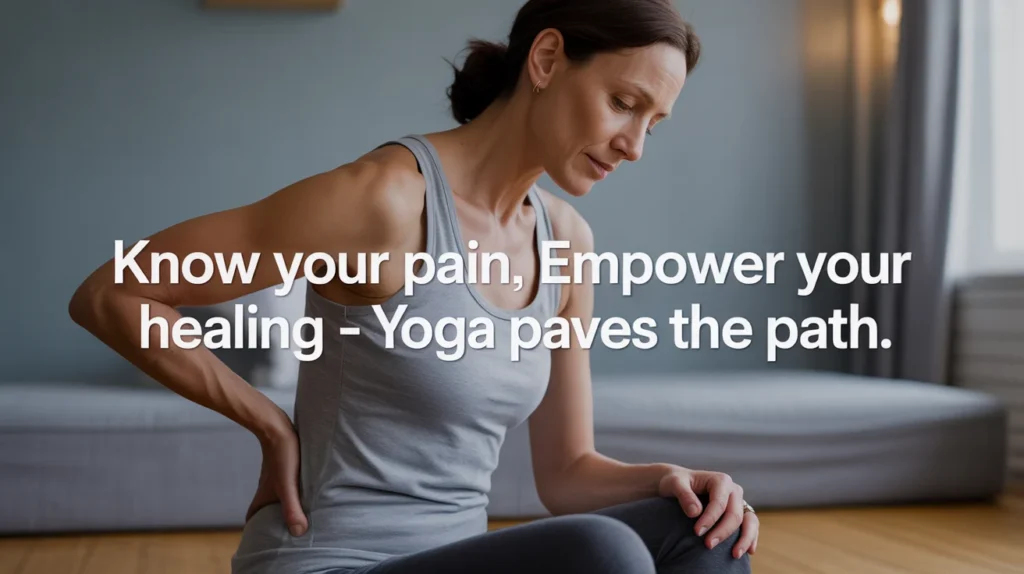
Understanding Your Back Pain: A Quick Look
Not all back pain is the same. It can be sharp or dull, constant or intermittent. Knowing the type of pain you have can help you approach your yoga practice more safely.
| Pain Type | Common Causes | How Yoga Helps |
|---|---|---|
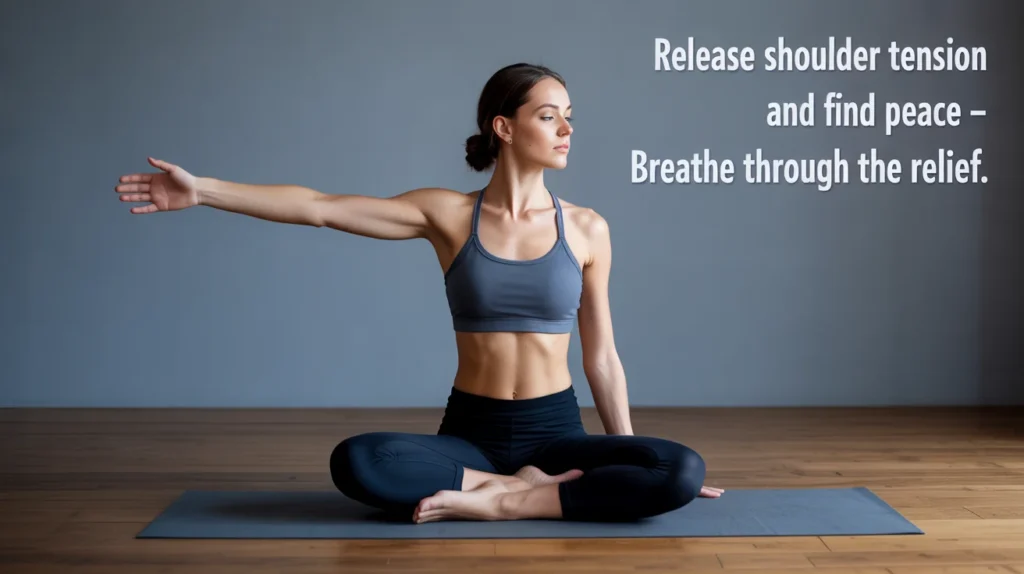
| Upper/Mid-Back Pain | Poor posture (slouching over a phone/desk), weak core, bra strain | Poses that open the chest and shoulders, gentle twists. |
| Lower Back Pain | Tight hamstrings, weak glutes, prolonged sitting, lifting improperly | Poses that gently stretch hamstrings and hip flexors, strengthening glutes and core. |
| Sciatica | Pressure on the sciatic nerve, often from a herniated disk or tight piriformis muscle | Poses that stretch the piriformis muscle and open the hips. |
Disclaimer: While yoga can be very beneficial, it’s important to consult with your doctor before starting any new exercise program, especially if you have a pre-existing condition or severe pain.
12 Modern Yoga Poses for Back Pain Relief
Ready to try something new? These contemporary Yoga Poses go beyond tradition, offering fresh approaches to back pain relief while keeping practice exciting and accessible for busy moms. Each pose below has been selected for its blend of modern appeal, effectiveness, and suitability for those seeking a break from the usual yoga routine.
1. Thread the Needle Pose (Parsva Balasana)
A modern favorite for its gentle yet deep shoulder and upper back release.
How to do it:
Start in tabletop position. Slide your right arm under your left arm, letting your right shoulder and ear rest on the mat. Feel the stretch through your upper back and shoulder as you gently press your left hand into the floor. Hold for 5-8 breaths, and switch sides.
2. Banana Pose (Bananasana)
This restorative posture opens the side body and gently stretches the connective tissue along the spine.
How to do it:
Lie flat on your back. Slide both feet to the right side of your mat, then walk your upper body and arms to the right, creating a crescent shape. Cross your left ankle over your right and reach your arms overhead. Hold and breathe, then repeat on the other side.
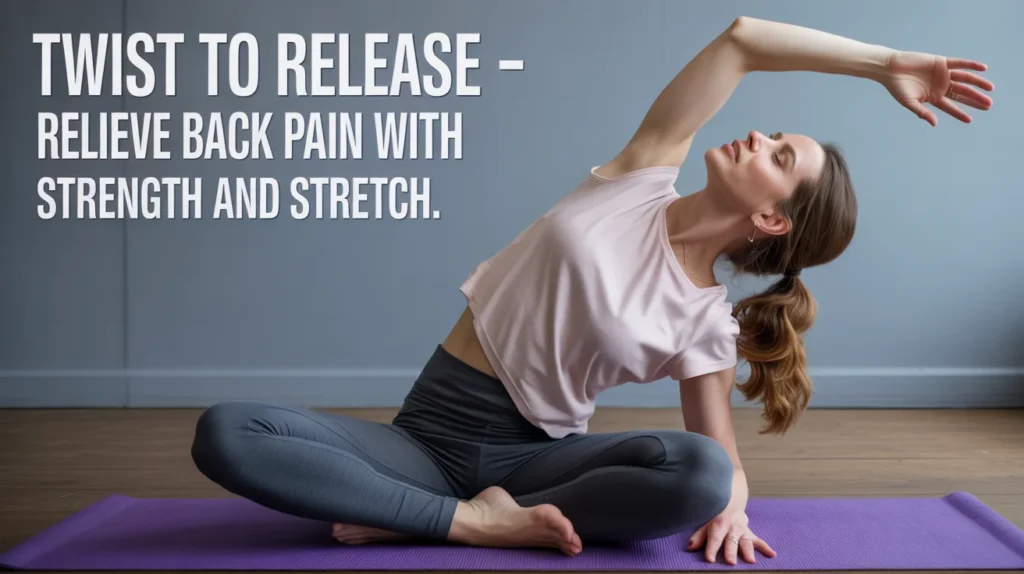
3. Low Lunge with Side Bend (Anjaneyasana Variation)
Modern classes love this twist on lunge poses for its focus on hip flexors and lateral body stretching—both crucial for back pain relief.
How to do it:
From a low lunge, drop your back knee. Reach the same arm as your front leg up and over, arching gently sideways. Feel the stretch along your hip, waist, and lower back. Hold for several breaths and switch.

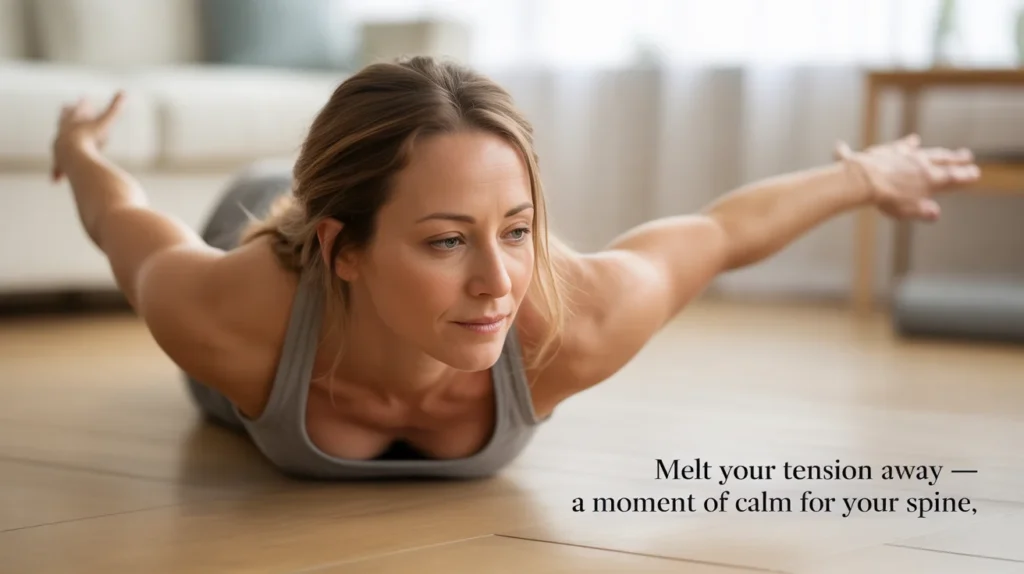
4. Puppy Pose (Uttana Shishosana)
This extended child’s pose hybrid is adored for melting tension in the spine and shoulders.
How to do it:
From hands and knees, keep your hips high and walk your hands forward, lowering your chest and forehead toward the mat. Keep your arms straight to open your upper back and heart. Breathe deeply for 30 seconds or more.
5. Reclining Figure Four Stretch
Common in modern hip mobility flows, this pose targets the hips and glutes—key areas linked to lower back pain.
How to do it:
Lie on your back, bend your knees, and cross your right ankle over your left thigh. Thread your hands around your left thigh and gently pull it toward you. Hold and repeat on the other side.
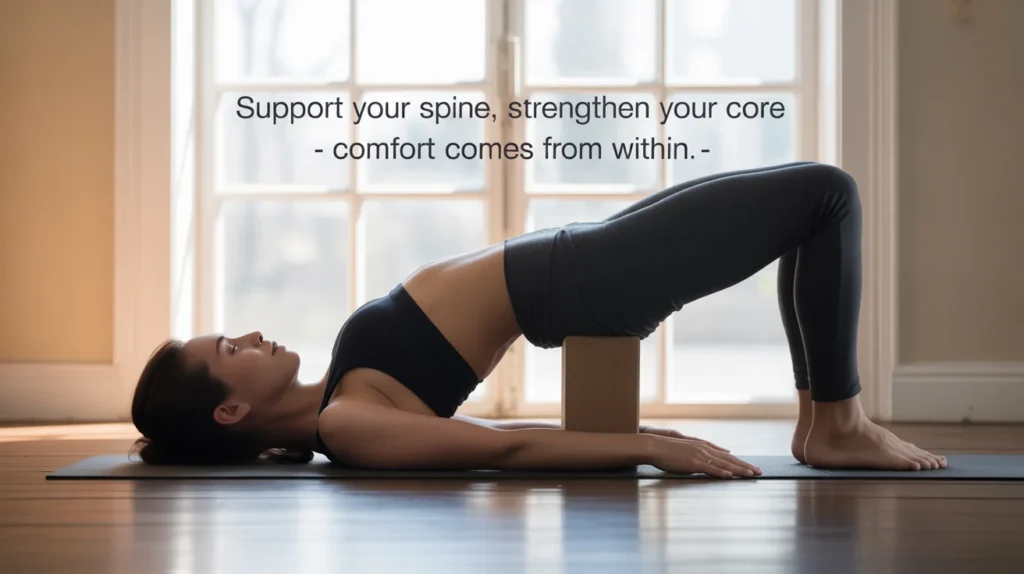
6. Bridge Pose with Block (Supported Setu Bandhasana)
A stepped-up version of classic bridge pose, adding support for better comfort and spinal release.
How to do it:
Come into bridge pose. Slide a yoga block (or firm cushion) under your sacrum and let your body relax onto it. Allow your back muscles and hips to soften. Breathe here for up to a minute.
7. Revolved Lizard Pose (Parivrtta Utthan Pristhasana)
Lizard pose variations are trending for their blend of strength and stretch, which help loosen hips and ease back strain.
How to do it:
From a low lunge, bring both hands inside your front foot and lower your back knee. Gently twist your torso toward your front leg, reaching the corresponding arm to the sky. Stay for several breaths and repeat.
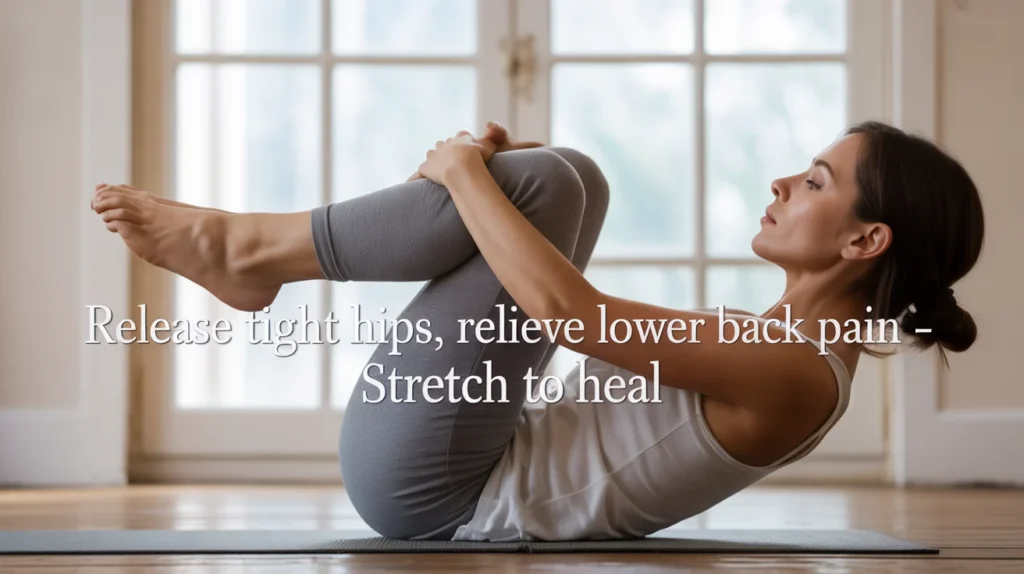
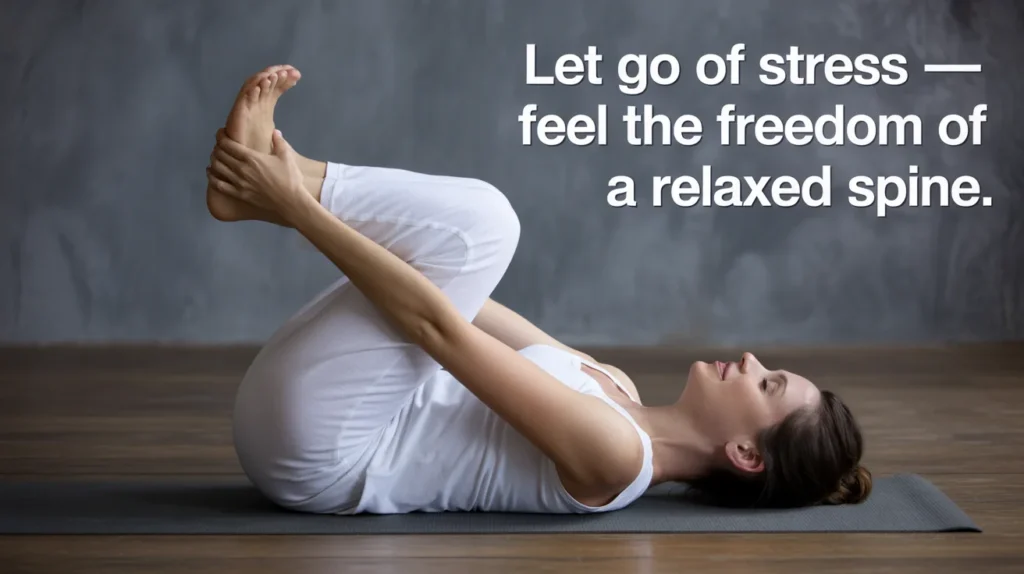
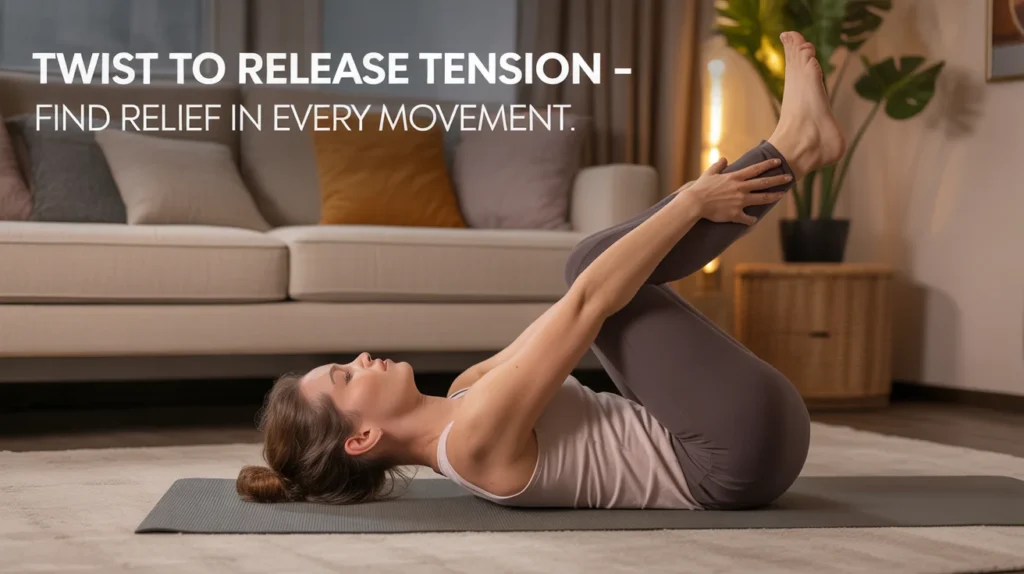
8. Happy Baby Pose (Ananda Balasana)
A favorite in contemporary and fusion classes, this pose liberates the lower back and releases stress.
How to do it:
Lie on your back, draw your knees in, and grab the outsides of your feet. Gently pull your knees toward your armpits, keeping your tailbone grounded. Rock side to side if it feels good.
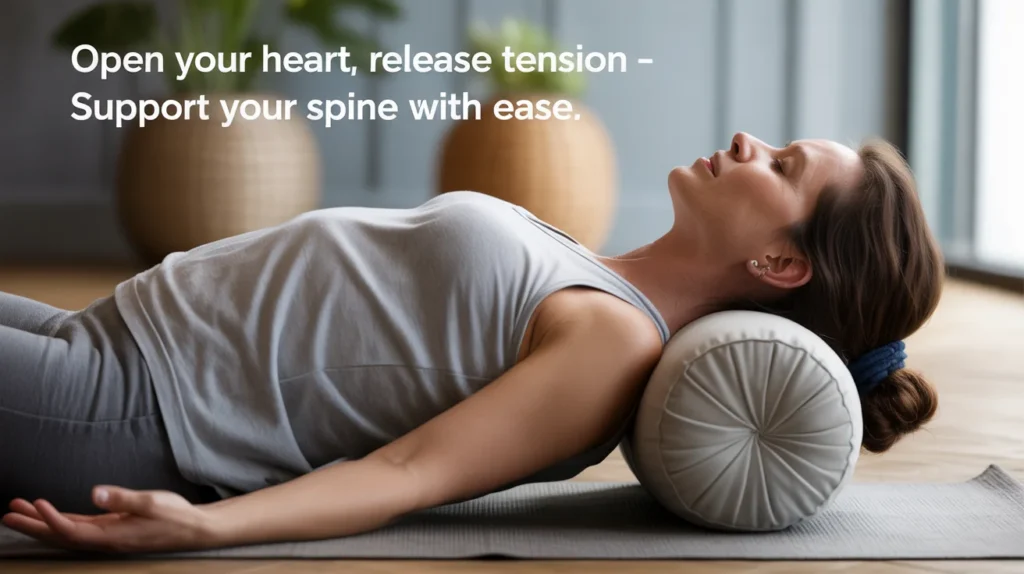
9. Supported Fish Pose (Matsyasana Variation)
Modern restorative yoga often uses props for a gentle heart opener that also stretches the thoracic spine.
How to do it:
Place a block or bolster lengthwise under your mid-to-upper back, another under your head if desired. Recline, letting your arms drop out wide. Breathe fully and let your chest expand.
10. Supine Twist with Eagle Legs (Supta Matsyendrasana Variation)
A playful, modern twist on the classic supine twist, adding a deeper stretch to the upper back and glutes.
How to do it:
Lie on your back, cross your right thigh over your left (like eagle pose), then drop your knees to the left. Open your right arm out and gaze right. Repeat on the other side.
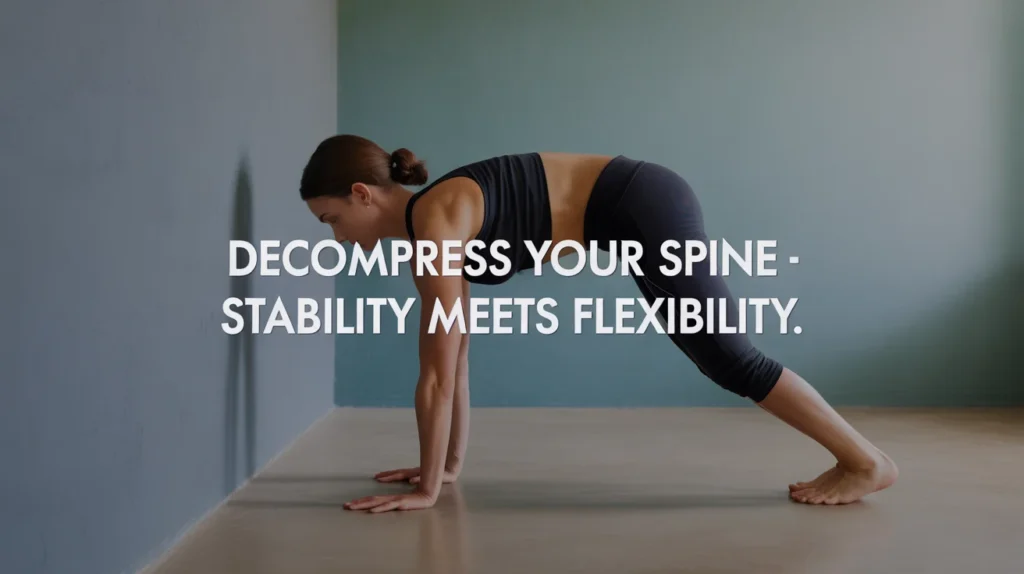
11. Wall-Assisted Down Dog
Using a wall offers stability and deeper decompression for your spine—a great tool for beginners or after a long day.
How to do it:
Stand a few feet from the wall. Place your hands on the wall at hip height and hinge at the hips so your torso is parallel to the floor, forming an L shape. Let your chest drop and spine lengthen.
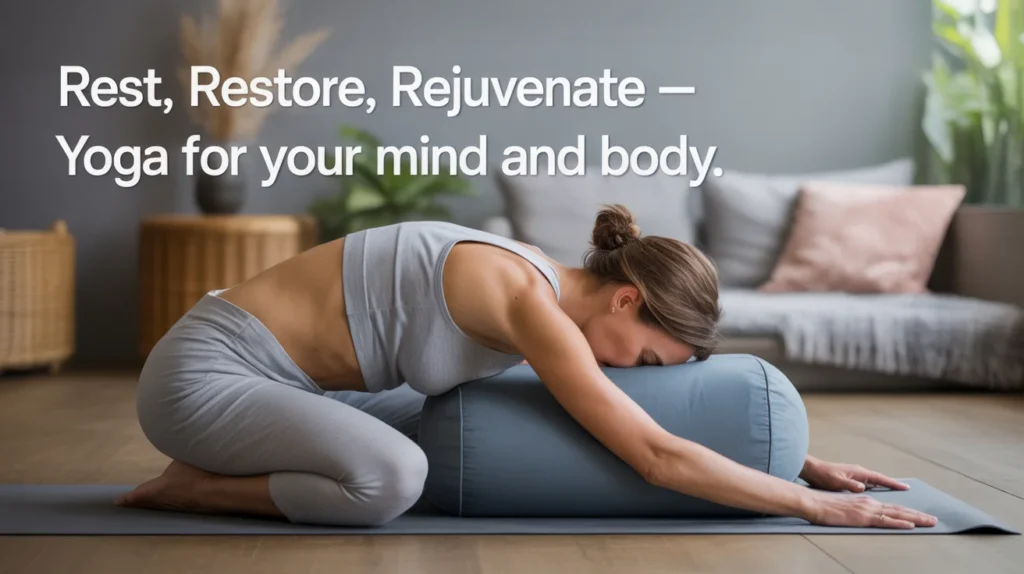
12. Supported Child’s Pose with Bolster
Enhance the classic by adding a bolster under your torso for a cozy, restorative finish.
How to do it:
Kneel with a bolster or firm cushion in front of you. Fold forward, draping your chest and head over the bolster. Let your arms rest on the floor. Hold for a minute or longer.
These modern Yoga Poses are not only effective for back pain relief but also keep your routine fresh and motivating. Try rotating a few into your week for variety and ongoing engagement!
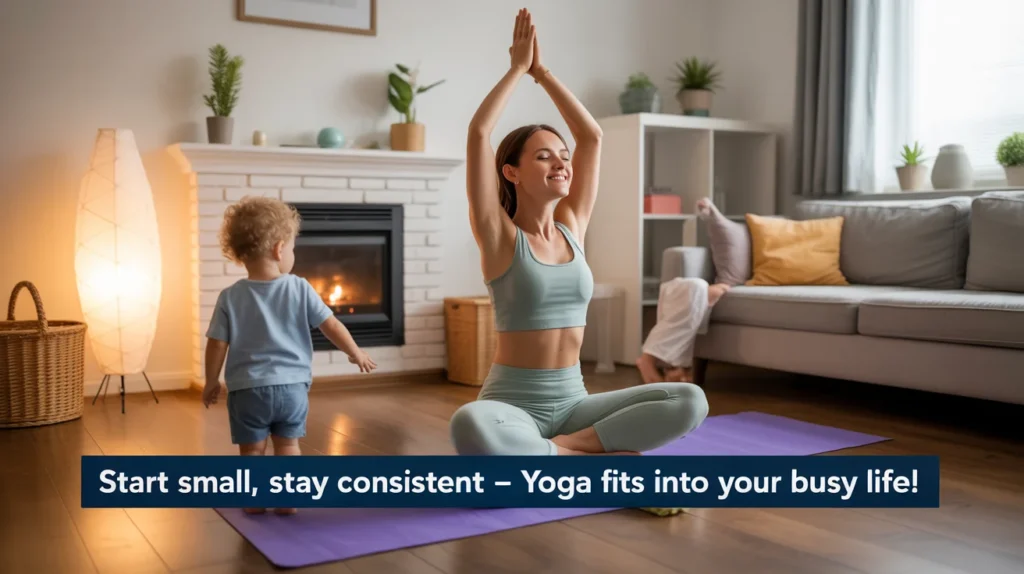
Making Yoga a Habit: Tips for Busy Moms
- Start Small: You don’t need a full hour. Just 10-15 minutes a day can make a huge difference.
- Find Your Time: Can you wake up 15 minutes earlier? Or practice while the kids are napping? Find a consistent time that works for you.
- Don’t Aim for Perfection: Your poses don’t have to look like they do in a magazine. Focus on how they feel.
- Use Props: A folded blanket under your hips or a block under your hand can make poses much more accessible and comfortable.
- Involve the Kids: Older kids might enjoy trying some of the simpler Yoga Poses with you!
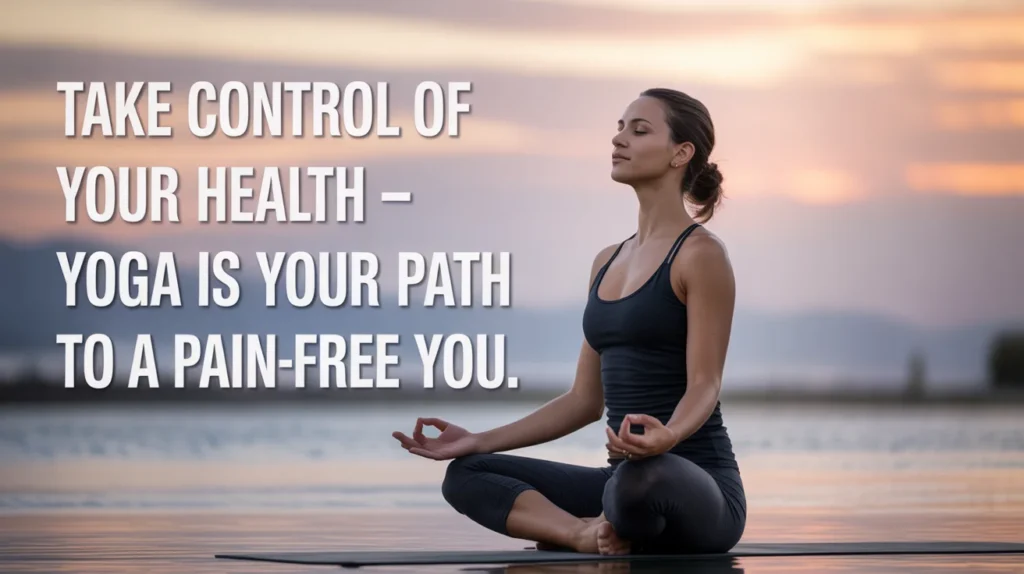
Conclusion
Back pain doesn’t have to be a non-negotiable part of motherhood. By incorporating these 12 life-changing Yoga Poses into your routine, you can build strength, increase flexibility, and effectively manage pain. It’s a simple, powerful act of self-care that allows you to feel better in your body so you can be the active, present mom you want to be. Start slowly, listen to your body, and enjoy the journey back to a more comfortable, pain-free you.
For more information on the benefits of yoga for back health, you can explore resources from the National Center for Complementary and Integrative Health or studies published by institutions like Johns Hopkins Medicine.
Frequently Asked Questions (FAQ)
Q1: How often should I practice these yoga poses for back pain?
A1: For best results, aim for consistency. Practicing for 15-20 minutes daily is more effective than one long session per week. Even 3-4 times a week can provide significant relief.
Q2: Can I do yoga if I have a serious back injury?
A2: If you have a serious injury, such as a herniated disc or have had recent surgery, it is crucial to consult your doctor or a physical therapist before starting yoga. They can advise you on which poses are safe and which to avoid.
Q3: What if a pose hurts?
A3: You should never push through sharp pain in yoga. A gentle stretch is good, but pain is your body’s signal to stop. Try modifying the pose (e.g., bending your knees more) or skipping it entirely.
Q4: Do I need a yoga mat or special equipment?
A4: A yoga mat is helpful for providing cushion and grip, but you can practice on a carpet or non-slip rug. Props like folded blankets, pillows, or thick books can be used as substitutes for yoga blocks and bolsters.