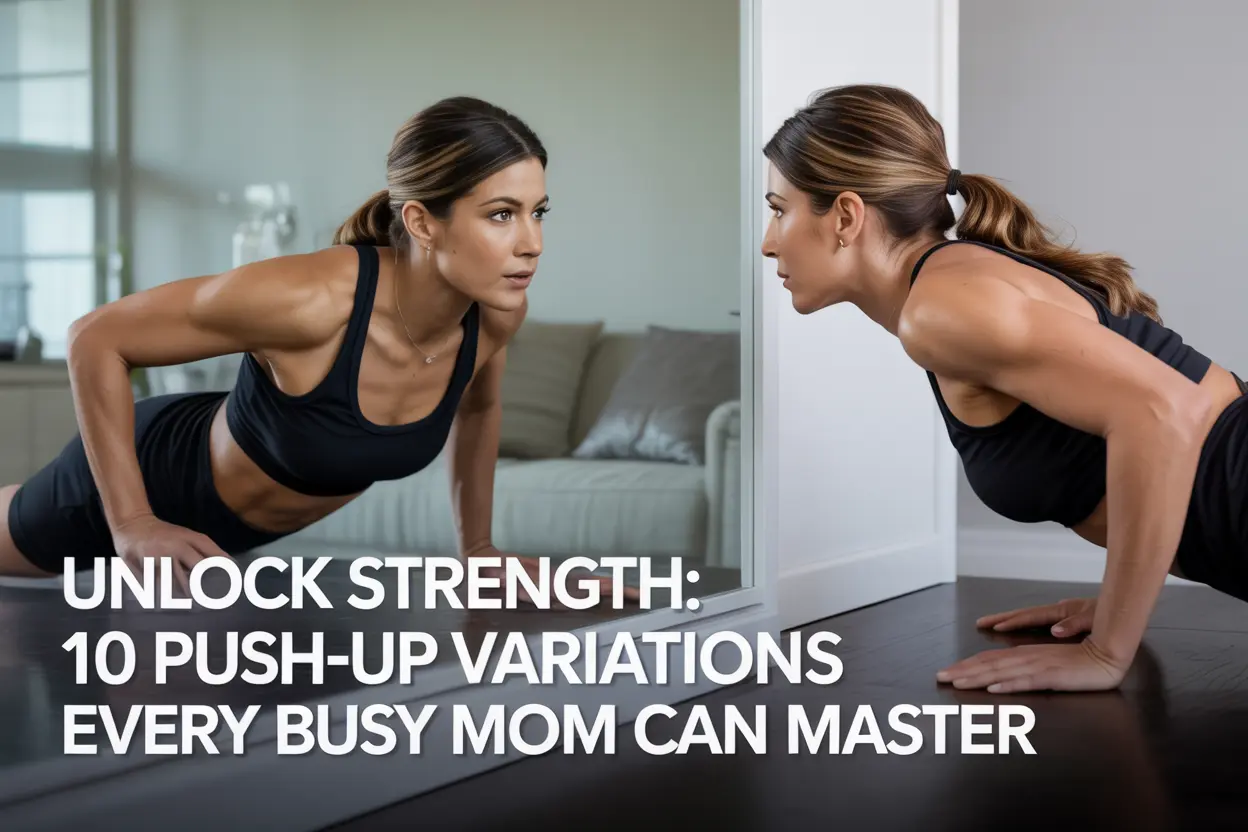
Introduction
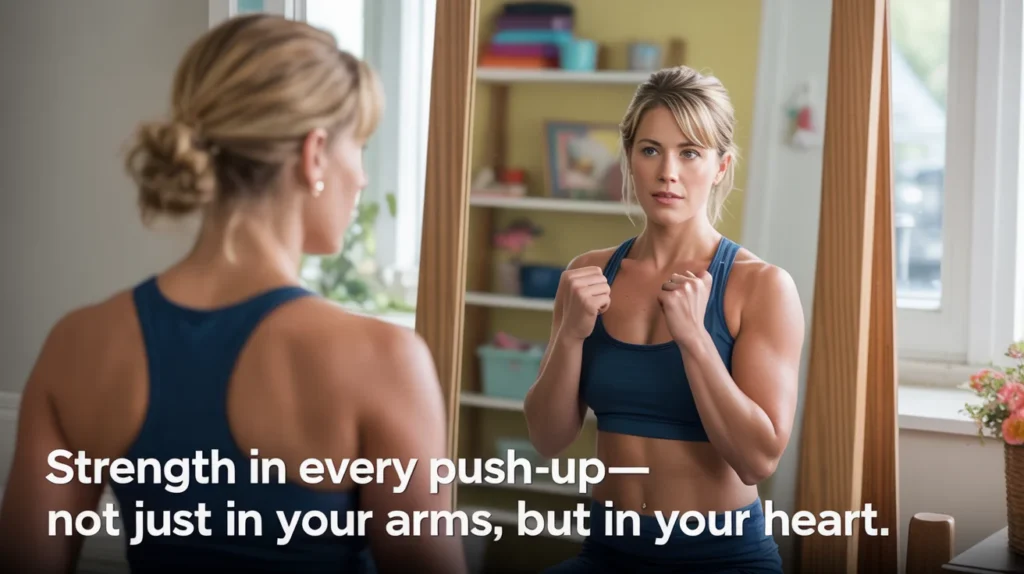
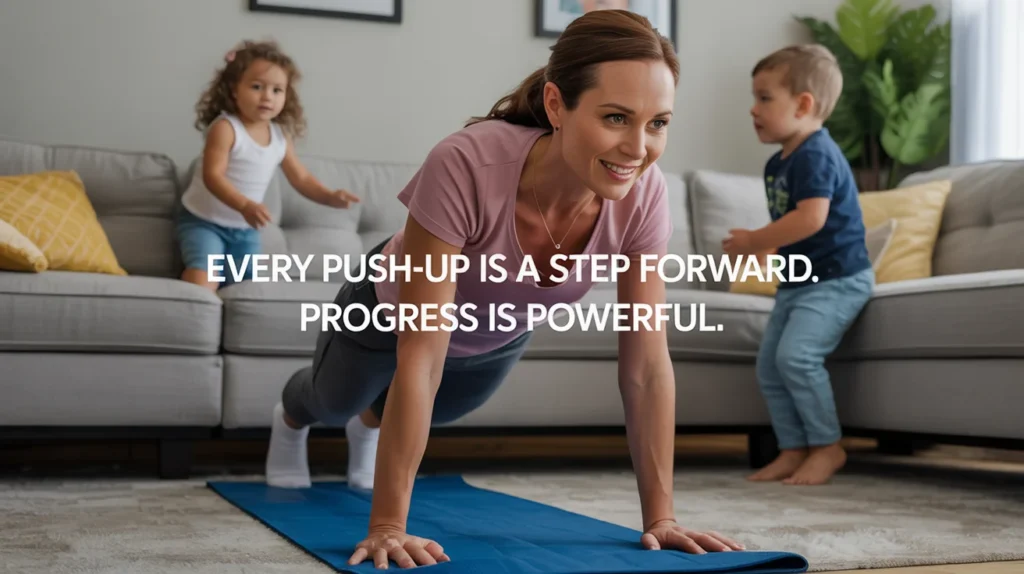
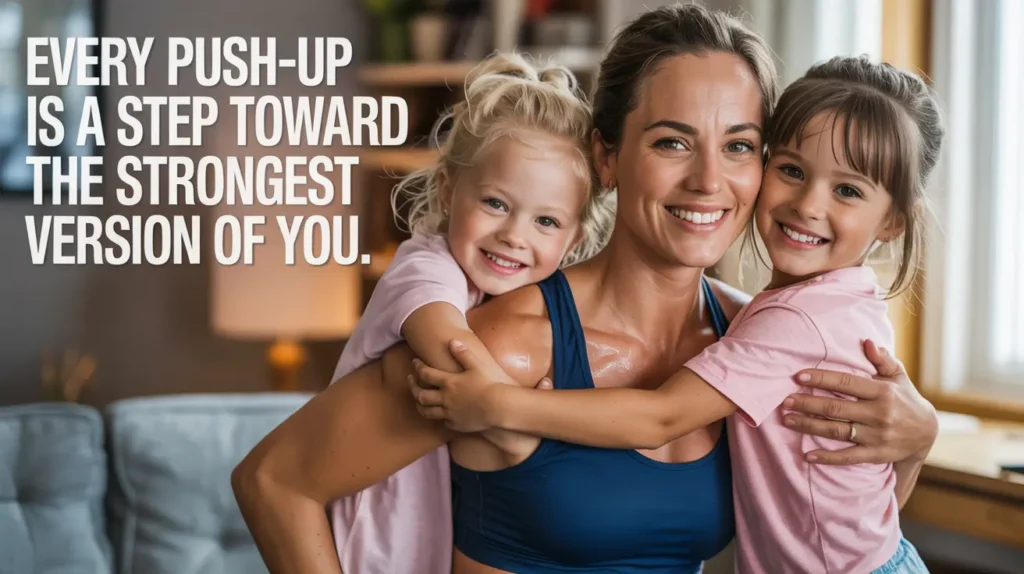
Finding time to work out can feel like an impossible task when you’re a busy mom. Between school runs, meal prep, and a never-ending to-do list, your own fitness often takes a backseat. But what if you could build serious strength with one simple, effective exercise that requires no equipment and can be done anywhere? Enter the push-up. It’s a powerhouse move that works your entire body.
This guide is designed specifically for you. We will explore several Push-Up Variations that are perfect for beginners and can be scaled as you get stronger. You’ll learn how to master the basic form and progress to more challenging moves, all on your own schedule. Forget needing a gym membership; your living room is about to become your new fitness studio. Let’s unlock your strength, one push-up at a time.
Key Takeaways
- Push-ups are a highly effective, equipment-free exercise for building upper body and core strength.
- Starting with modified versions like wall push-ups and incline push-ups helps build foundational strength safely.
- Proper form is crucial to prevent injury and maximize results. Keep your body in a straight line from head to heels.
- As you get stronger, you can progress to more challenging Push-Up Variations to continue building muscle and endurance.
- Consistency is more important than intensity. Even a few minutes of practice each day can lead to significant strength gains.
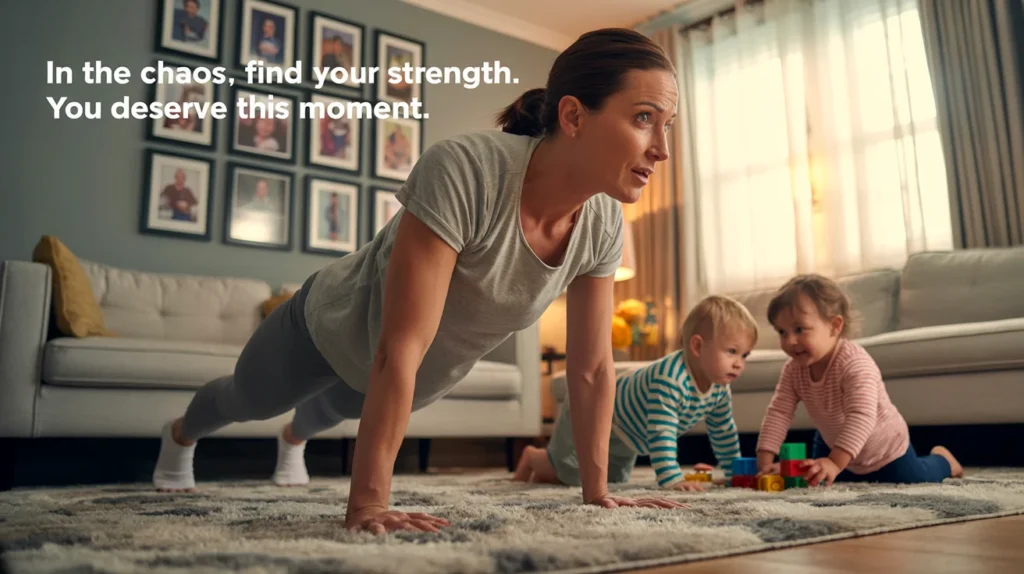
Why Push-Ups are a Mom’s Best Friend
Push-ups are more than just an arm exercise. They are a compound movement, meaning they work multiple muscle groups at once. This makes them incredibly efficient, which is a huge win for any mom short on time. A single push-up engages your chest, shoulders, triceps, back, and core.
This efficiency means you get a full-body workout in just a few minutes. You don’t need to drive to a gym, pay for a membership, or buy expensive equipment. All you need is a little bit of floor space. This accessibility makes it one of the most practical exercises for a packed schedule.
Regular practice can improve your posture, increase your functional strength for daily tasks like lifting your kids, and boost your overall confidence. It’s a simple move with powerful benefits.
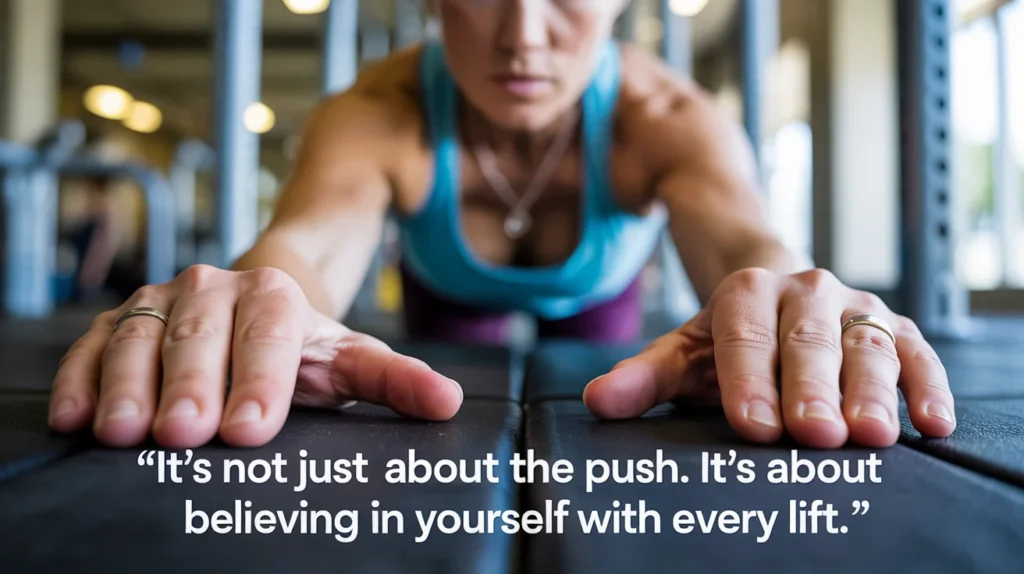
The Foundation: Mastering Proper Push-Up Form
Before diving into different Push-Up Variations, it’s essential to master the basic form. Incorrect form not only reduces the effectiveness of the exercise but can also lead to injuries, particularly in the shoulders and wrists.
H3: Step-by-Step Guide to the Perfect Push-Up
- Starting Position: Get on all fours with your hands slightly wider than your shoulders. Your fingers should point forward.
- Plank Position: Extend your legs back so your body forms a straight line from your head to your heels. This is a high plank position. Engage your core by pulling your belly button towards your spine to prevent your lower back from sagging.
- Lowering Down: Bend your elbows and lower your body towards the floor. Aim to keep your elbows at about a 45-degree angle from your body, not flared out to the sides. Lower down until your chest nearly touches the ground.
- Pushing Up: Press through your hands to push your body back up to the starting plank position. Keep your core tight throughout the movement. Your body should move as one single unit.
Remember to breathe! Inhale as you lower your body and exhale as you push back up.
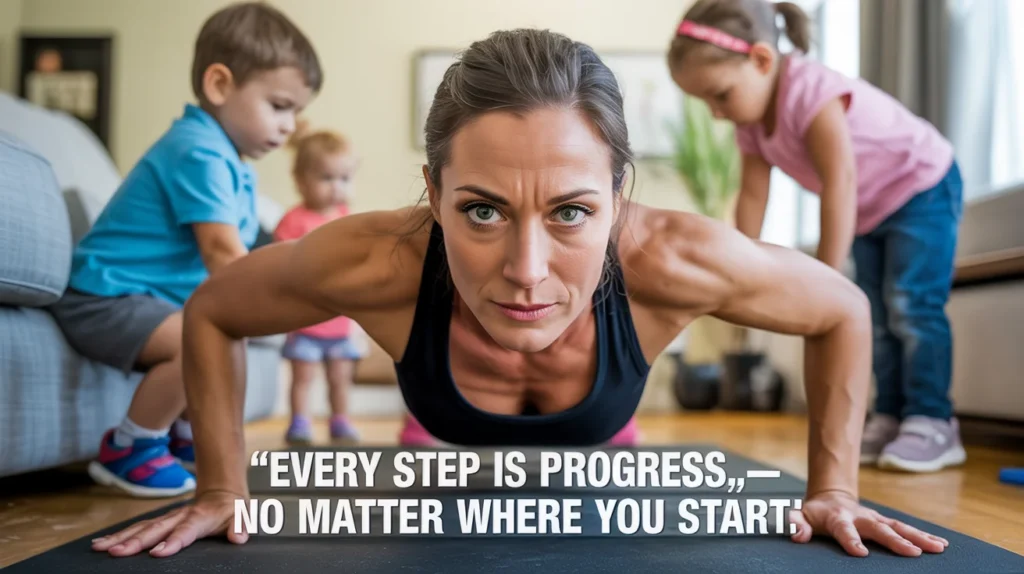
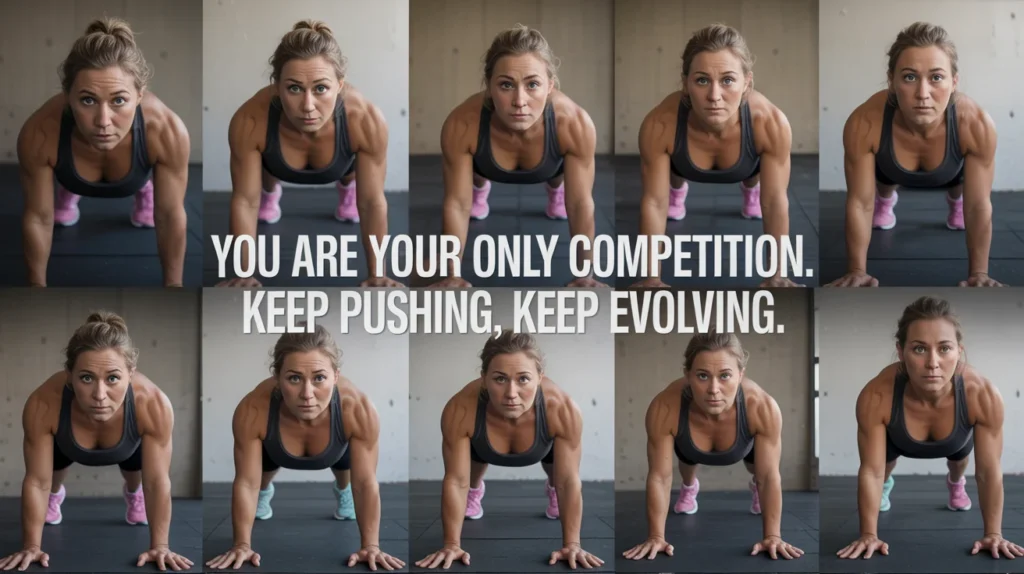
Top 10 Push-Up Variations for Every Fitness Level
Here are 10 variations, starting from the easiest and progressing to more challenging options. Start where you feel comfortable and move to the next level when you can complete 10-12 reps with good form.
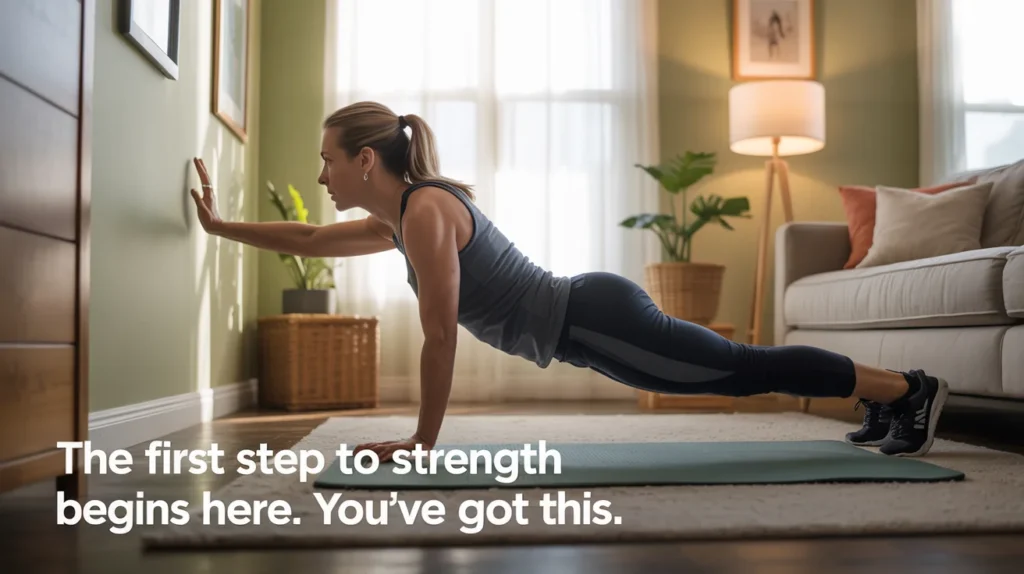
Wall Push-Ups
This is the perfect starting point if you’re completely new to push-ups. It takes a significant amount of weight off your upper body, allowing you to focus on the movement and build initial strength.
How to do it:
Stand facing a wall, about an arm’s length away. Place your palms flat on the wall, slightly wider than your shoulders. Lean forward and bend your elbows to bring your chest closer to the wall, keeping your back straight. Push back to the starting position. The further you stand from the wall, the more challenging it becomes.
Incline Push-Ups
Once wall push-ups feel easy, move to an incline. You can use a sturdy kitchen counter, a park bench, or the back of your sofa. The higher the surface, the easier the push-up will be.
How to do it:
Place your hands on your chosen elevated surface, slightly wider than shoulder-width apart. Extend your legs back to form a straight line with your body. Lower your chest to the edge of the surface, then push back up. This is a great intermediate step before tackling the floor.
Knee Push-Ups
Also known as modified push-ups, this variation is performed on your knees instead of your toes. It significantly reduces the amount of body weight you need to lift, making it a fantastic way to build strength for a full push-up.
How to do it:
Start in a tabletop position on your hands and knees. Walk your hands forward until your body forms a straight line from your head to your knees. Lower your chest toward the floor, then press back up. Make sure to keep your hips from sagging.
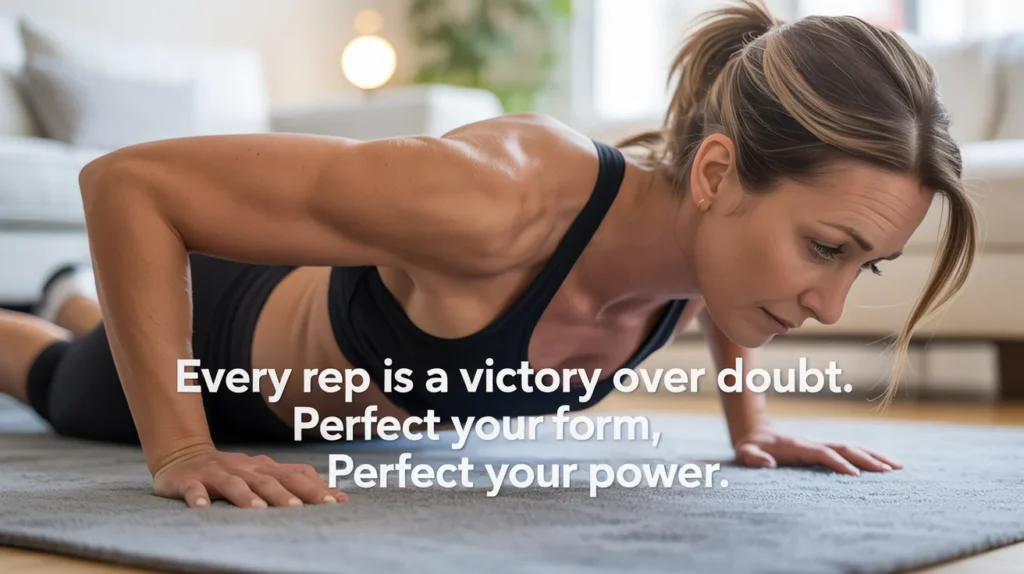
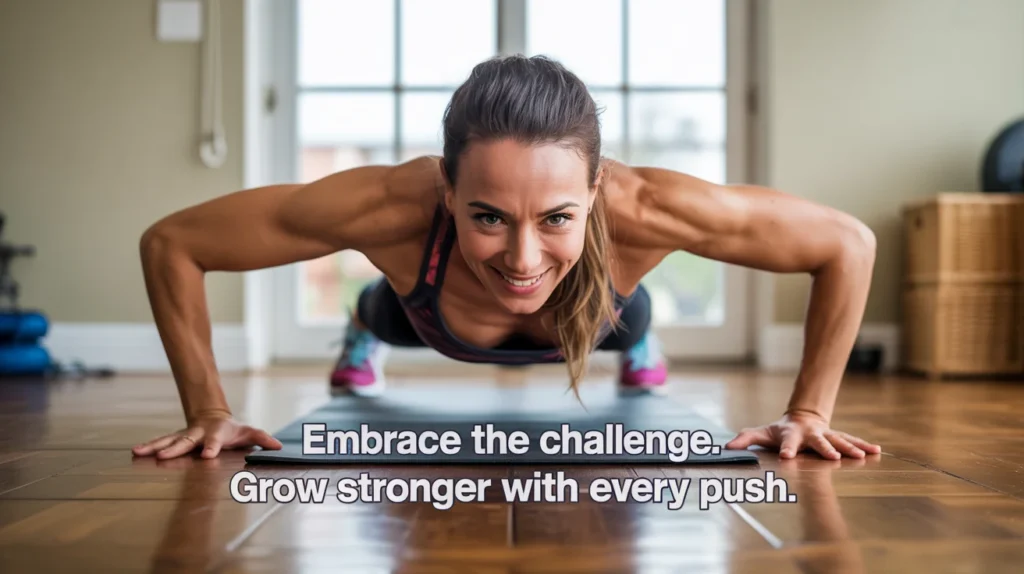
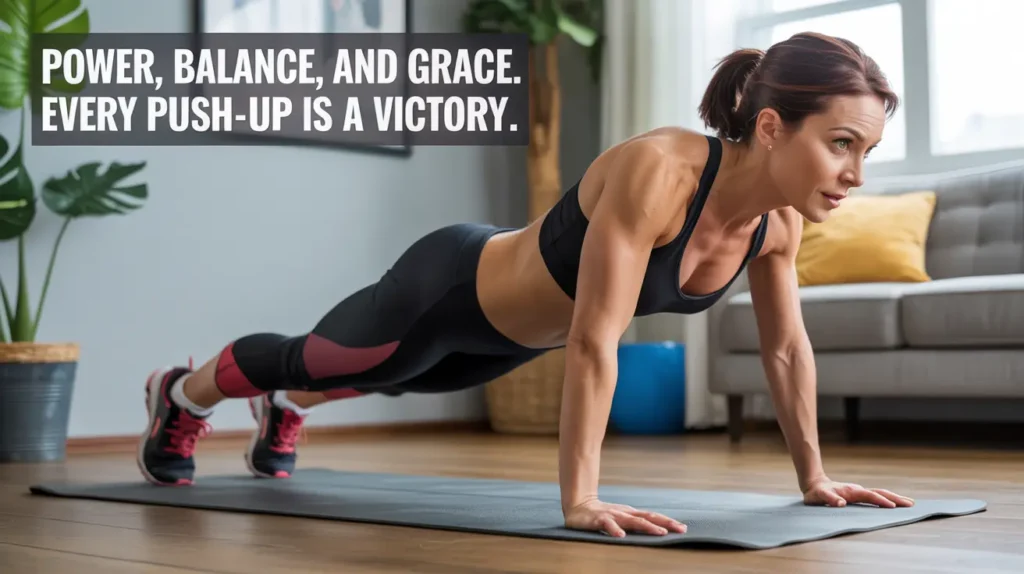
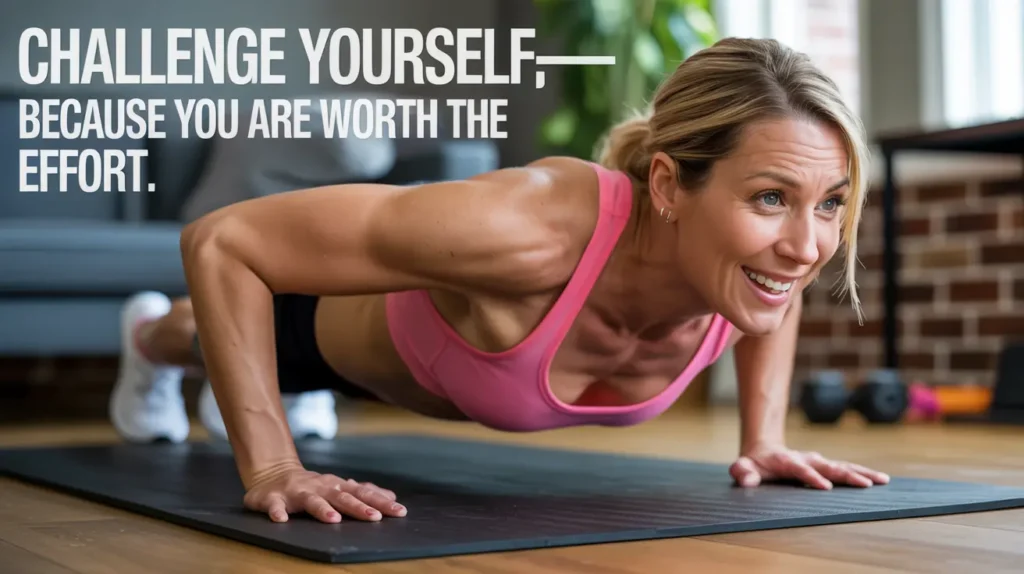
Standard Push-Up
This is the classic, full-body move. Once you can comfortably perform 10-12 knee push-ups, you’re ready to try the standard version. Don’t be discouraged if you can only do one or two at first. Consistency is key!
How to do it:
Follow the steps for mastering proper form outlined earlier. Focus on maintaining a straight line with your body and engaging your core throughout the entire movement. Quality over quantity is the goal here.
Wide-Grip Push-Ups
By placing your hands wider than your shoulders, you shift the focus more to your chest muscles. This is a great variation to build a stronger chest.
How to do it:
Get into a standard push-up position, but place your hands several inches wider on each side. Perform the push-up as you normally would, focusing on the contraction in your chest as you push up.

Narrow-Grip (or Diamond) Push-Ups
This is one of the more challenging Push-Up Variations. Bringing your hands close together shifts the emphasis to your triceps. If you want to tone the back of your arms, this is the move for you.
How to do it:
Place your hands directly under your chest, with your index fingers and thumbs touching to form a diamond shape. Keeping your elbows tucked in close to your body, lower your chest towards your hands and push back up.

Decline Push-Ups
Ready to increase the difficulty? Elevate your feet on a step, a sturdy box, or a low bench. This decline position puts more weight on your upper body and shoulders, making the exercise significantly harder.
How to do it:
Place your feet on an elevated surface and your hands on the floor in a standard push-up position. Your body should form a straight line from head to heels. Lower your chest to the floor and push back up. The higher your feet, the more challenging it will be.

Staggered-Hand Push-Ups
This variation challenges your core stability and works each arm differently. It’s a step towards more advanced, single-arm movements.
How to do it:
Start in a standard push-up position. Move one hand forward a few inches and the other hand back a few inches. Perform a push-up. For the next rep, switch hand positions.
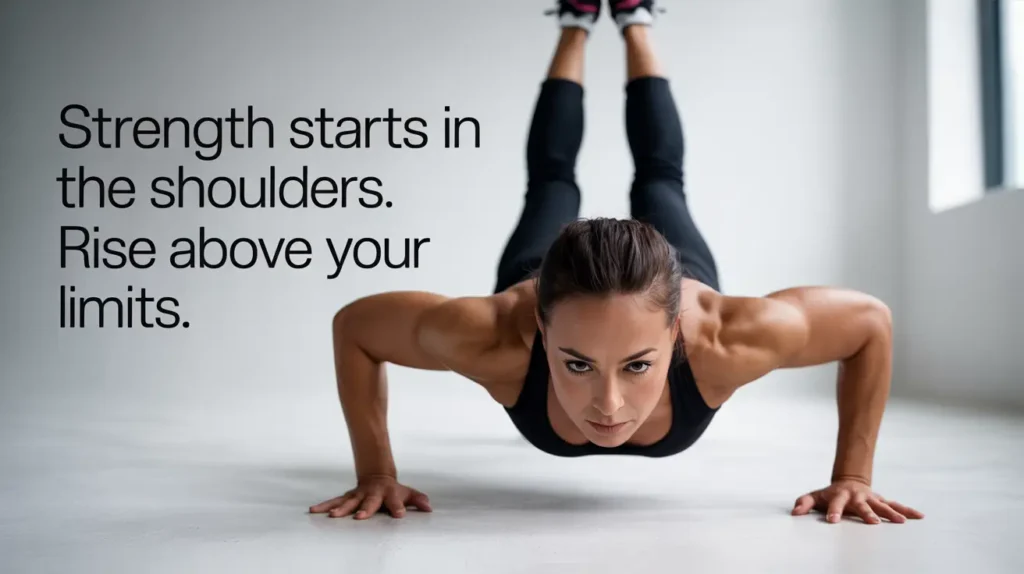
Pike Push-Ups
Pike push-ups are an excellent Push-Up Variations to build shoulder strength and prepare for more advanced movements like handstand push-ups. They primarily target the deltoids (shoulder muscles).
How to do it:
Start in a standard push-up position, then walk your feet forward towards your hands, raising your hips into an inverted “V” shape. Keep your legs and arms as straight as possible. From this position, bend your elbows to lower the top of your head towards the floor, then push back up.
Spiderman Push-Ups
This dynamic variation adds a core and hip flexor challenge to the standard push-up. It’s a great full-body move that also improves mobility.
How to do it:
As you lower your body in a standard push-up, bring your right knee out to the side towards your right elbow. As you push back up, return your leg to the starting position. Alternate sides with each rep.
Push-Up Variations Comparison Table
| Variation | Primary Muscles Worked | Difficulty Level |
|---|---|---|
| Wall Push-Up | Chest, Shoulders | Beginner |
| Incline Push-Up | Chest, Shoulders, Triceps | Beginner |
| Knee Push-Up | Chest, Triceps | Beginner-Intermediate |
| Standard Push-Up | Chest, Shoulders, Triceps, Core | Intermediate |
| Wide-Grip Push-Up | Chest | Intermediate |
| Narrow-Grip Push-Up | Triceps, Chest | Intermediate-Advanced |
| Decline Push-Up | Upper Chest, Shoulders | Advanced |
Creating a Workout Plan You Can Stick To
The best workout plan is one that you can follow consistently. As a busy mom, you don’t need to spend an hour exercising every day.
- Start small: Begin with just 5-10 minutes, 3 times a week.
- Listen to your body: Choose a push-up variation that feels challenging but manageable.
- Focus on progression: Aim to do one more rep or try a slightly harder variation each week.
- Pair with other exercises: Combine your Push-Up Variations with squats and planks for a quick, effective full-body workout.
According to the Physical Activity Guidelines for Americans, adults should aim for at least 150 minutes of moderate-intensity aerobic activity and two days of muscle-strengthening activity each week. Your push-up routine is a perfect way to meet that muscle-strengthening goal.

Conclusion
Building strength doesn’t require a gym membership or complicated equipment. With these Push-Up Variations, you have a complete toolkit to build upper body and core strength from the comfort of your home. Start with the basics, master your form, and gradually challenge yourself with more advanced versions.
Remember that every Push-Up Variations, no matter how modified, is a step towards a stronger, healthier you. You have the power to unlock your strength—and you can do it on your own terms, fitting fitness into your busy life as a mom.
Frequently Asked Questions (FAQ)
Q1: How many push-ups should I do a day?
A1: Focus on quality over quantity. Start with 2-3 sets of as many reps as you can do with good form. Aim for 8-12 reps per set. It’s better to do 5 perfect push-ups than 20 with poor form. Rest for 60-90 seconds between sets.
Q2: My wrists hurt when I do push-ups. What can I do?
A2: Wrist pain is common and often due to poor form or lack of flexibility. Make sure your hands are positioned correctly and your weight is distributed evenly across your palms. You can also perform push-ups on your knuckles or use push-up bars to keep your wrists in a neutral position. Performing wrist stretches before your workout can also help.
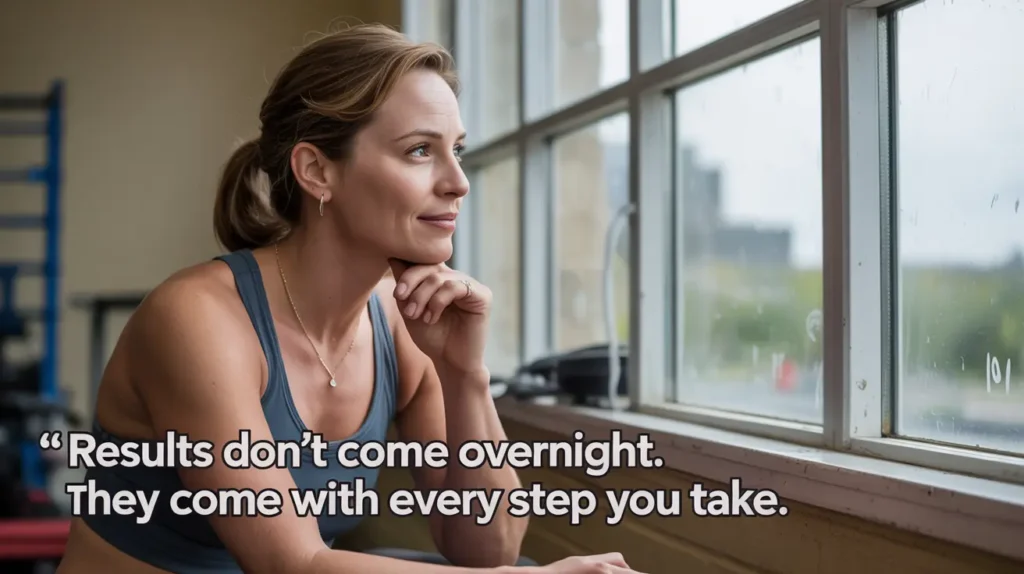
Q3: How long will it take to see results from doing push-ups?
A3: With consistent practice (at least 3 times a week), you can expect to feel stronger and notice improvements in your ability to perform the exercise within 2-4 weeks. Visible changes in muscle tone may take 6-8 weeks, depending on your starting fitness level and diet.