Introduction
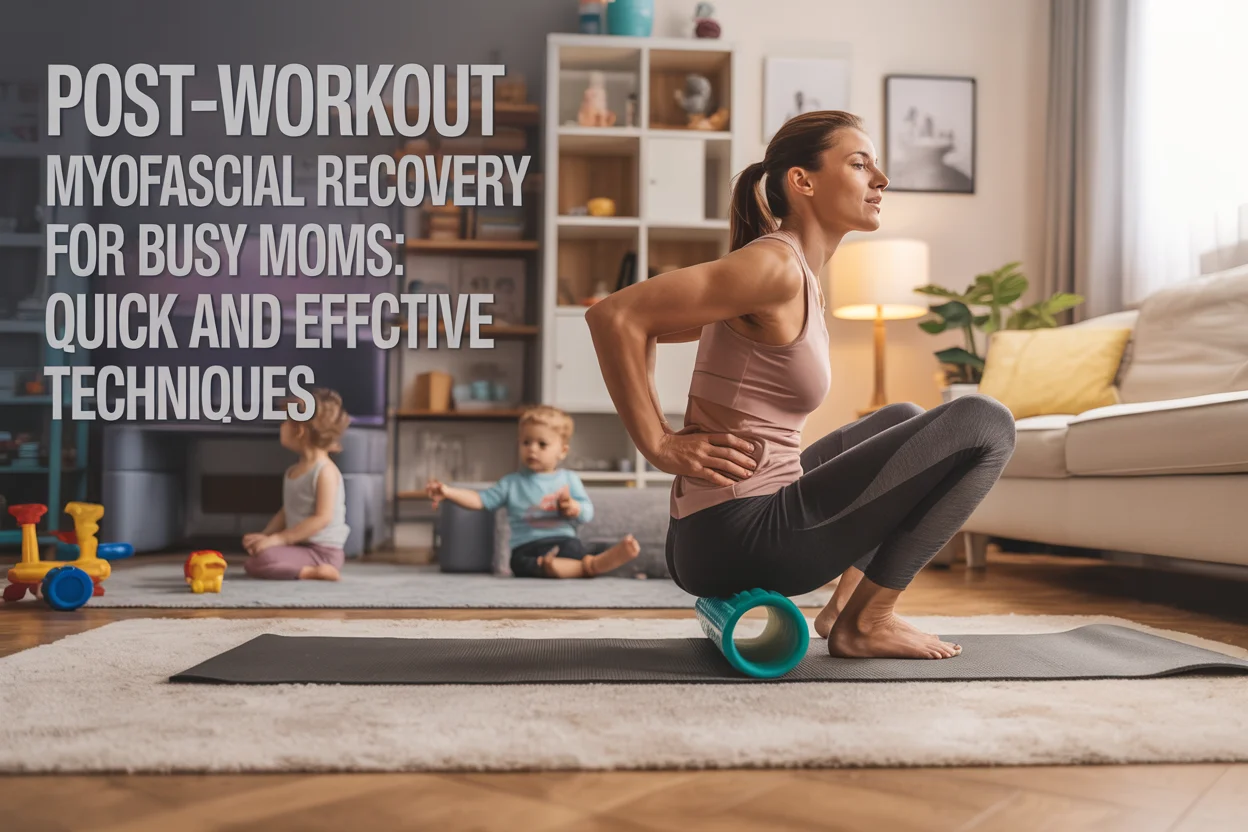
Being a mom is a full-contact sport. You’re a chef, chauffeur, coach, and CEO of the household, often all before 9 AM. Squeezing in a workout is a major victory, but what happens afterward? The muscle soreness and stiffness can make lifting your toddler feel like lifting a car. This is where a proper recovery routine becomes essential, not just a luxury. Many busy moms overlook this crucial step, but neglecting it can lead to fatigue, injury, and burnout.
The secret isn’t a complicated, time-consuming regimen. It’s about working smarter, not harder, with techniques like myofascial release. This guide will show you how to implement effective post workout myofascial recovery release for busy moms, helping you feel refreshed, reduce soreness, and stay on top of your game—both in the gym and at home. You’ll learn simple, quick strategies that fit into your jam-packed schedule.
Key Takeaways
- myofascial recovery release is crucial: It helps reduce muscle soreness, improve flexibility, and prevent injuries by targeting the fascia, the connective tissue surrounding your muscles.
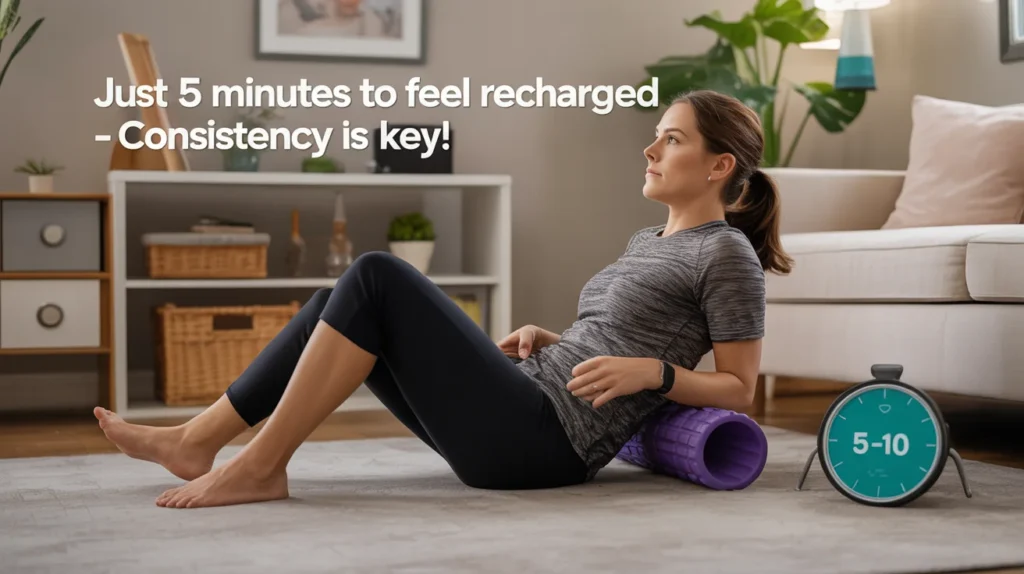
- It’s perfect for busy schedules: You don’t need hours. Just 5-10 minutes of focused effort can make a significant difference in your recovery.
- Consistency is key: Making myofascial release a regular part of your routine yields the best results.
- Tools can help, but aren’t always necessary: While foam rollers and massage balls are great, you can also use household items or even just your hands.
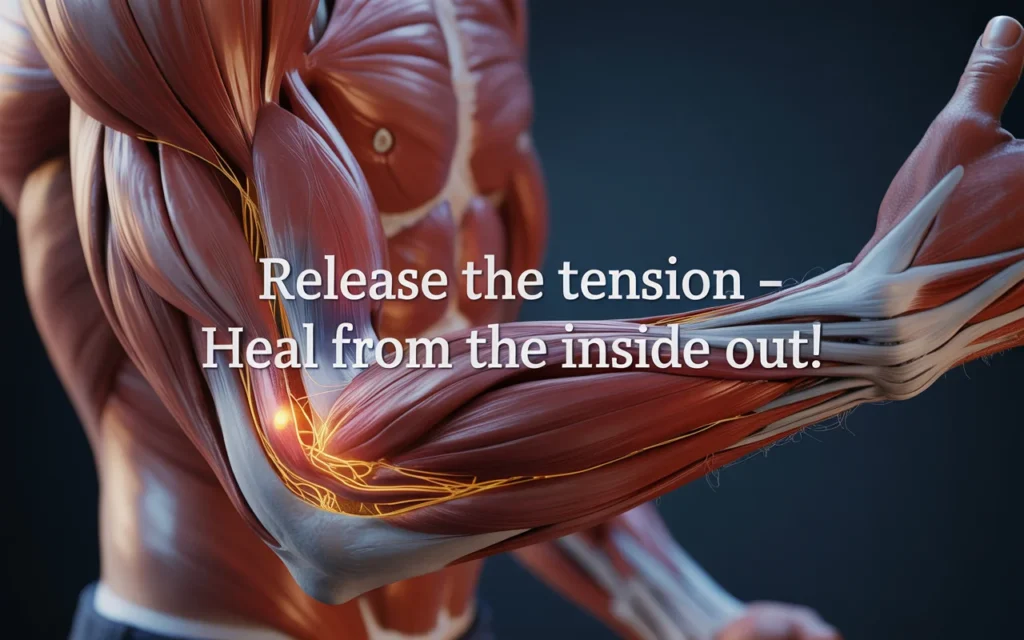
Understanding Muscle Soreness and the Role of Fascia
After a great workout, you often feel that satisfying ache known as Delayed Onset Muscle Soreness (DOMS). This soreness is a result of microscopic tears in your muscle fibers, a natural part of the muscle-building process. However, another key player in post-workout discomfort is your fascia. Think of fascia as a thin web of connective tissue that wraps around every muscle, bone, nerve, and organ in your body. It provides structure and support, allowing your muscles to glide smoothly over one another.
When you exercise, or even from the daily stress of carrying kids and groceries, this fascia can become tight, knotted, and inflamed. These tight spots, often called trigger points, can restrict movement, cause pain, and slow down your recovery. This is why you might feel stiff and achy, not just sore. A targeted approach to post workout myofascial recovery release for busy moms can help break up these adhesions, allowing your muscles to heal and function optimally.
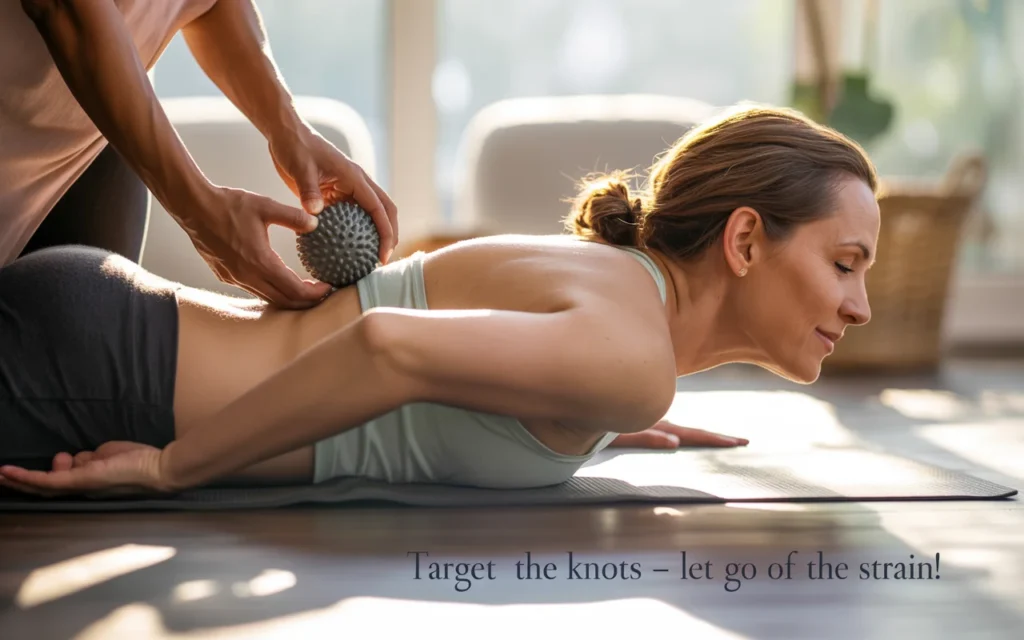
What is Myofascial Release?
myofascial recovery release is a hands-on technique that involves applying gentle, sustained pressure to these tight spots in your fascia. The goal is to release tension, break down adhesions, and restore motion. Imagine a knotted rope; you can’t just pull it tighter to fix it. You have to work on the knot itself. Similarly, myofascial release targets these “knots” in your connective tissue.
This process helps to rehydrate the fascia, improve blood flow to the area, and calm the nervous system. By releasing this tension, you not only alleviate immediate pain but also enhance your overall flexibility and reduce the risk of future injuries. It’s a foundational practice for anyone who is physically active, but it’s especially beneficial for moms whose bodies are under constant, varied stress.
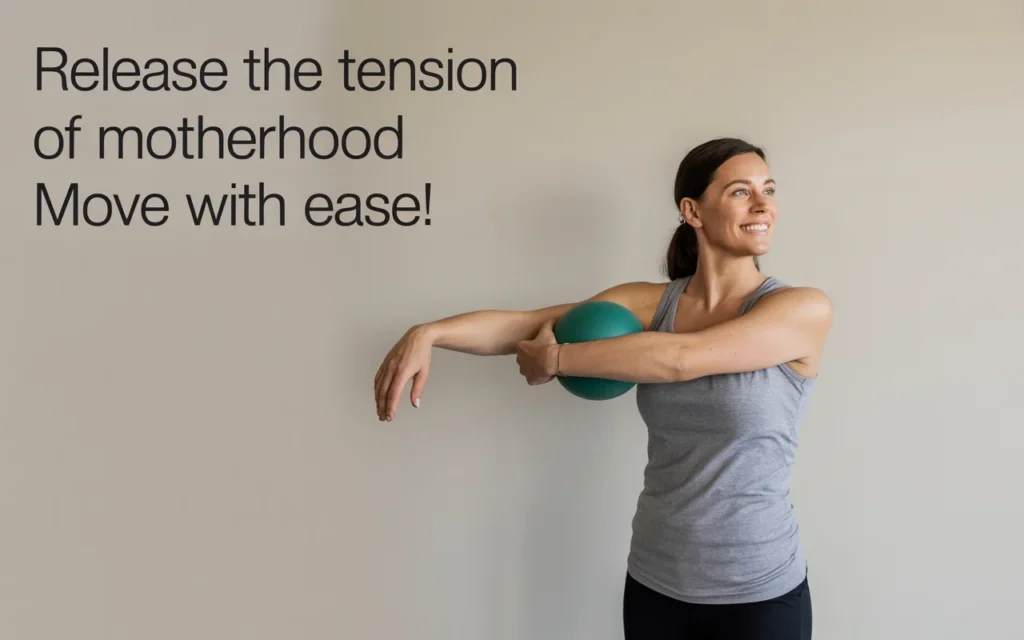
Why Myofascial Recovery is a Game-Changer for Moms
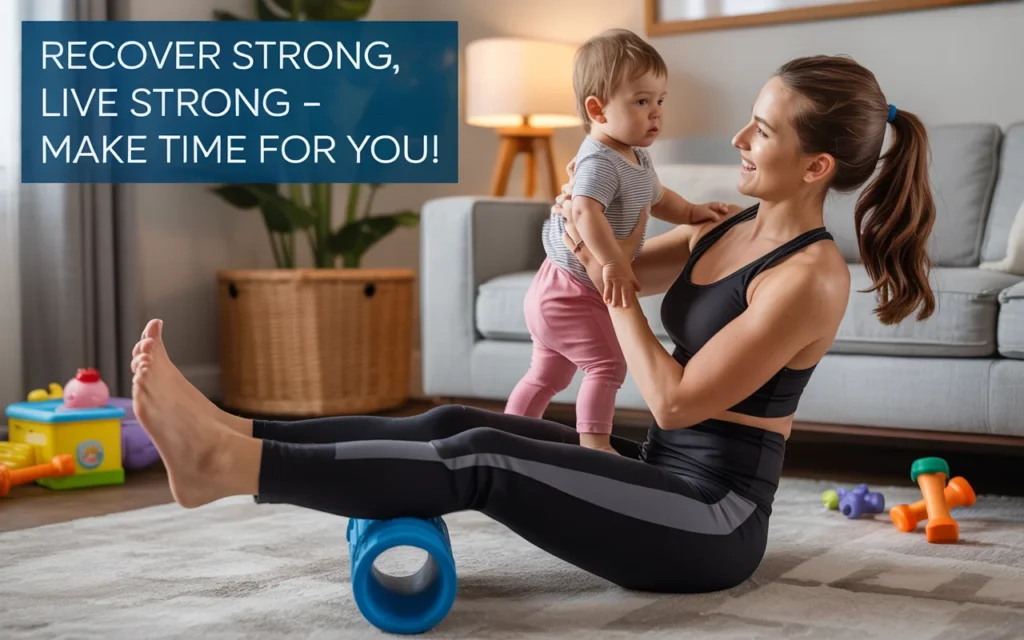
Life as a mom is demanding. You’re constantly bending, lifting, and carrying, which can lead to chronic tightness in your back, hips, and shoulders. Adding workouts to the mix without proper recovery can compound this tension. This is where dedicating a few minutes to myofascial release can make a world of difference. It’s not just about recovering from your workout; it’s about recovering from your day.
An effective post workout myofascial recovery release for busy moms helps counteract the physical toll of motherhood. It releases the tension built up from holding a baby on one hip or hunching over to pick up toys. By improving your flexibility and reducing pain, you’ll have more energy and mobility to keep up with your kids. It’s a small investment of time that pays huge dividends in your overall well-being and ability to stay active and pain-free.
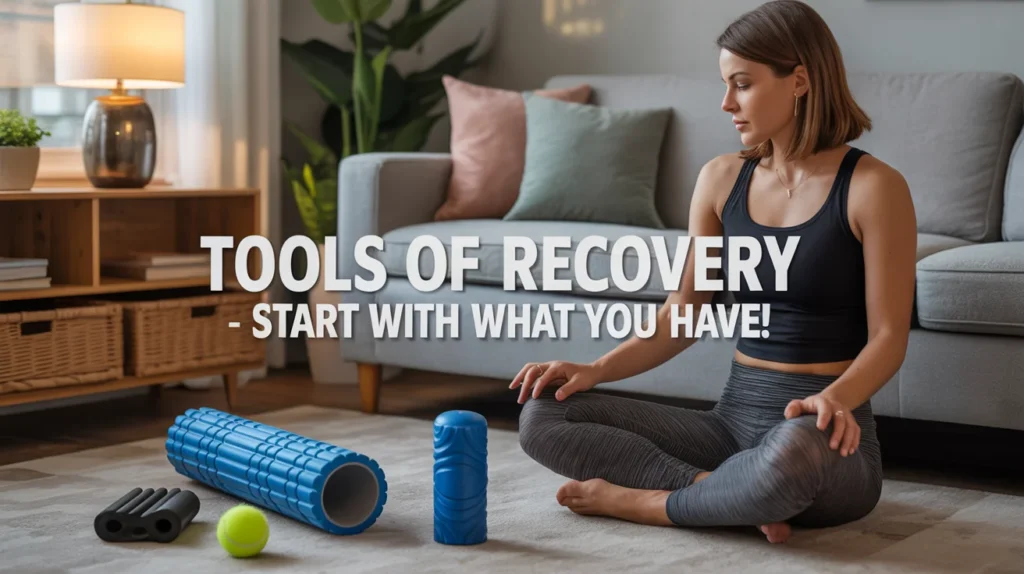
Getting Started: Essential Myofascial Release Tools
You don’t need a home gym full of expensive equipment. A few simple, effective tools are all it takes to get started.
- Foam Roller: This is the most common tool. It’s great for large muscle groups like your quads, hamstrings, glutes, and back.
- Massage Ball (or Tennis/Lacrosse Ball): Perfect for targeting smaller, hard-to-reach areas like the arches of your feet, glutes, shoulders, and chest.
- Massage Stick/Cane: These tools allow you to apply targeted pressure to your back, neck, and shoulders without having to lie on the floor.
Here’s a quick comparison to help you choose the right tool for you.
| Tool | Best For | Pros | Cons |
|---|---|---|---|
| Foam Roller | Large muscle groups (legs, back, glutes) | Covers a wide surface area; versatile | Can be bulky; less precise for small knots |
| Massage Ball | Targeted areas (feet, shoulders, hips) | Portable; excellent for deep trigger points | Intense pressure; can be hard to control |
| Massage Stick | Neck, shoulders, calves, quads | Easy to control pressure; good for travel | Limited to areas you can easily reach |
You can find more information about the benefits of self-myofascial release from reputable sources like the National Academy of Sports Medicine (NASM).
Quick & Effective Myofascial Recovery Release Techniques
Here are five simple exercises you can do in 10 minutes or less. Hold each position on a tender spot for 30-60 seconds, or until you feel the tension start to release. Remember to breathe deeply throughout.
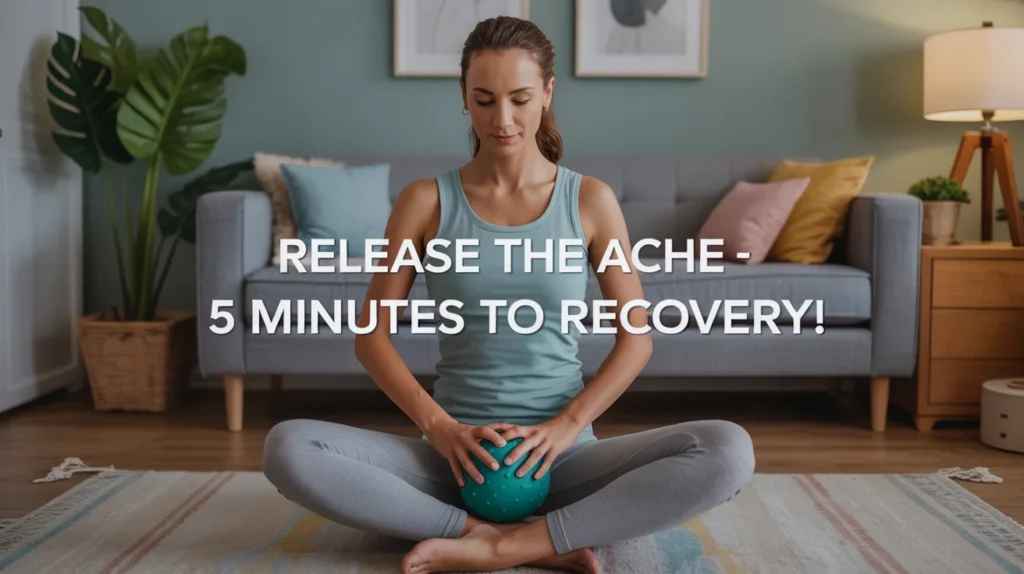
1. Glute Release with a Massage Ball
Your glutes work hard, both during workouts and from carrying your kids.
- How to do it: Sit on the floor with your knees bent. Place a massage ball under your right glute. Cross your right ankle over your left knee. Gently roll on the ball until you find a tender spot. Hold the pressure, focusing on relaxing the muscle. Switch sides.
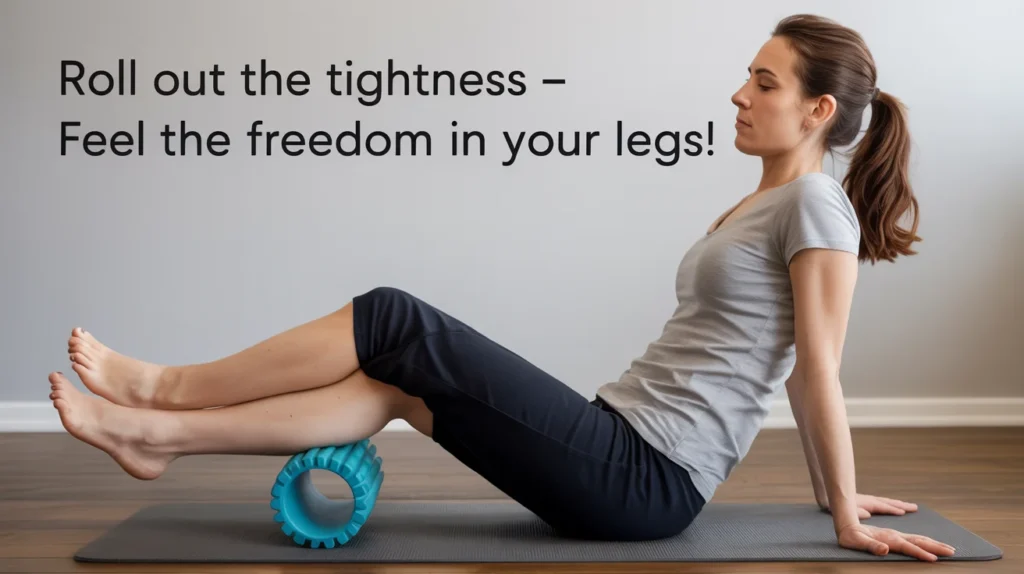
2. Quad Rollout with a Foam Roller
Tight quads can contribute to knee pain, a common complaint for active individuals.
- How to do it: Lie face down and place a foam roller under your thighs. Support yourself on your forearms. Slowly roll from the bottom of your hips to the top of your knees. To increase the intensity, cross one leg over the other.
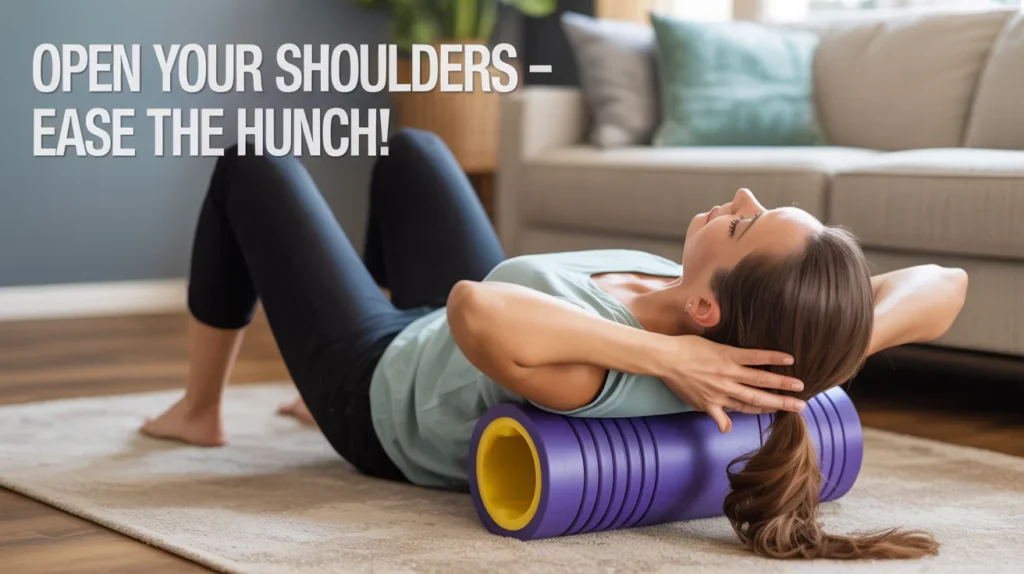
3. Upper Back Release with a Foam Roller
This is perfect for relieving tension from hunching over or “tech neck.”
- How to do it: Lie on your back with a foam roller positioned under your shoulder blades. Bend your knees and place your feet flat on the floor. Cradle your head with your hands to support your neck. Lift your hips and slowly roll up and down your mid-to-upper back.
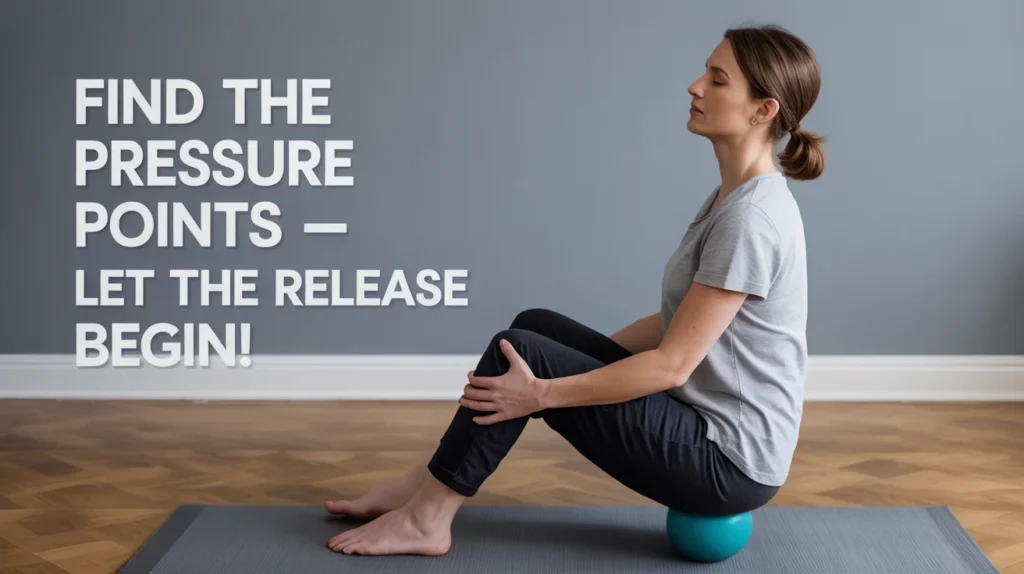
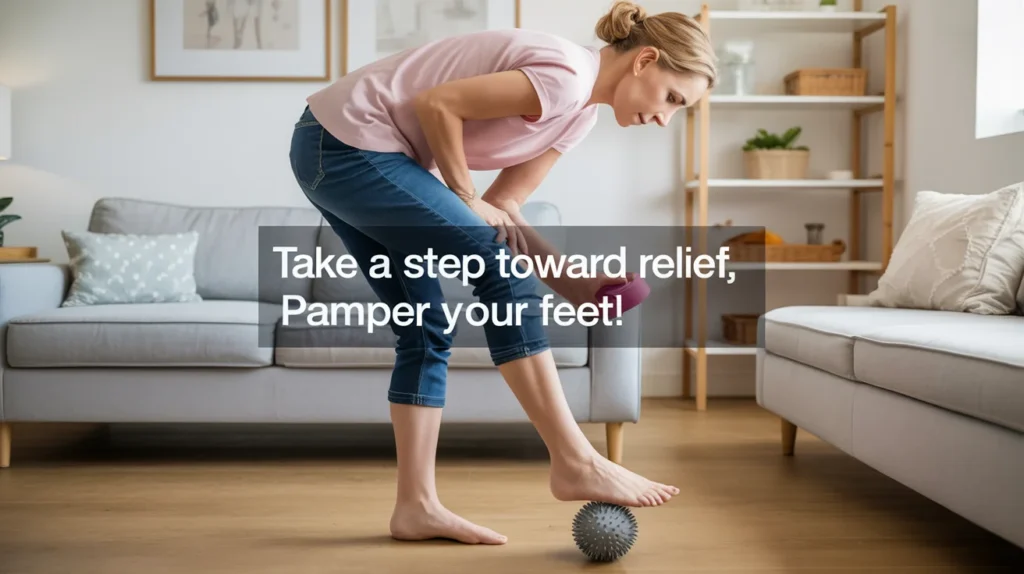
4. Foot Roll with a Massage Ball
Our feet carry us all day. Giving them some attention can relieve tension throughout the entire body.
- How-to: While standing or sitting, place a massage ball under your foot. Roll it back and forth from your heel to your toes, applying gentle pressure. Pause on any sore spots. This is an easy one to do while you’re making dinner or folding laundry.
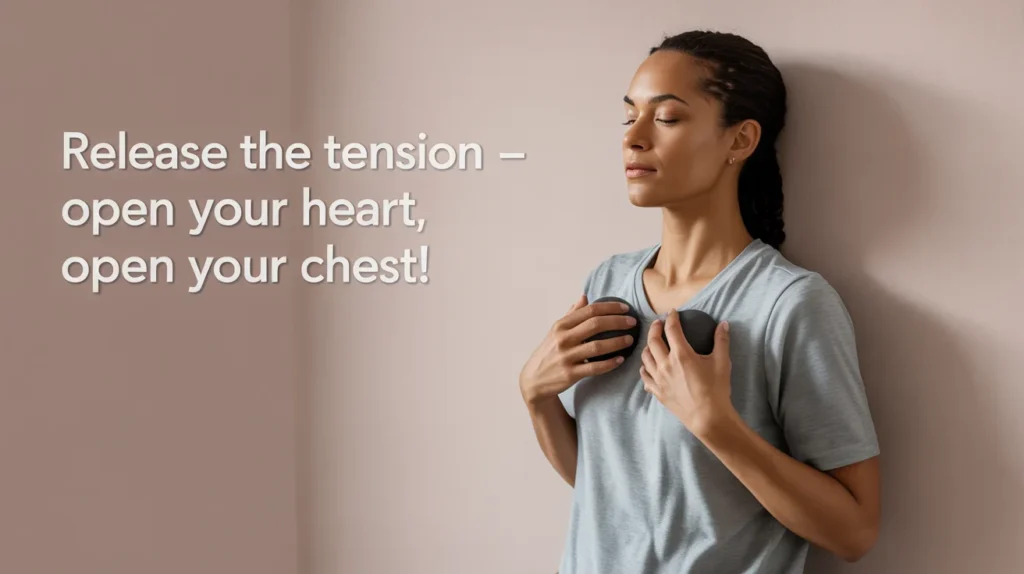
5. Chest Opener with a Massage Ball
We often hold tension in our chest from stress and poor posture.
- How-to: Stand facing a wall. Place a massage ball between the wall and your chest, just below your collarbone. Gently lean into the wall and roll the ball side-to-side to release pectoral muscle tightness. This is a crucial part of a post workout myofascial recovery release for busy moms as it counteracts the “mom hunch.”
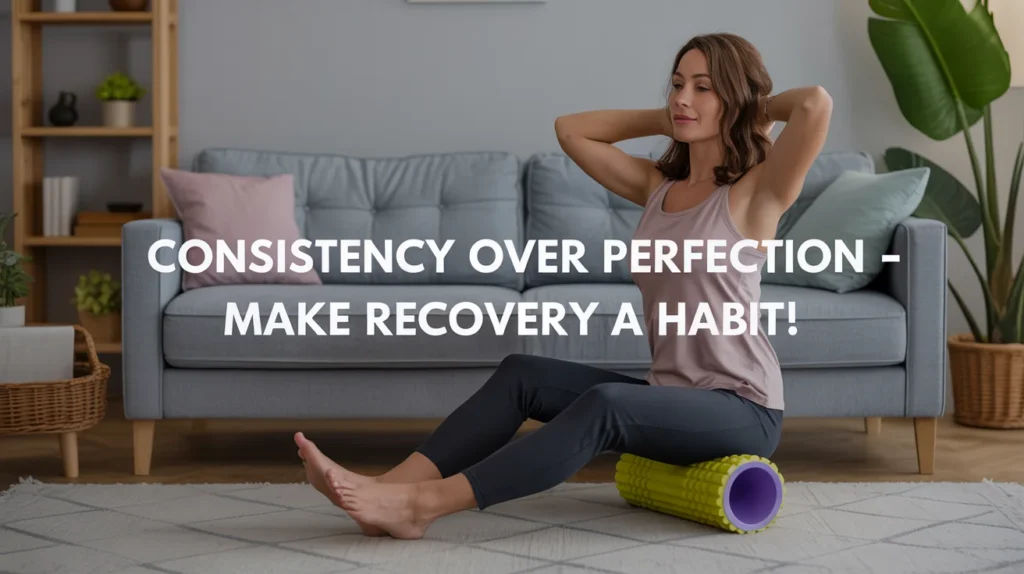
Creating a Sustainable Routine
The biggest challenge for any busy mom is consistency. The key is to integrate myofascial release into your existing schedule. Don’t think of it as another task to add to your to-do list.
- Piggyback on Habits: Do you watch a show after the kids are in bed? Spend the first 10 minutes foam rolling. Do you scroll on your phone? Roll your feet with a massage ball at the same time.
- Keep Your Tools Visible: Don’t hide your foam roller in a closet. Keep it in the living room or your bedroom as a visual reminder.
- Start Small: Commit to just five minutes a day. Once you feel the benefits, you’ll be more motivated to continue. A little is always better than nothing.
- Listen to Your Body: Pay attention to where you feel tight. You don’t have to do a full-body routine every time. Focus on the areas that need the most attention. The U.S. Department of Health and Human Services emphasizes the importance of muscle-strengthening and flexibility activities, and myofascial release fits perfectly into a balanced routine.
Beyond the Foam Roller: Other Recovery Strategies
While myofascial recovery release is a powerful tool, it’s one piece of the recovery puzzle. Here are other strategies that complement your efforts.
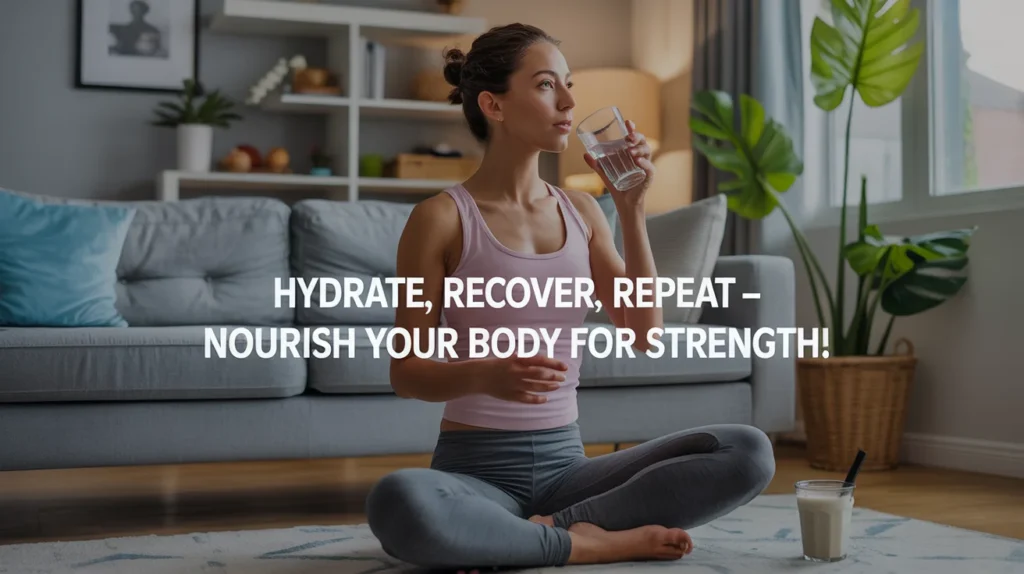
Hydration and Nutrition
Muscles are about 75% water. Proper hydration is essential for muscle function and repair. Make sure you’re drinking plenty of water throughout the day, especially after a workout. Also, consuming a mix of protein and carbohydrates within an hour or two of your workout helps replenish glycogen stores and repair muscle tissue. A protein shake, Greek yogurt, or a piece of fruit with nut butter are great options.
Active Recovery
On your rest days, don’t just sit on the couch. Light activity, or active recovery, can help reduce soreness and improve blood flow. This could be a brisk walk, a gentle yoga session, or stretching. This low-intensity movement helps flush out metabolic waste from your muscles without causing further stress. This is a simple but effective method to pair with your post workout myofascial recovery release for busy moms.
The Importance of Sleep
Sleep is when your body does most of its repair work. During deep sleep, your body releases growth hormone, which is critical for muscle repair and growth. As a mom, getting 7-9 hours of uninterrupted sleep can feel like a fantasy. However, prioritizing sleep hygiene—like creating a cool, dark room and avoiding screens before bed—can improve the quality of the sleep you do get. Even a short nap, if possible, can significantly aid in recovery.
Final Thoughts
You deserve to feel strong, energetic, and pain-free. Your workouts should empower you, not leave you too sore to enjoy your life. By incorporating a few minutes of post workout myofascial recovery release for busy moms into your routine, you are investing in your long-term health and happiness. You are giving yourself the gift of better movement, less pain, and more resilience to handle the beautiful chaos of motherhood.
Start today. Grab a tennis ball, find a tender spot, and just breathe. Your body will thank you.
Frequently Asked Questions (FAQ)
Q1: How often should I do myofascial release?
For best results, aim for 5-15 minutes daily or at least after every workout. Consistency is more important than duration. Even a few minutes can be beneficial.
Q2: Does myofascial release hurt?
It can be uncomfortable, especially when you find a tender “trigger point.” The sensation should be a “good hurt,” not sharp or unbearable pain. If you experience sharp pain, ease up on the pressure or stop.
Q3: Can I do myofascial release before a workout?
Yes. A light, dynamic session before a workout can help increase blood flow and improve mobility, preparing your muscles for exercise. Focus on short rolls over the muscles you plan to work. Post-workout sessions should be slower and more focused on releasing tension.
Q4: Can I use household items for myofascial release?
Absolutely. A tennis ball is a great substitute for a massage ball. A frozen water bottle works well for rolling out your feet. While specialized tools are designed for this purpose, you can get creative with what you have.
Q5: Is myofascial release safe during pregnancy or postpartum?
It’s important to consult with your doctor or a physical therapist. Certain areas, like the abdomen and lower back, should be avoided during pregnancy. Postpartum, it can be very beneficial, but get clearance from your healthcare provider first, especially if you had a C-section.