Introduction To Master Backward Rolling
Finding time for fitness can feel like a huge challenge when you’re a busy mom. Between school runs, work, and managing a household, your own well-being can often take a backseat.
But what if you could learn a fun, new skill that not only boosts your physical health but also gives you a sense of accomplishment? The backward rolling movement, often remembered from childhood gymnastics, is a fantastic way to improve flexibility, core strength, and body awareness.

Backward Rolling is designed specifically for you. We will break down the backward roll into simple, manageable steps. You don’t need any fancy equipment or a lot of time. We’ll cover everything from the basic preparations and safety tips to advanced variations once you’ve mastered the core skill. Let’s get you rolling with confidence.
Key Takeaways
- Safety First: Always use a soft surface and warm up properly before attempting a backward roll to prevent injury.
- Core Strength is Key: The backward roll relies heavily on abdominal strength. Simple exercises can help you build the necessary power.
- Break It Down: Master each component of the roll—the tuck, the push, and the landing—before putting them all together.
- Consistency Over Intensity: A few minutes of practice each day is more effective than one long, exhausting session.
- It’s a Journey: Learning a new skill takes time. Be patient with yourself and celebrate small victories along the way.

Why Should Busy Moms Learn the Backward Roll?
You might be wondering, “Why a Backward Rolling?” Beyond being a cool party trick to show your kids, practicing this movement offers some real benefits. First, it’s an incredible core workout. The entire motion requires you to engage your abdominal muscles, which helps build a stronger midsection.
A strong core is vital for supporting your back, improving posture, and making everyday tasks like lifting groceries (or toddlers) easier.

Second, the backward rolling motion enhances your body’s flexibility, particularly in your spine and hamstrings. As we spend more time sitting—whether at a desk or in the car—our bodies can become stiff. This movement gently stretches the spine and helps maintain mobility.
Finally, it improves proprioception, which is your body’s ability to sense its position in space. Better proprioception means better balance and coordination, reducing the risk of falls and injuries. It’s a full-body exercise disguised as a fun challenge.
Getting Started: Essential Preparations
Before you attempt your first roll, a little preparation goes a long way in ensuring your practice is safe and effective. You don’t need a professional gymnastics studio, but setting up a proper space is crucial.

Choosing the Right Surface
The most important element for a safe practice of Backward Rolling is a soft surface. Hardwood floors or tile are not suitable as they offer no protection for your spine, neck, and head. Instead, find a soft, cushioned area.
- A thick yoga or gymnastics mat
- A soft carpeted area, perhaps with a blanket on top for extra padding
- A grassy area in your backyard (check for rocks or uneven ground first)
The goal is to create a forgiving surface that will absorb the impact as you roll.
What to Wear
Wear comfortable, form-fitting clothing that allows you to move freely without getting tangled. Leggings, yoga pants, and a fitted t-shirt or tank top are ideal. Avoid baggy clothes, as they can get caught or bunch up, making the movement awkward and potentially unsafe. Also, remove any jewelry, such as necklaces or long earrings, that could get in the way.

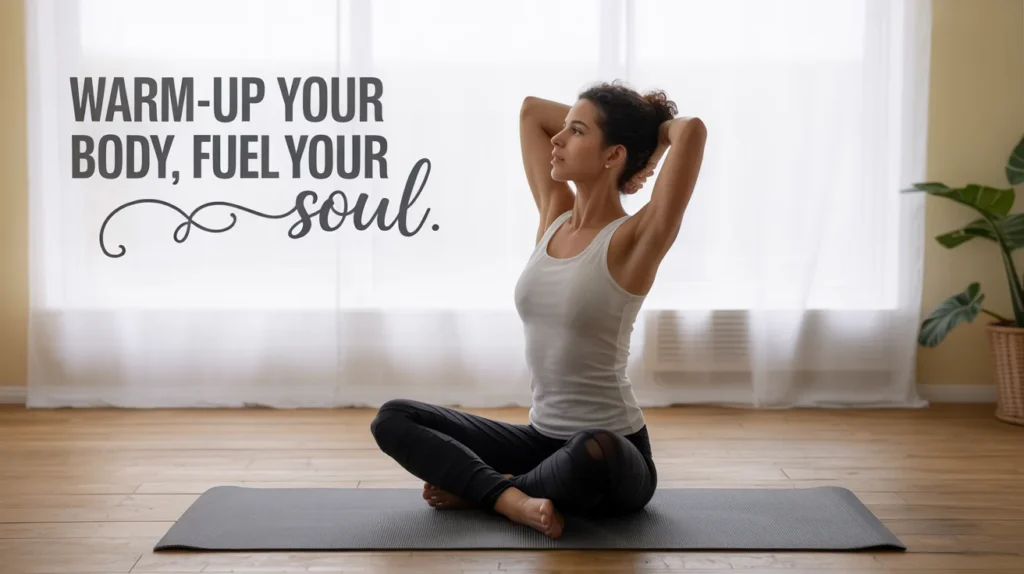
The Pre-Roll Warm-Up Routine
Never jump straight into practicing a new physical skill without warming up. A proper warm-up increases blood flow to your muscles, making them more pliable and less prone to injury. This five-minute routine is perfect for preparing your body for backward rolling.
Neck Stretches
Your neck is a sensitive area, so these stretches should be slow and gentle.
- Tilts: Slowly tilt your head to the right, bringing your ear toward your shoulder. Hold for 15 seconds, then repeat on the left side.
- Rotations: Gently turn your head to look over your right shoulder. Hold for 15 seconds, then repeat on the left.
- Nods: Tuck your chin to your chest and hold for 15 seconds.
Spinal Mobility
Waking up your spine is essential for rolling movements.
- Cat-Cow: Start on your hands and knees. Inhale as you drop your belly and look up (Cow). Exhale as you round your spine and tuck your chin (Cat). Repeat 8-10 times.
- Child’s Pose: From your hands and knees, sit back on your heels and extend your arms forward, resting your forehead on the mat. Hold for 30 seconds to gently stretch your back.
Wrist and Core Activation
- Wrist Circles: Extend your arms and make gentle circles with your hands, 10 times in each direction.
- Plank: Hold a plank position for 30 seconds to activate your core muscles.
Breaking Down the Backward Roll: A Step-by-Step Guide
The key to mastering the backward rolling motion is to not think of it as one big, scary movement. Instead, break it down into smaller, more manageable pieces. Practice each step individually until you feel comfortable before moving on to the next.
Step 1: The Tuck and Rock
This initial step helps you get used to the feeling of rolling on your back.
- Sit on your soft surface with your knees bent and feet flat on the floor.
- Hug your knees into your chest, making your body as small and round as possible. This is the tuck position.
- Gently rock back and forth. Rock onto your upper back and then forward to a seated position. This motion mimics the start of the roll. Focus on keeping your chin tucked to your chest to protect your neck. Repeat this 10-15 times until it feels smooth and controlled.

Step 2: Hand Placement and The Push
This is the most crucial part for getting your hips over your head.
- From the tuck position, place your hands on the floor next to your ears. Your palms should be flat, with your fingers pointing toward your shoulders. Think of it like you’re holding a pizza on each shoulder.
- As you rock back, the momentum will carry you onto your shoulders. This is the moment to push hard with your hands.
- The push is what lifts your hips up and over your head. Without a strong push, you will likely get stuck. Practice rocking back and pushing off the floor without completing the full roll. This builds muscle memory.

Step 3: The Roll Over
Now, let’s combine the rock and the push.
- Start in your seated tuck position.
- Rock backward with enough momentum to get your hips moving up.
- As your weight transfers to your shoulders, push forcefully with your hands.
- Keep your body tightly tucked. An open body will lose momentum.
- Allow your hips to travel over your head. Your feet will follow and land on the floor.
Step 4: The Landing
How you land is just as important as the roll itself.
- As your feet make contact with the floor, aim to land in a squat or crouched position.
- Use your hands to help you balance as you come up.
- From the squat, push through your legs to stand up. A successful backward rolling attempt ends on your feet, not on your knees.
Drills to Build Strength and Confidence
If you’re struggling with any part of the roll, specific drills can help you build the necessary strength and coordination.
| Drill Name | Purpose | How to Do It |
|---|---|---|
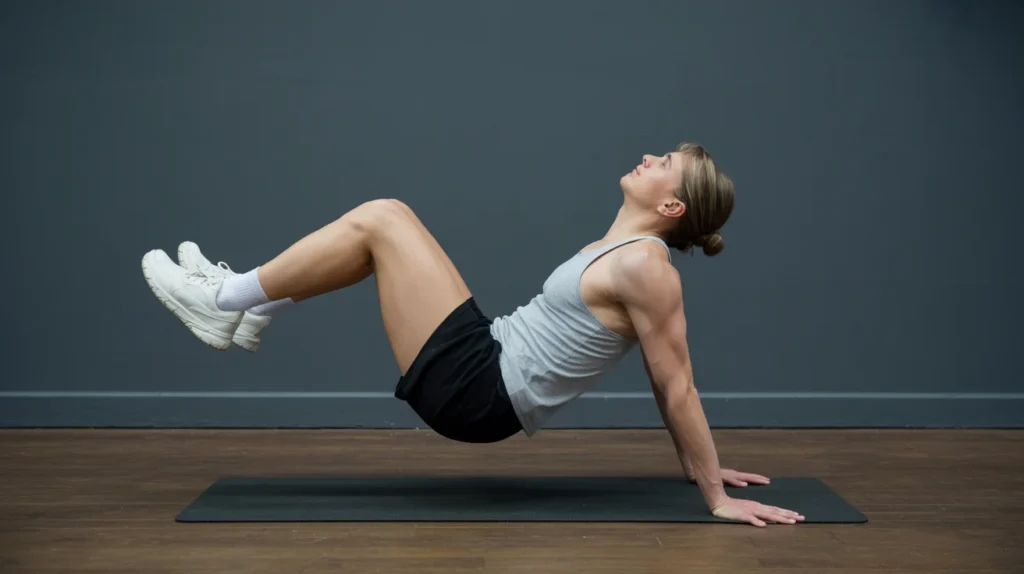
| Candlestick Roll | Builds core control and hip lift. | Lie on your back. Lift your legs and hips straight up toward the ceiling, supporting your lower back with your hands. Hold for 10-20 seconds. |
| Plow Pose | Increases spinal flexibility. | From a candlestick, slowly lower your legs over your head toward the floor. Keep your legs straight. Go only as far as is comfortable. |
| Wall Push-Offs | Simulates the push motion. | Lie on your back with your head near a wall. Place your feet on the wall and hands in the “pizza” position. Rock back and push with your hands as if to push your head away from the wall. |
Common Mistakes and How to Fix Them
It’s normal to run into a few hurdles when learning. Here are some common mistakes and simple fixes.
Mistake 1: Not Tucking Tightly Enough
If your body isn’t in a tight ball, you’ll lose momentum and get stuck.
- Fix: Before you roll, actively squeeze your knees to your chest. Imagine you are trying to be as small and round as a pebble.
Mistake 2: Flattening Out on Your Back
Many people land flat on their back instead of on their shoulders.
- Fix: Focus on keeping your back rounded throughout the entire movement. The “rock and roll” drill is perfect for practicing this. A rounded spine is essential for a smooth roll.
Mistake 3: Not Pushing with Your Hands
This is the most common reason for getting stuck. Your arms are the engine that lifts you over.
- Fix: Practice the push motion separately. Sit, place your hands by your ears, and just practice pushing the floor away. You need to push with force. A great resource for understanding body mechanics in gymnastics is the USA Gymnastics website, which offers safety guidelines.
Mistake 4: Untucking Your Chin
Lifting your head and untucking your chin puts a lot of pressure on your neck.
- Fix: Pretend you are holding a small orange between your chin and your chest. Don’t let it drop! This will protect your neck and help you roll more smoothly.
Advancing Your Backward Roll
Once you have mastered the basic backward rolling technique, you can challenge yourself with more advanced variations. These add a new layer of complexity and are great for continuing to build strength and coordination.
- Backward Roll to Handstand: This requires significant shoulder and arm strength. As you push your hips over, you extend your body into a handstand position.
- Backward Roll with Straight Legs: Instead of tucking, you keep your legs straight throughout the roll (known as a pike position). This requires more hamstring flexibility and core control.
- One-Handed Backward Roll: As you become very confident, you can practice pushing off with just one hand, which further tests your strength and balance.
Physical activity is also a great way to support your mental health. According to the CDC, regular exercise can help reduce anxiety and improve your mood. Learning a new skill like this can be a powerful mental boost.

Conclusion
Learning how to do a backward rolling movement is more than just a physical challenge; it’s a journey of patience, strength, and rediscovering a playful part of yourself. As a busy mom, taking a few minutes for yourself to work on a new skill can be incredibly empowering. It proves that you can still learn, grow, and achieve personal goals amidst the beautiful chaos of family life.
Remember to start slow, prioritize safety with a soft surface and proper warm-ups, and be kind to yourself. Each attempt, whether successful or not, is a step forward. Celebrate the small wins, like a smoother rock or a stronger push. Before you know it, you’ll be rolling with ease and confidence—and your kids will probably think you’re the coolest mom on the block.
Frequently Asked Questions (FAQ)
Q1: Is learning to do a backward roll safe?
A: Yes, it is safe when done correctly. Always use a soft, padded surface, warm up properly, and keep your chin tucked to protect your neck. Never practice on a hard floor.
Q2: How long will it take to learn?
A: This varies for everyone. It depends on your current fitness level, flexibility, and how often you practice. Some may get it in a day, while for others it might take a few weeks. The key is consistent, patient practice.
Q3: I keep getting stuck on my back. What am I doing wrong?
A: This is usually caused by one of two things: not tucking tightly enough or not pushing hard enough with your hands. Focus on keeping your body in a small ball and generate a powerful push from your hands as your weight shifts to your shoulders.
Q4: Can I teach my kids how to do a backward roll?
A: Absolutely! This can be a fun activity to do together. Ensure they also use a soft surface and understand the importance of tucking their chin. Supervise them closely, especially when they are just starting. A helpful resource for youth sports safety can be found on sites like Stanford Children’s Health.