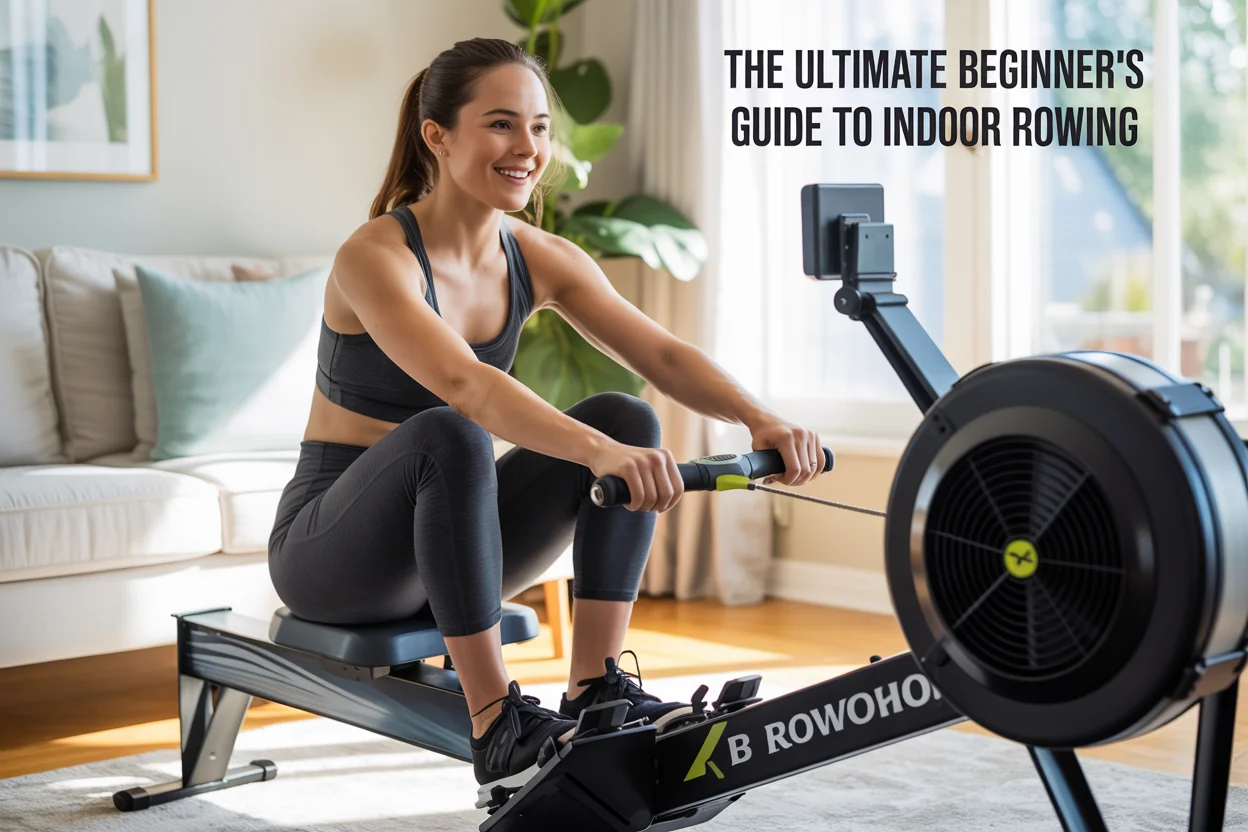
Introduction
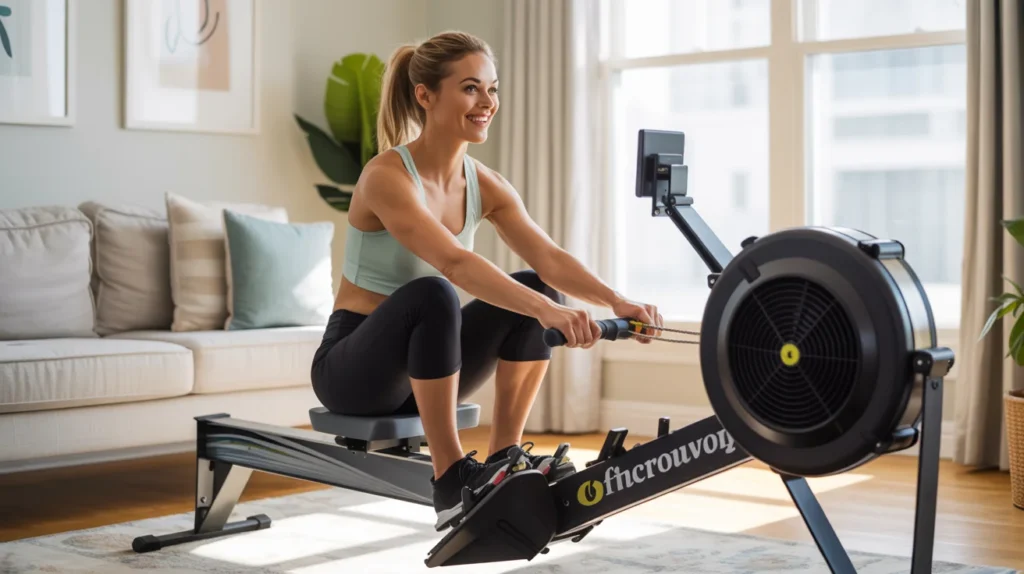
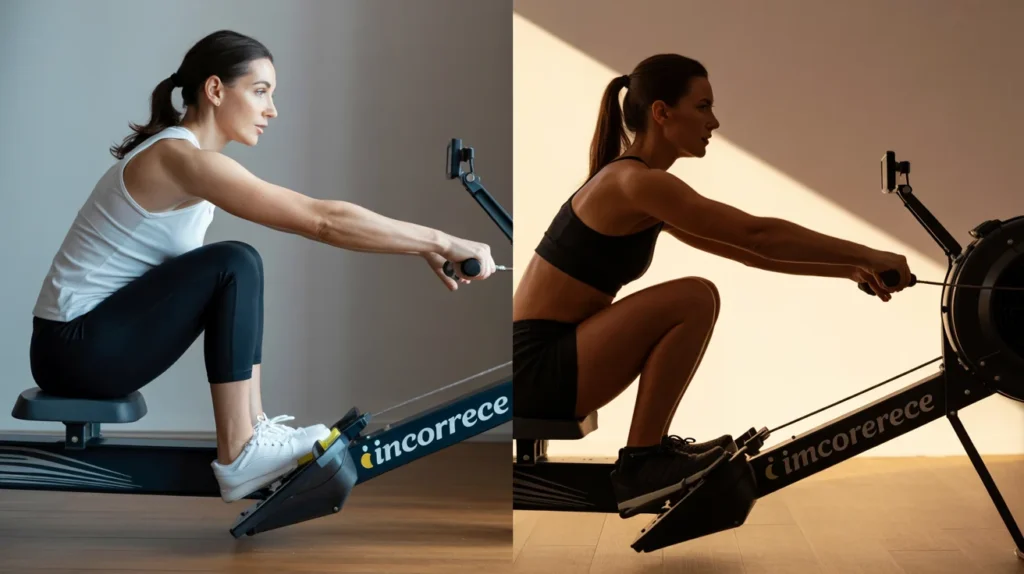
Are you looking for a workout that’s efficient, effective, and easy on your joints? It might be time to discover the power of indoor rowing. This incredible full-body exercise is perfect for busy moms who want to maximize their fitness time without leaving home. Whether you’re new to fitness or searching for a low-impact cardio option, the rowing machine, often called an erg, can be your new best friend.
It engages over 85% of your muscles in a single fluid motion, delivering a comprehensive workout that burns calories, builds strength, and boosts your cardiovascular health. Forget the idea that rowing is just for your arms; this guide will show you how it works your entire body, from your legs and core to your back and shoulders. We will cover everything you need to know to start your journey with confidence.
Key Takeaways
- Indoor rowing is a full-body workout that engages the legs, core, back, and arms.
- It is a low-impact exercise, making it ideal for protecting your joints and for postpartum fitness.
- Proper form is crucial to maximize benefits and prevent injury. The stroke consists of four phases: the catch, drive, finish, and recovery.
- Consistency is more important than intensity when you’re starting out.
- Rowing machines come in different types, such as air, magnetic, water, and hydraulic, each offering a unique feel and resistance.

Why Choose Indoor Rowing? The Full-Body Benefit
One of the biggest advantages of indoor rowing is its ability to provide a true full-body workout. Unlike many other cardio machines that primarily target the lower body, a rowing machine recruits a vast network of muscles. The movement begins with a powerful leg drive, which is responsible for about 60% of the power in each stroke.
Your quadriceps, hamstrings, and glutes do the heavy lifting. As you continue the motion, your core muscles—including your abs and lower back—engage to stabilize your torso and transfer power from your legs to your upper body. Finally, your upper back, shoulders, and arms pull the handle toward your chest, completing the stroke.
This sequence ensures that you are building balanced strength across your entire body, improving muscle tone and endurance simultaneously. It’s an incredibly efficient way to exercise, perfect for moms who have limited time but still want to achieve significant fitness results.

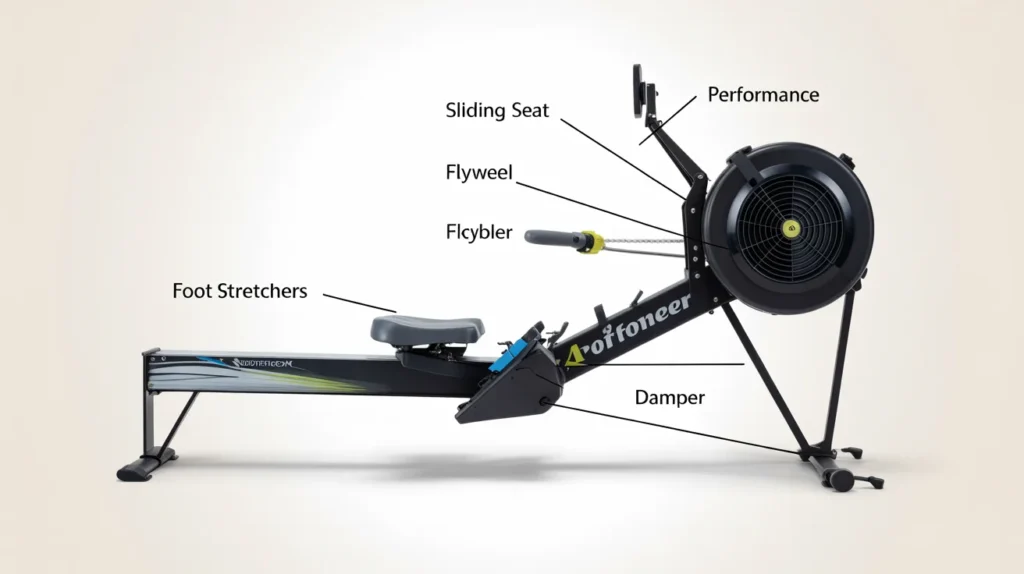
Understanding the Rowing Machine (Erg)
Before you can master your technique, it helps to understand the machine you’re using. The rowing machine, or ergometer (erg for short), has several key parts. You’ll sit on the sliding seat, which allows you to move back and forth along the monorail. Your feet will be secured in the foot stretchers with adjustable straps. The handle is what you pull to generate the rowing motion, and it’s connected to the resistance mechanism by a chain or strap.
The most prominent feature is the flywheel, which generates resistance, and the damper, a lever that controls how much air flows into the flywheel cage on air rowers. It’s important to note the damper setting is not a direct resistance level; it mimics the feel of the boat in the water. A lower setting feels like a sleek, fast racing boat, while a higher setting feels like a slow, heavy rowboat. Lastly, the performance monitor is your command center, displaying vital data like your time, distance, pace (split time), stroke rate, and calories burned.
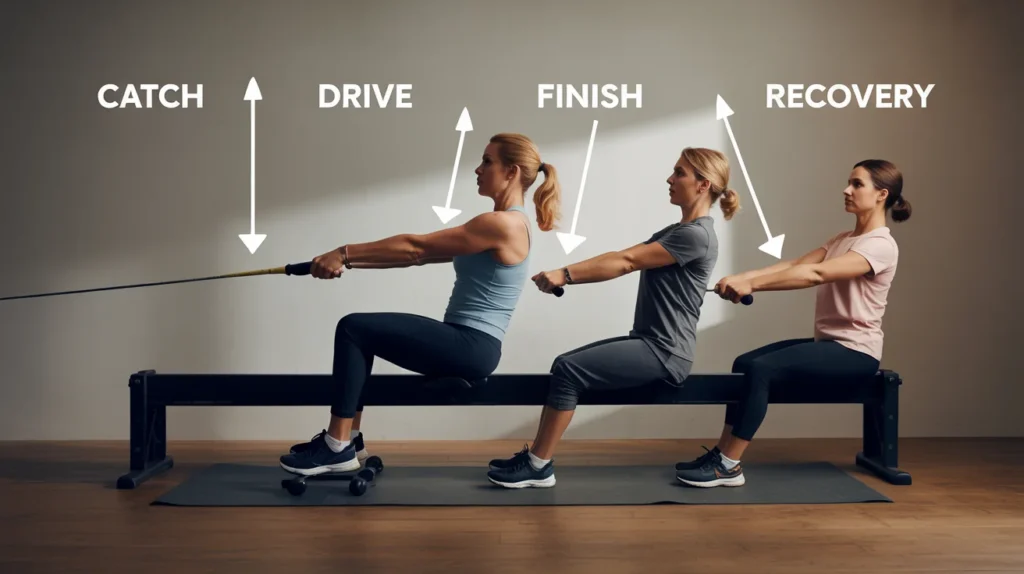
Breaking Down the Perfect Rowing Stroke
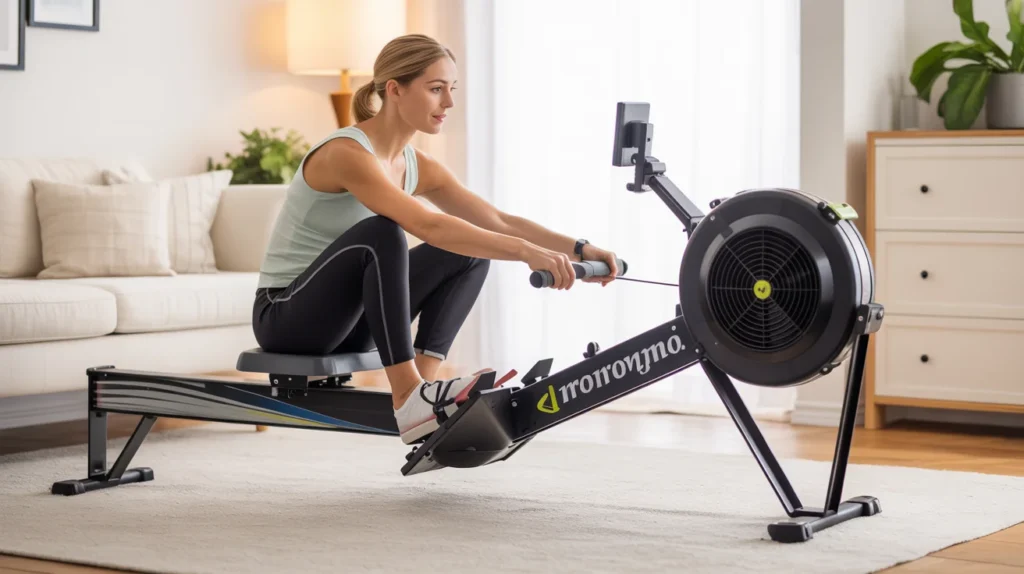
Proper technique is everything in indoor rowing. It not only makes your workout more effective but also protects you from injury. A common mistake beginners make is pulling too much with their arms and rounding their back. The correct stroke is a fluid sequence of four distinct phases:
The Catch
This is your starting position. Sit tall with your shins vertical, arms straight, and your body leaning slightly forward from the hips. Your shoulders should be relaxed, and your core engaged. You are coiled like a spring, ready to release your power.
The Drive
The drive is the “work” phase of the stroke. It starts with a powerful push from your legs. Think “legs, core, arms.” As your legs straighten, your body swings back from the hips, and only then do your arms pull the handle toward your lower ribs. Keep your back straight and your core tight throughout this powerful movement.
The Finish
At the end of the drive, you’ve reached the finish position. Your legs are fully extended, your body is leaning back slightly (think 1 o’clock on a clock face), and the handle is just below your chest. Your shoulders should be down and relaxed, not hunched up by your ears. This is a position of power and control.
The Recovery
The recovery is the reverse of the drive and should take twice as long. It’s your chance to rest and prepare for the next stroke. Extend your arms forward first, then pivot your body forward from the hips, and finally, bend your knees to slide back to the catch position. The motion should be smooth and controlled, not rushed.
Common Mistakes and How to Fix Them
Even with the best intentions, it’s easy to fall into bad habits. Here are a few common mistakes to watch out for. First is the “rounded back.” Many new rowers hunch over, which puts a strain on the lower back. To fix this, focus on sitting tall and pivoting from your hips, keeping your core engaged. Another issue is using your arms too early in the drive.
Remember the mantra: legs, core, arms. Your arms should only pull after your legs have done the majority of the work. Similarly, avoid shooting your slide, which is when your seat moves back before your body and arms. This disconnects the stroke and reduces power. Focus on a coordinated push with the legs while the arms and back remain connected. By being mindful of these common errors, you can develop an efficient and safe indoor rowing technique.
Setting Up Your Rower for Success
Proper setup is essential for a comfortable and effective workout. Start by adjusting the foot stretchers. The strap should cross over the widest part of your foot, typically the ball of your foot. This allows you to pivot your heel slightly during the stroke, which is a natural part of the movement. Next, consider the damper setting.
As a beginner, it’s best to start with a lower damper setting, between 3 and 5 on a Concept2 rower. This lower setting helps you focus on your technique without adding too much resistance, reducing the risk of early fatigue or injury. A common misconception is that a higher damper setting equals a better workout, but it can actually strain your back. The real intensity of your workout comes from how hard you push with your legs, not from the damper.
Your First Rowing Workouts
When you’re just starting, the goal is consistency, not intensity. Your body needs time to adapt to the new movement. Begin with short sessions of 10–15 minutes, focusing entirely on your form. You can try a simple workout like rowing for 2 minutes, followed by 1 minute of rest, and repeating this cycle 5 times.
As you get more comfortable, you can gradually increase the duration of your workouts and decrease your rest periods. Another great beginner workout is to row at a steady, comfortable pace for 2,000 meters. Pay attention to your stroke rate, which is the number of strokes you take per minute (spm). Aim for a controlled cadence between 20 and 26 spm. This helps reinforce good habits and builds your aerobic base without causing burnout.
Creating a Workout Plan That Fits Your Life
As a busy mom, your workout plan needs to be flexible. The beauty of indoor rowing is that even a 20-minute session can be incredibly effective. Try to schedule 2-3 rowing sessions per week. You can mix up your workouts to keep things interesting. One day, you might do a longer, steady-state row for 30 minutes to build endurance. Another day, you could try interval training.
A simple interval workout is to row hard for 1 minute and then row easy for 1 minute, repeating for 15-20 minutes. Interval training is fantastic for boosting your metabolism and improving your cardiovascular fitness in a short amount of time. Listen to your body and don’t be afraid to take an extra rest day when you need it. The best workout plan is one you can stick with consistently.

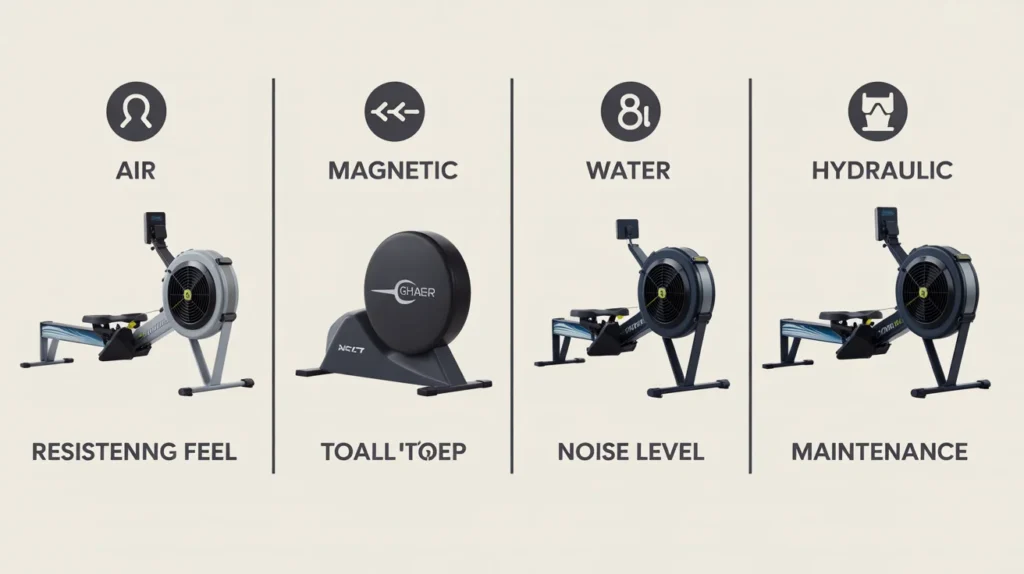
Comparing Different Types of Rowing Machines
Not all rowing machines are created equal. They differ primarily by the type of resistance they use. Understanding these differences can help you choose the right one for your home gym.
| Resistance Type | Feel | Noise Level | Maintenance | Price Range |
|---|---|---|---|---|
| Air | Smooth, responsive; resistance increases with effort | Loud | Low | Mid to High |
| Magnetic | Quiet, consistent; manually adjusted resistance | Very Quiet | Very Low | Low to Mid |
| Water | Mimics on-water rowing with a “whooshing” sound | Moderate | Moderate | High |
| Hydraulic | Less smooth; resistance from pistons | Quiet | Low | Low |
Air rowers, like the popular Concept2, are favored by competitive rowers for their responsive feel. Magnetic rowers are great for home use because they are quiet. Water rowers provide a unique, meditative experience with the sound of sloshing water. Hydraulic rowers are often more compact and budget-friendly, making them a good choice for small spaces.
The Importance of Warm-Up and Cool-Down
Never skip your warm-up and cool-down. A proper warm-up prepares your body for exercise, increasing blood flow to your muscles and gently raising your heart rate. Start with 5-10 minutes of light rowing at a very low intensity, focusing on the correct stroke sequence. You can also incorporate some dynamic stretches like torso twists and leg swings. A good warm-up reduces your risk of injury and makes your workout feel better.
After your session, a cool-down is just as important. Spend 5 minutes rowing at a very easy pace to allow your heart rate to return to normal gradually. Then, perform some static stretches, holding each stretch for 20-30 seconds. Focus on your hamstrings, glutes, quads, and upper back. This helps improve flexibility and can reduce muscle soreness. For guidance on safe exercise, refer to resources like the Physical Activity Guidelines for Americans.
Tracking Your Progress and Staying Motivated
The performance monitor on your rower is a powerful tool for motivation. It provides instant feedback and allows you to track your improvement over time. Key metrics to watch are your split time (the time it takes to row 500 meters), your total distance, and your average watts. As you get fitter, you’ll see your split time decrease and your average watts increase for the same level of effort. Setting small, achievable goals can keep you motivated.
For example, you could aim to beat your 2,000-meter time by a few seconds each month. Many rowing machines also have online communities or apps where you can log your workouts, join challenges, and connect with other rowers. This sense of community can be a huge motivator, helping you stay on track with your fitness journey. Mastering the technique can take time, and a resource like USRowing’s technique page can be very helpful.
Conclusion
Starting your indoor rowing journey is an exciting step toward a healthier, stronger you. This low-impact, high-efficiency workout is perfectly suited for a busy mom’s lifestyle, offering a way to build strength and cardiovascular fitness in one comprehensive session. Remember to focus on mastering the correct form first—legs, core, then arms.
Start with short, consistent workouts and gradually build your endurance. By setting up your machine correctly, warming up properly, and listening to your body, you will create a safe and sustainable fitness habit. You have the power to transform your health and well-being right from your own home. Embrace the rhythm of the rower and enjoy the incredible benefits that follow.

Frequently Asked Questions (FAQ)
Q1: Is indoor rowing good for weight loss?
A: Yes, indoor rowing is excellent for weight loss. It’s a high-intensity, full-body workout that burns a significant number of calories. Combined with a healthy diet, it can be a very effective tool for managing your weight.
Q2: How long should a beginner row for?
A: Beginners should start with shorter sessions of about 10–20 minutes, 2-3 times per week. The main focus should be on maintaining good form rather than rowing for a long time. You can gradually increase the duration as your fitness and technique improve.
Q3: Can I do indoor rowing if I have a bad back?
A: Because rowing strengthens the core and back muscles, it can be beneficial for some people with back issues. However, it’s crucial to use proper form to avoid straining your back. If you have a pre-existing back condition, you should consult with your doctor or a physical therapist before starting.
Q4: Do I need special shoes for rowing?
A: You don’t need special rowing shoes. A pair of standard athletic trainers with a relatively flat, firm sole is ideal. Avoid shoes with a thick, cushioned heel, as they can sometimes interfere with आपका natural foot movement during the stroke.