Introduction: The Unspoken Side of Motherhood
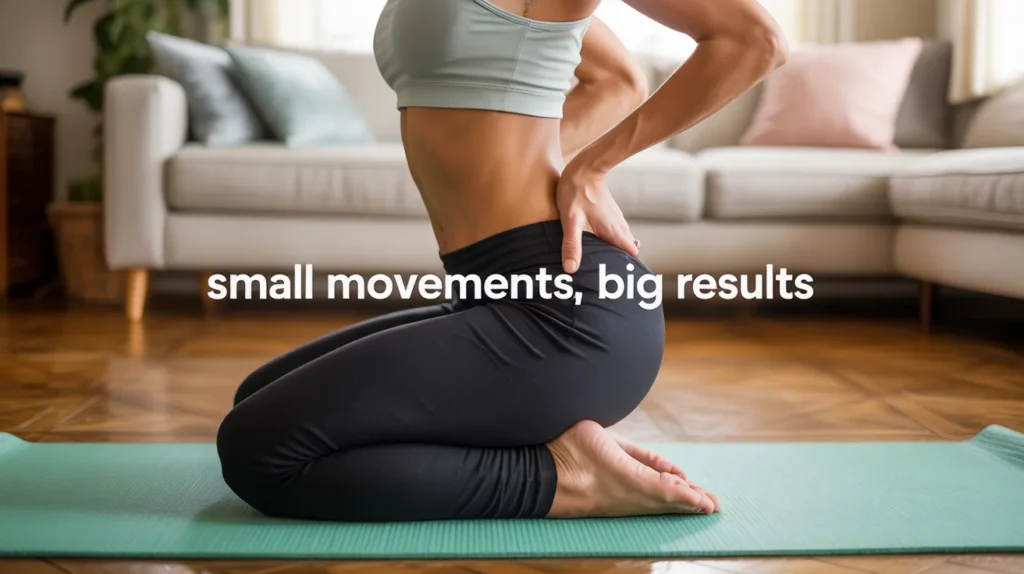
Motherhood is a beautiful, transformative journey, but let’s be real—it comes with some less glamorous surprises. One of the most common, yet least talked about, postpartum issues is incontinence. That little leak when you laugh, sneeze, or chase after your toddler isn’t a punchline; it’s a frustrating reality for far too many moms.
The good news is you don’t have to just live with it. Forget everything you thought you knew about pelvic floor exercises. This isn’t about endless, boring Kegels. We’re diving into modern, effective movements that rebuild strength and confidence in minutes, perfectly designed for a busy mom’s life. With a little guidance and consistency, you can take back control and say goodbye to those unexpected leaks for good.

The Modern Pelvic Floor: Beyond the Kegel
While traditional Kegels are a useful tool, modern pelvic floor physical therapists advocate for a more holistic approach. The pelvic floor doesn’t work in isolation; it functions with your core and diaphragm. The exercises below are designed to improve this coordination, offering a more functional and long-lasting solution than simple squeezing. They require no equipment and can be integrated into your busy day, whether the baby is napping or you have a few minutes of quiet time. Consistency is key, and with these quick solutions, it’s easier than ever to prioritize your recovery.
The Pelvic Clock
How to do it: Lie on your back with your knees bent and feet flat on the floor. Imagine a clock face on your abdomen, with your pubic bone at 6 o’clock and your belly button at 12 o’clock. Gently tilt your pelvis, rolling it toward 12 o’clock, then to 6 o’clock. Next, roll it from 3 o’clock to 9 o’clock. Focus on making small, gentle movements, and then make small clockwise circles, followed by counter-clockwise circles. The movement should be smooth and controlled, not a sudden jerk.
Benefits: This exercise builds awareness of your pelvic movements and increases the mobility of the lower back and pelvis. It helps you learn to isolate the muscles of the pelvic floor and core, which is essential for proper engagement. It’s a foundational movement that helps reconnect the mind to the muscles, a crucial step in recovery.
How to Maximize it: Perform this exercise slowly and with intention. Focus on your breathing, exhaling as you engage your core. Don’t rush the movement. The goal is coordination and control, not speed. As you progress, you can add slightly larger movements, but always stay within a comfortable range of motion.
The Clamshell with Core Connection
How to do it: Lie on your side with your hips stacked and knees bent at a 45-degree angle. Keep your feet together. Inhale deeply, and as you exhale, gently lift your top knee, feeling the glute and hip engage, along with a gentle activation of the pelvic floor. The key is to keep your hips perfectly stacked, so only lift the knee as high as you can without rolling your pelvis backward. Inhale to lower the knee back down with control.
Benefits: The clamshell is a fantastic exercise for strengthening the glutes and outer hips, which provide crucial support to the pelvic floor. It helps build stability in the pelvis and lower back, easing common postpartum discomfort. The emphasis on core connection prevents relying on the wrong muscles.
How to Maximize it: Place a hand on your hip to ensure it doesn’t roll back as you lift your knee. For an added challenge, place a resistance band around your knees. This will force your muscles to work harder and more efficiently. Start with 10-15 repetitions per side.

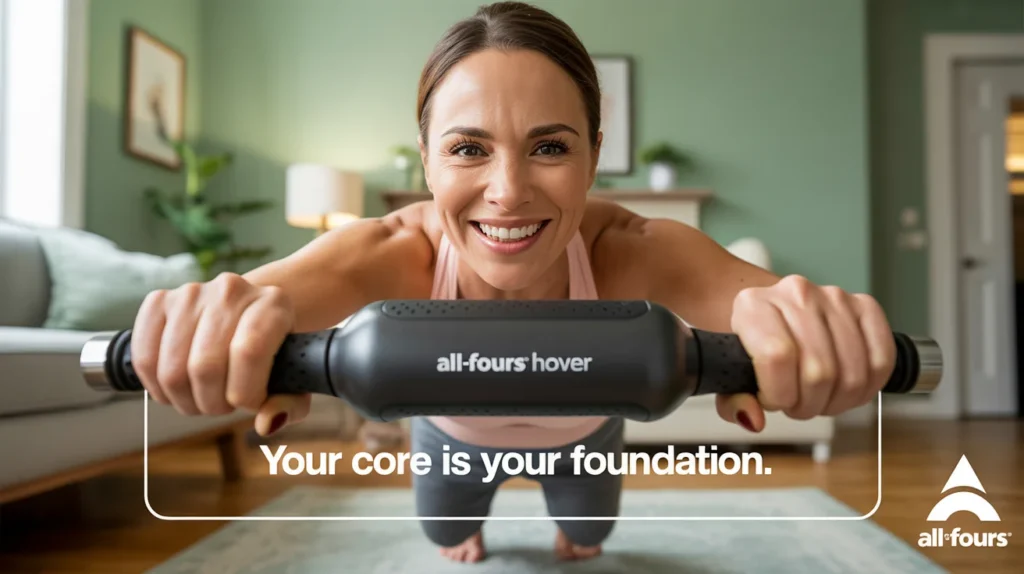
The All-Fours Hover
How to do it: Start on all fours with your hands under your shoulders and knees under your hips. Inhale deeply. As you exhale, gently engage your pelvic floor and core and lift your knees just one or two inches off the floor. The goal is to hold this hover position for a few seconds before lowering the knees back down with control. Your back should remain flat, like a tabletop.
Benefits: This is a modern, high-payoff exercise that trains your entire deep core system, including the pelvic floor, in a functional and challenging way. It improves core endurance and stability, helping to prepare your body for the physical demands of motherhood, like lifting and carrying your baby.
How to Maximize it: The hover should be small and controlled. If you find your back rounding or your hips swaying, lower your knees and focus on perfect form. Try to hold the position for an increasing amount of time, starting with 5 seconds and working your way up.
The Reverse Kegel (Pelvic Floor Release)
How to do it: Finding and releasing your pelvic floor is just as important as strengthening it. Lie comfortably on your back with your knees bent. Inhale deeply into your belly, allowing your diaphragm to expand and your pelvic floor to relax and lengthen. Imagine a flower blooming. As you exhale, gently let all the tension go. Focus on the feeling of dropping the pelvic floor rather than squeezing it.
Benefits: Many postpartum issues, including incontinence, can be caused by a pelvic floor that is too tight, not just weak. This exercise teaches your muscles to relax and release, which is a crucial skill for preventing strain and improving overall function. It can also help relieve pelvic pain and discomfort.
How to Maximize it: Combine this with diaphragmatic breathing. Place a hand on your belly to feel it rise and fall with each breath. The mindful focus on relaxing the muscles is the key to this exercise. Practice for a few minutes daily, especially if you feel tension in your pelvic area.

The Cat-Cow Flow with Pelvic Tilt
How to do it: Get on your hands and knees in a comfortable drawing room. Your hands should be under your shoulders and knees under your hips. As you exhale, pull your belly button toward your spine and tuck your tailbone under, rounding your back into a “cat” position. As you inhale, drop your belly toward the floor and lift your gaze and tailbone, creating a “cow” position. Synchronize the movement with your breath, adding a gentle pelvic floor contraction on the exhale and a complete release on the inhale.
Benefits: This classic exercise increases spinal mobility and coordination between the diaphragm, core, and pelvic floor. It helps to release tension in the lower back and improves circulation to the pelvic area, promoting healing. It’s a gentle yet powerful way to integrate breath and movement.
How to Maximize it: The key is to move slowly and fluidly, connecting each movement to your breath. Don’t rush through the transitions. As you exhale and round your back, visualize a string gently lifting your pelvic floor upward.

Your Quick-Start, Consistent Routine for Success
The best exercise plan is the one you can stick to. For busy moms, that means a routine that is fast, flexible, and effective.
- Make it a Habit: Attach your pelvic floor exercises to a daily activity you already do, like feeding the baby, brushing your teeth, or drinking your morning tea.
- Start Small: Begin with just 5-10 minutes a day. Even small, consistent efforts yield big results over time.
- Focus on Form: It’s not about how many reps you do, but how well you do them. Always prioritize proper form and a strong mind-body connection.
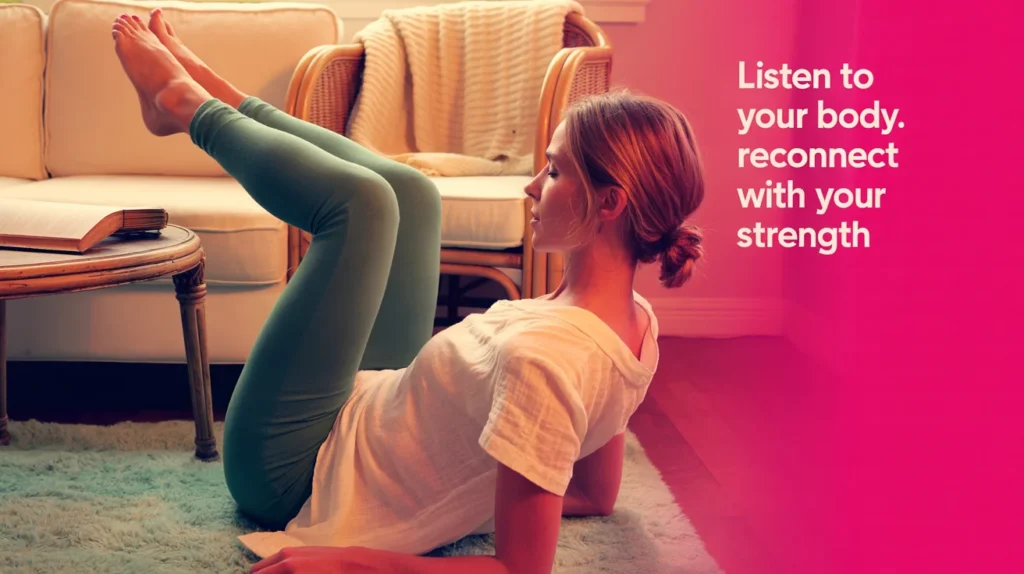
- Listen to Your Body: Postpartum recovery is not a race. If you feel pain, stop. Consult a pelvic floor physical therapist if your symptoms don’t improve after a few weeks.

Conclusion: Taking Control, One Moment at a Time
Postpartum incontinence can feel isolating, but it’s a completely normal part of the journey. By dedicating just a few minutes a day to these modern and effective pelvic floor exercises, you are not just treating a symptom—you are actively participating in your own recovery. This isn’t just about stopping leaks; it’s about rebuilding your core, regaining confidence, and feeling strong in your postpartum body. So, find your mint green space, take a deep breath, and start your journey. You deserve to feel strong and in control.