Introduction
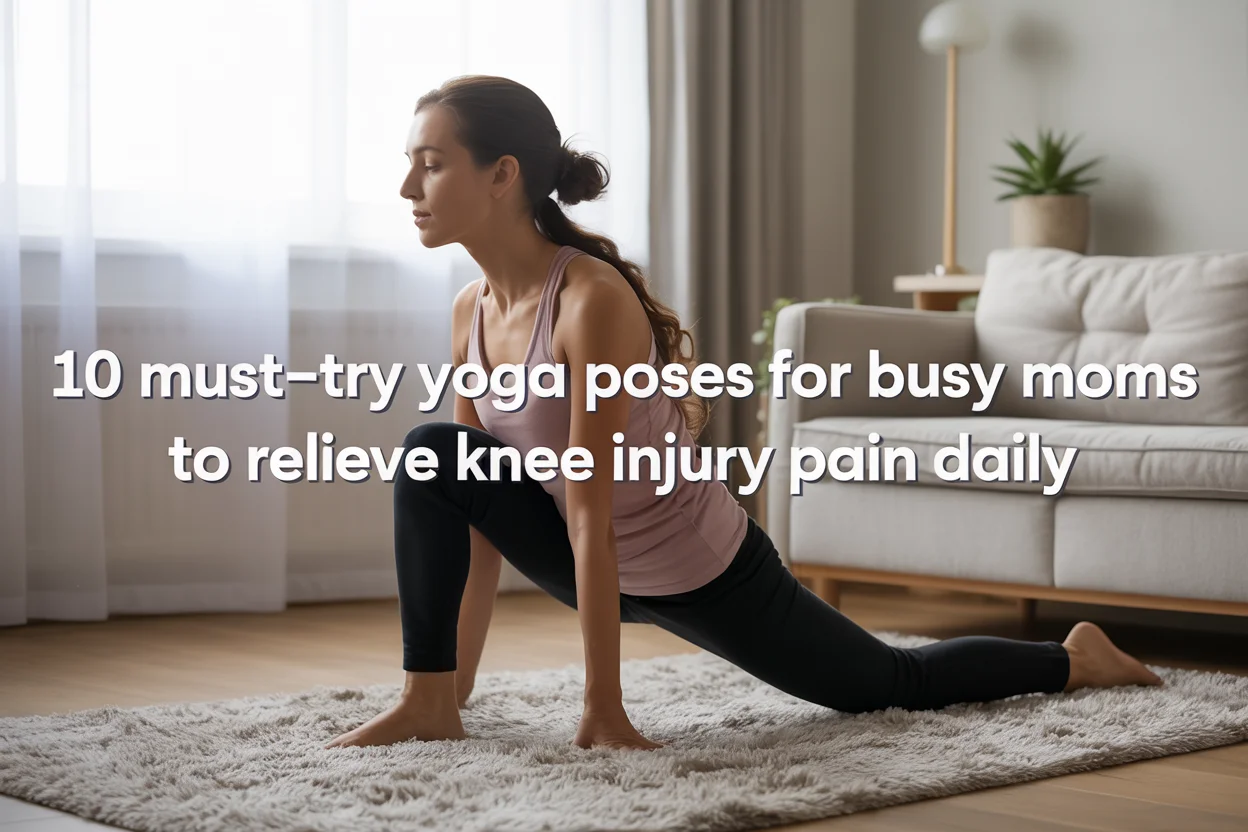
Being a mom is a full-contact sport. From chasing toddlers to carrying groceries and lifting little ones, your body is constantly in motion. This non-stop activity can sometimes lead to aches and pains, particularly in the knees.
If you’re dealing with Knee Injury discomfort, finding time for self-care can feel impossible. The good news is that you don’t need hours at a gym to find Knee Injury pain relief. A gentle yoga practice can work wonders for strengthening the muscles around your knees, improving flexibility, and easing pain.

This guide is designed specifically for busy moms like you. We will explore ten simple yet powerful yoga poses that can be done at home, even on the most hectic days. These poses will help you build strength, find relaxation, and support your knees, empowering you to keep up with your busy life with greater comfort and ease.
Key Takeaways
- Yoga can strengthen the muscles that support the Knee Injury joint, which is crucial for preventing and managing pain.
- Gentle, modified poses can provide significant relief without putting extra strain on sensitive knees.
- Consistency is more important than intensity. A short, daily practice is more effective than a long, infrequent one.
- Always listen to your body and avoid any movements that cause sharp pain.
Understanding Knee Pain and How Yoga Can Help
Knee pain can stem from various sources, including overuse, improper alignment, weak muscles, or a past knee injury. For many moms, the constant bending, lifting, and squatting of daily life can put significant stress on the knee joints.
The muscles that support the knee—the quadriceps (front of the thigh), hamstrings (back of the thigh), and glutes—play a vital role in keeping the joint stable. When these muscles are weak or tight, the knee has to work harder, increasing the risk of pain and discomfort.
Yoga offers a two-part solution. First, it helps strengthen these essential supporting muscles. Poses like Warrior II and Chair Pose build power in the legs and glutes, creating a stronger support system for your knees. Second, yoga improves flexibility in the hamstrings and hip flexors.
Tightness in these areas can pull on the knee and disrupt proper alignment. By gently stretching these muscles, you can reduce tension and promote better joint mechanics. This approach helps manage current discomfort and can prevent a future knee injury.
Getting Started: Tips for a Safe Practice
Before you begin, it’s important to set yourself up for a safe and effective practice. The goal is to feel better, not worse, so paying attention to your body’s signals is key.
- Listen to Your Body: This is the most important rule in yoga. If a pose causes sharp or shooting pain, back off immediately. Mild discomfort during a stretch is normal, but pain is a signal to stop.
- Use Props: Don’t be shy about using props. A folded blanket under your knees can provide cushioning, while yoga blocks can bring the floor closer to you in certain poses. A sturdy chair is also a great tool for balance and support.
- Warm-Up: Spend a few minutes warming up your body before you start. Gentle movements like marching in place or doing a few cat-cow stretches can prepare your muscles and joints for the practice.
- Focus on Alignment: Pay close attention to how your body is positioned. In standing poses, try to keep your knee aligned directly over your ankle, not drifting inward or outward. Proper alignment protects your joints from unnecessary strain.

10 Yoga Poses for Knee Pain Relief
Here are ten accessible yoga poses that are perfect for busy moms looking to support their knees. Remember to breathe deeply and move slowly.
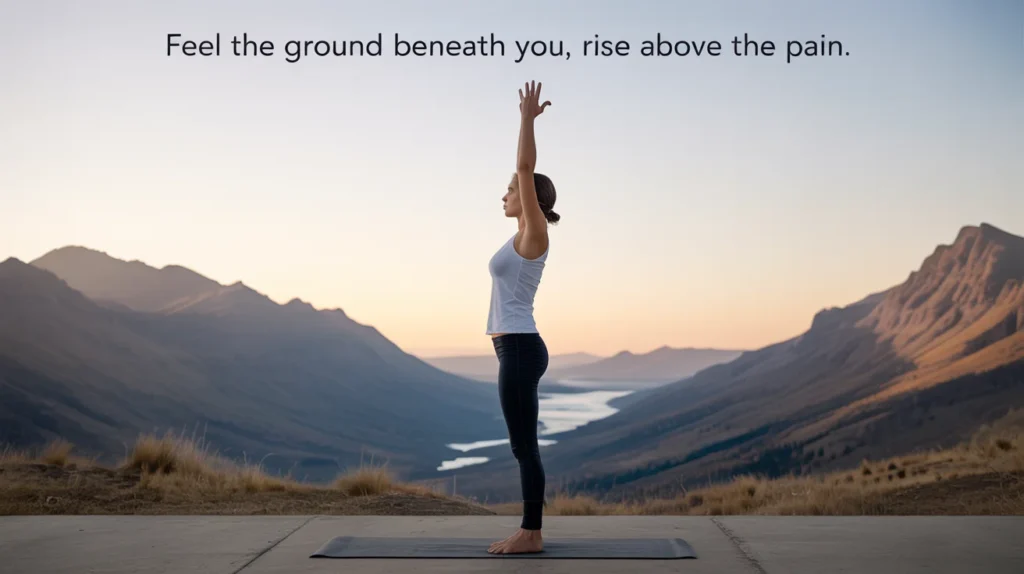
1. Mountain Pose (Tadasana)
Why it helps: It may look simple, but Mountain Pose is the foundation for all standing poses. It teaches you proper alignment, helps you engage your leg muscles, and improves your posture, all of which contribute to healthier knees.
How to do it: Stand with your feet hip-width apart. Spread your toes and press all four corners of your feet into the floor. Engage your thigh muscles to lift your kneecaps slightly. Keep your core engaged, your shoulders relaxed down your back, and your arms by your sides with palms facing forward. Hold for 5-8 deep breaths.
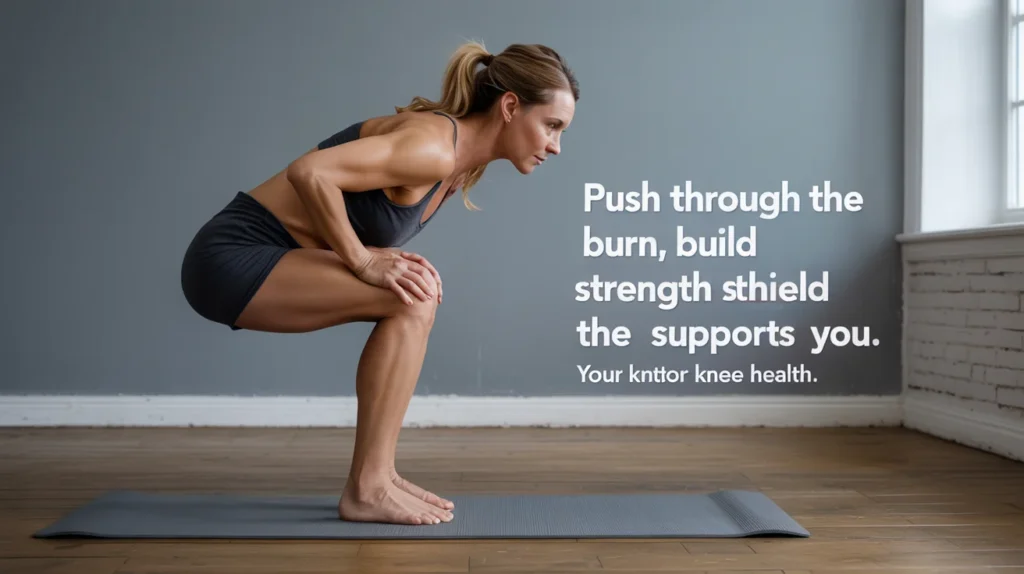
2. Chair Pose (Utkatasana)
Why it helps: This pose is a fantastic way to strengthen your quadriceps, glutes, and shins. Building strength in these areas provides better support for the knee joint. It’s like building a natural brace for your knees.
How to do it: From Mountain Pose, inhale and raise your arms overhead. As you exhale, bend your knees and sink your hips back and down, as if you’re sitting in a chair. Keep your weight in your heels and make sure you can see your toes. Hold for 3-5 breaths. If you have a history of a knee injury, start with a smaller bend and gradually go deeper as you build strength.
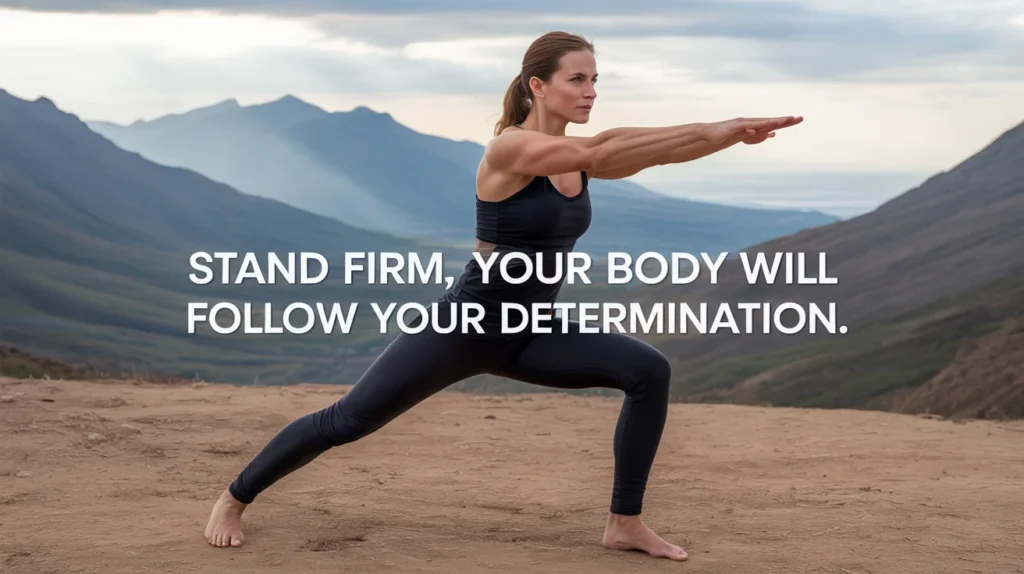
3. Warrior II (Virabhadrasana II)
Why it helps: Warrior II strengthens the inner and outer thighs, glutes, and ankles. It also opens up the hips and groin, which can relieve pressure on the knees.
How to do it: Step your feet wide apart, about 3-4 feet. Turn your right foot out 90 degrees and your left foot in slightly. Bend your right knee so it is directly over your right ankle. Extend your arms parallel to the floor. Gaze over your right fingertips. Hold for 5 breaths, then repeat on the other side.
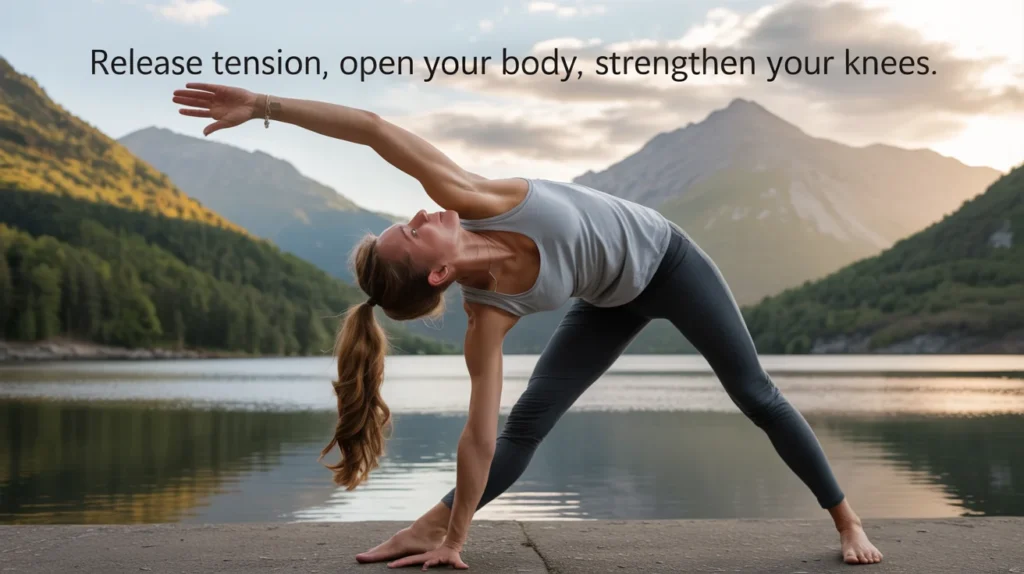
4. Triangle Pose (Trikonasana)
Why it helps: Triangle Pose strengthens the legs, especially the quadriceps, while stretching the hamstrings and hips. It promotes stability in the knee by engaging the surrounding muscles without putting direct pressure on the joint.
How to do it: From your Warrior II stance with the right leg forward, straighten your right leg. Inhale and reach forward, then exhale and bring your right hand down to your shin, a block, or the floor. Extend your left arm up to the sky. Keep both legs engaged. Hold for 5 breaths and switch sides.
5. Bridge Pose (Setu Bandhasana)
Why it helps: Bridge Pose is excellent for activating the glutes and hamstrings. Strong glutes are critical for knee health because they help control the movement of the thigh bone, preventing it from rotating inward and stressing the knee. This is particularly helpful for recovery from a knee injury.
How to do it: Lie on your back with your knees bent and feet flat on the floor, hip-width apart. Your arms should be alongside your body. Press into your feet and lift your hips off the floor. Clasp your hands underneath you if possible. Hold for 5-8 breaths, then slowly lower down.
6. High Lunge (Ashta Chandrasana)
Why it helps: High Lunge strengthens the quads and glutes of the front leg while stretching the hip flexor of the back leg. Tight hip flexors can pull the pelvis out of alignment and contribute to knee pain.
How to do it: From Mountain Pose, step your left foot back into a lunge. Keep your back leg straight and your heel lifted. Bend your front knee to 90 degrees, keeping it aligned over your ankle. Raise your arms overhead. Hold for 5 breaths and repeat on the other side.
7. Staff Pose (Dandasana) with a Strap
Why it helps: This pose seems simple but effectively engages the quadriceps in a safe, non-weight-bearing position. Adding a strap to stretch the hamstrings can relieve tightness that pulls on the back of the knee.
How to do it: Sit on the floor with your legs extended in front of you. Sit up tall. Flex your feet and press the backs of your thighs into the floor to engage your quads. If your hamstrings are tight, loop a strap around your feet and gently pull to deepen the stretch without rounding your back. Hold for 5-8 breaths.
8. Reclined Hand-to-Big-Toe Pose (Supta Padangusthasana)
Why it helps: This is a safe and effective way to stretch the hamstrings without putting any pressure on the knees. It’s a wonderful alternative to a standing forward fold, especially if you’re managing a knee injury.
How to do it: Lie on your back. Bend your right knee into your chest and loop a yoga strap (or a towel) around the ball of your right foot. Extend your leg up toward the ceiling, keeping it as straight as you comfortably can. Hold the stretch for 30-60 seconds. Repeat on the left side.
9. Legs-Up-the-Wall Pose (Viparita Karani)
Why it helps: This restorative pose helps reduce swelling and fatigue in the legs and feet. It promotes circulation and gives your knees a complete break from bearing weight. It’s the perfect way to unwind after a long day.
How to do it: Sit sideways next to a wall. Swing your legs up the wall as you lie back on the floor. Your hips can be right against the wall or a few inches away. Rest your arms by your sides and close your eyes. Stay here for 5-10 minutes.

10. Corpse Pose (Savasana)
Why it helps: Savasana allows your body to integrate the benefits of the practice. It reduces stress, calms the nervous system, and gives your muscles—including those around your knees—a chance to fully relax and repair.
How to do it: Lie on your back with your legs slightly apart and your arms resting by your sides, palms up. You can place a rolled-up blanket under your knees to take any pressure off your lower back and further relax the knee joint. Close your eyes and rest for at least 5 minutes.
Comparing Yoga Poses for Knee Strength vs. Flexibility
Both strength and flexibility are key to healthy knees. Here’s a quick comparison of which poses target which aspect:
| Pose | Primary Benefit | Muscles Targeted |
|---|---|---|
| Chair Pose | Strength | Quadriceps, Glutes, Calves |
| Warrior II | Strength | Quadriceps, Glutes, Inner Thighs |
| Bridge Pose | Strength | Glutes, Hamstrings |
| Triangle Pose | Flexibility | Hamstrings, Hips, Groin |
| Reclined Hand-to-Big-Toe | Flexibility | Hamstrings, Calves |
Creating a Consistent Routine
The biggest challenge for any busy mom is finding the time. The key is to aim for consistency, not perfection. Even 10-15 minutes a day can make a huge difference. Try linking your yoga practice to an existing habit.
For example, do a few poses right after you wake up or while the kids are having their screen time. Don’t feel you have to do all ten poses every day. Pick 3-4 that feel best for your body. The goal is to create a sustainable habit that supports your well-being. A consistent practice is the best way to manage knee pain and prevent a recurring knee injury.
Conclusion: Take a Step Toward Pain-Free Knees
As a mom, you give so much of yourself every day. Taking a few minutes to care for your body isn’t a luxury; it’s a necessity. Incorporating these ten yoga poses into your daily routine can provide powerful relief from knee pain by strengthening supporting muscles and increasing flexibility.
Remember to start slowly, listen to your body, and celebrate the small steps you take toward feeling stronger and more comfortable. By investing in your own well-being, you are better equipped to handle all the joys and challenges of motherhood. Your knees will thank you.
For more information on the benefits of yoga for joint health, you can explore resources from Johns Hopkins Medicine or the National Center for Complementary and Integrative Health.
Frequently Asked Questions (FAQ)
Q1: Can I do yoga if I have a serious knee injury?
A: If you have a serious or recent knee injury, it is essential to consult with your doctor or a physical therapist before starting any new exercise program, including yoga. They can advise you on which movements are safe for your specific condition.
Q2: How long will it take to see results?
A: Results vary for everyone, but with consistent practice (3-5 times per week), many people begin to feel a noticeable improvement in strength and a reduction in pain within a few weeks.
Q3: What if I can’t do a pose exactly as described?
A: That’s completely fine! Yoga is not about creating perfect shapes. Use props like blocks, blankets, or a chair to modify poses to suit your body. The goal is to get the benefit of the pose without causing strain.
Q4: Is some knee-clicking normal during yoga?
A: Occasional clicking or popping in the knees without pain (crepitus) is often harmless. However, if the sound is accompanied by pain, swelling, or a locking sensation, you should stop and consult a healthcare professional.
Q5: Can yoga cure my knee arthritis?
A: While yoga cannot cure arthritis, numerous studies show it can significantly help manage symptoms. Gentle yoga can reduce pain, improve function, and boost mood for those with arthritis. A study from the National Institutes of Health supports the use of yoga for managing arthritis symptoms.