Introduction
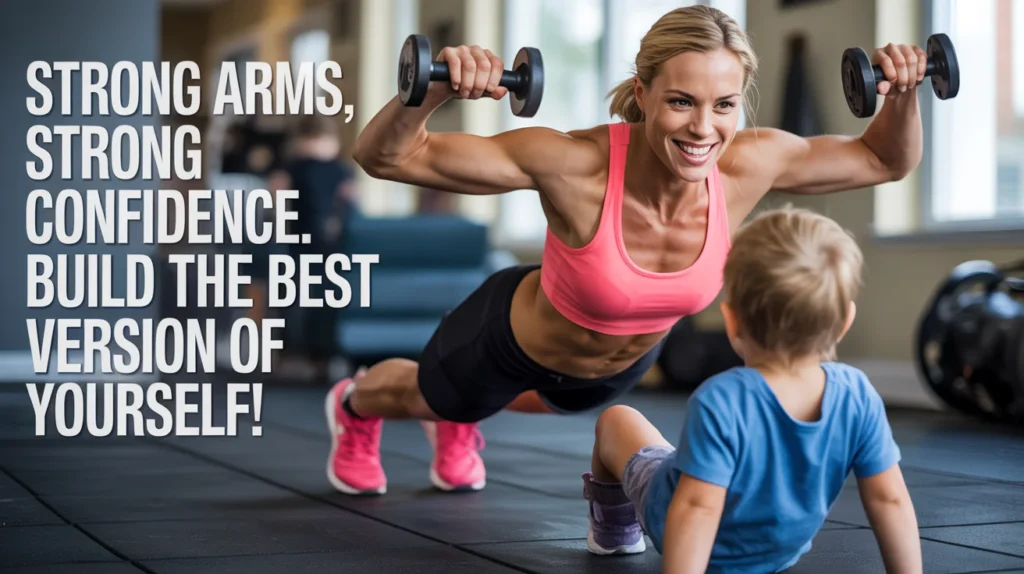
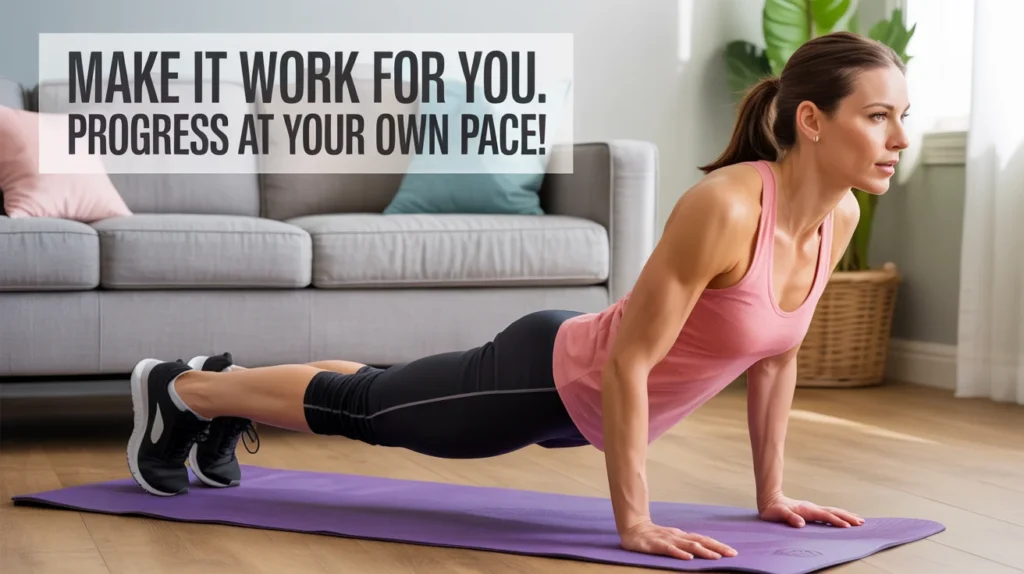
As a busy mom, you know how challenging it can be to carve out time for yourself amidst daily responsibilities. But working on your fitness doesn’t have to take hours at the gym. Tricep Dips are a quick and effective way to target the back of your arms, strengthen your triceps, and get toned without needing any fancy equipment.
Whether you’re looking to tighten up your arms after pregnancy or simply add a new exercise to your routine, tricep dips are a great choice. In this guide, we’ll walk you through how to do Tricep Dips correctly and why they’re a must for moms at any fitness level.

What Are Tricep Dips?
Tricep Dips are a bodyweight exercise that primarily targets your triceps, the muscles located on the back of your upper arms. This move is simple but highly effective, helping to sculpt and tone your arms. Tricep dips can be done using a sturdy surface such as a bench, chair, or even the edge of your couch. This exercise works your arms, shoulders, and chest while improving overall upper body strength.
- Targets the Triceps: Focuses on toning and strengthening the back of your arms.
- Engages Core Muscles: Helps improve overall stability by engaging your core.
- No Equipment Needed: You only need a stable surface, making it easy to do at home.

Why Should Moms Try Tricep Dips?
As a mom, having strong, toned arms can help you feel more confident, especially as you’re lifting your kids, carrying groceries, and managing daily tasks. Here’s why Tricep Dips should be part of your fitness routine:
- Quick and Effective: Tricep dips are a time-efficient exercise that can be done in just a few minutes, making them perfect for busy moms.
- No Special Equipment Needed: You don’t need any fancy gym equipment. You can use a chair, bench, or even a low step around the house.
- Arm and Shoulder Strength: Strong triceps are key to lifting, pushing, and pulling, which can improve daily activities like picking up kids, carrying bags, and even doing push-ups.
- Tones Your Arms: If you’re looking to get rid of flabby arms or simply want to tighten up your upper body, tricep dips are the go-to move.
How to Do Tricep Dips: Step-by-Step
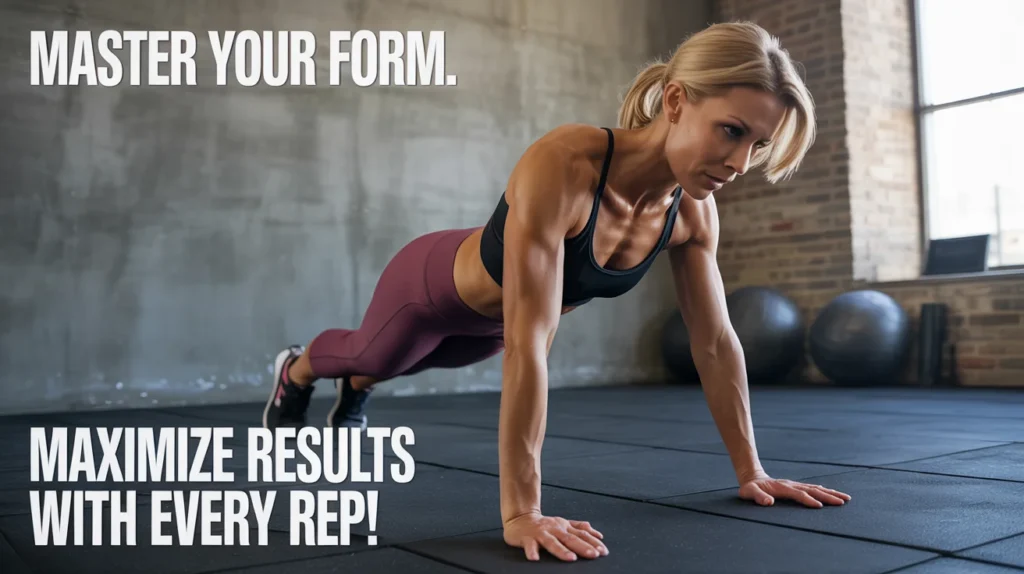
Doing Tricep Dips correctly is key to maximizing the benefits and avoiding injury. Follow these easy steps to perform the exercise with perfect form:
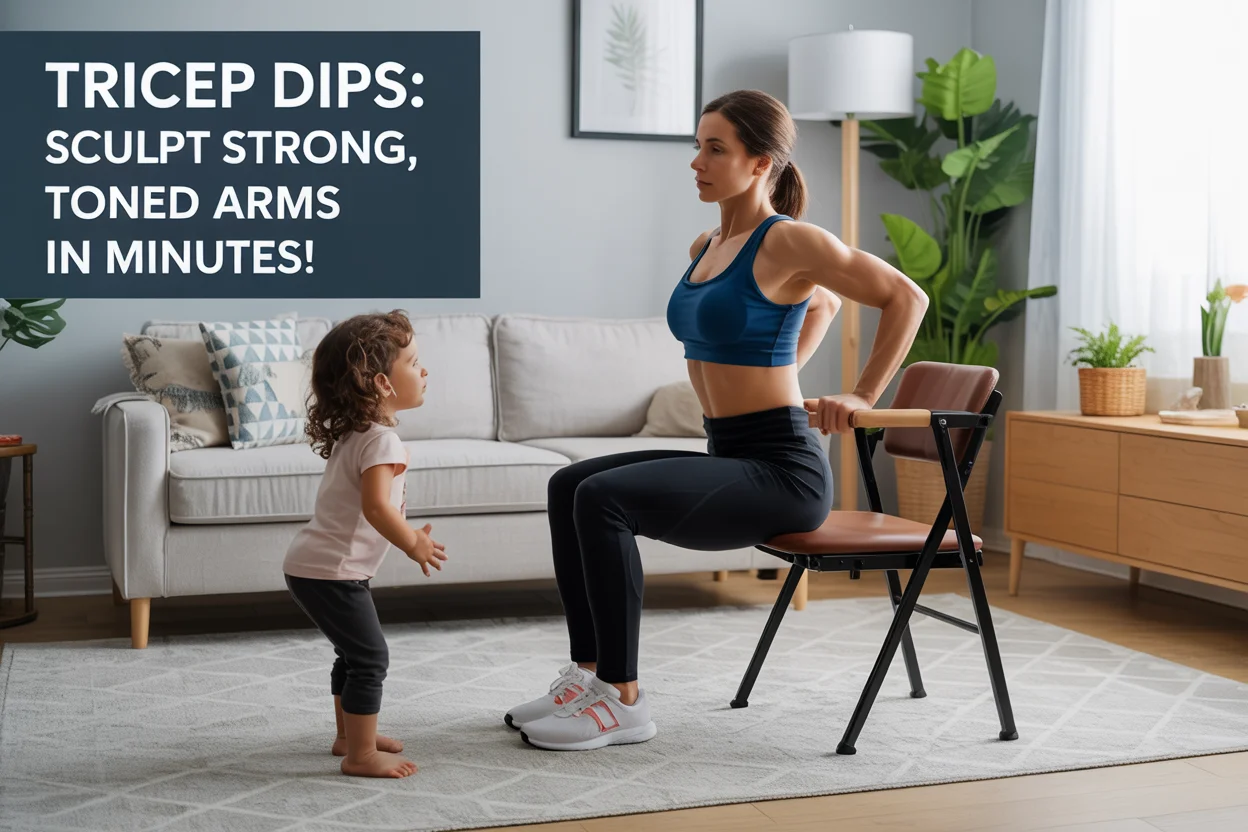
Step 1: Find a Stable Surface
Choose a stable surface like a chair, bench, or sturdy edge of a couch. Place your hands on the edge, shoulder-width apart, with your fingers pointing forward.
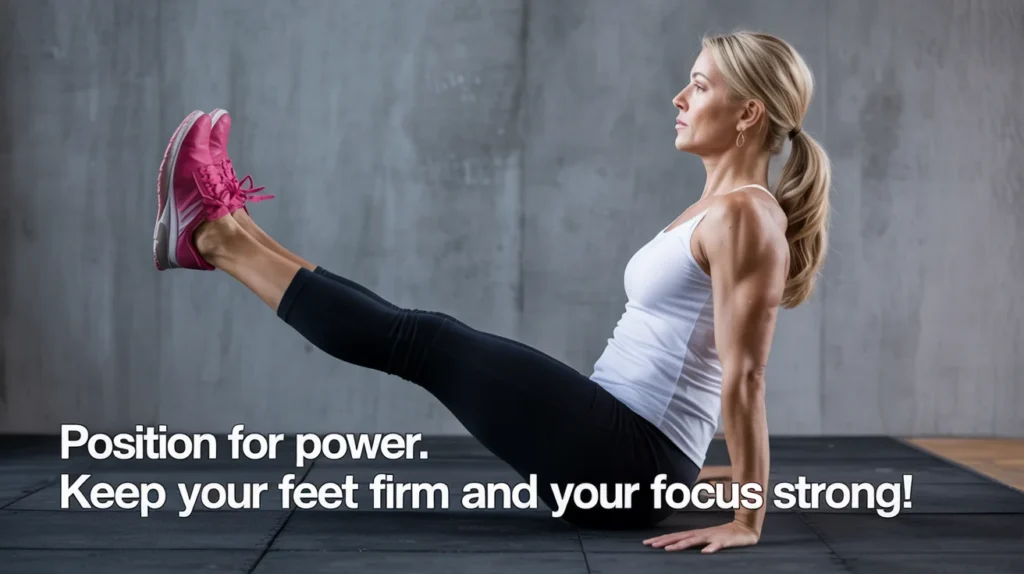
Step 2: Position Your Feet
Sit on the edge of the surface, and extend your legs out in front of you with your heels on the floor. Your legs should be slightly bent. The closer your feet are to your body, the easier the exercise will be, while extending your legs will make it more challenging.
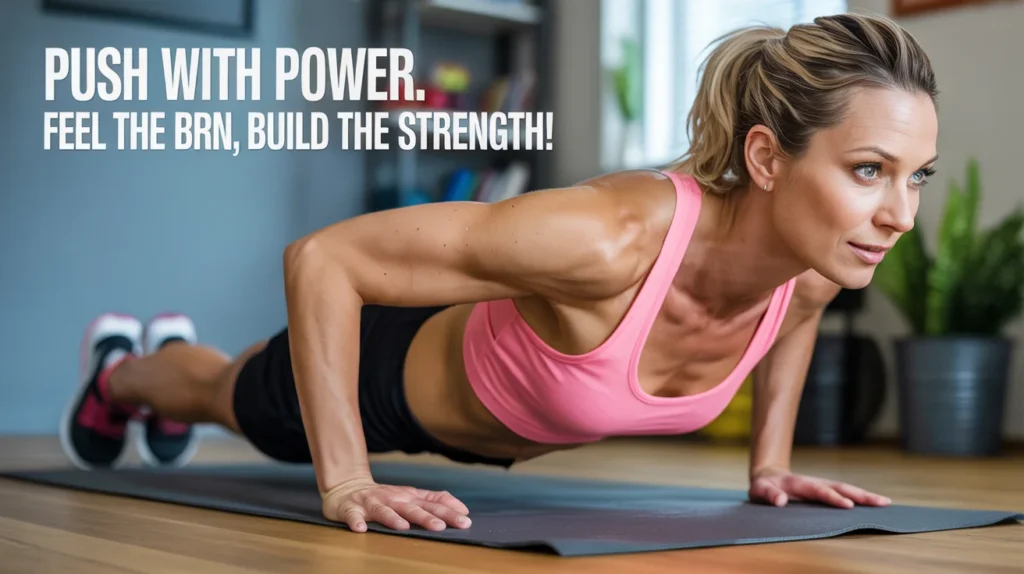
Step 3: Lower Your Body
Bend your elbows at a 90-degree angle and slowly lower your body down toward the floor. Keep your back close to the surface and avoid letting your shoulders shrug up toward your ears.

Step 4: Push Up
Once your arms are bent to about 90 degrees, push through your palms to raise your body back up to the starting position. Focus on using your triceps to do the work rather than relying on your shoulders or chest.
Step 5: Repeat
Perform the desired number of reps, ensuring you maintain good form throughout each dip.
Common Mistakes to Avoid
To make the most of your Tricep Dips and avoid injury, here are some mistakes to watch out for:
- Elbows Flaring Out: Keep your elbows pointing straight back, not out to the sides. This keeps the focus on your triceps and prevents unnecessary strain on your shoulders.
- Shoulders Too High: Keep your shoulders down and away from your ears. Shrugging your shoulders can cause tension in your neck and shoulders, reducing the effectiveness of the exercise.
- Going Too Low: Don’t lower your body too far, as this can put strain on your shoulder joints. Aim for a 90-degree bend in your elbows.
- Rushed Movement: Take your time with each rep. Don’t rush through the dips, as this reduces the effectiveness and increases your risk of injury.

How Many Tricep Dips Should I Do?
Start with a manageable number of reps and gradually increase as your arms get stronger. Here’s a simple guideline for how many tricep dips you should do, depending on your fitness level:
- Beginners: 8-10 reps per set, 2-3 sets
- Intermediate: 12-15 reps per set, 3-4 sets
- Advanced: 15-20 reps per set, 4-5 sets
As you progress, you can also add more sets or increase the intensity by adding weight (like holding a dumbbell on your lap).
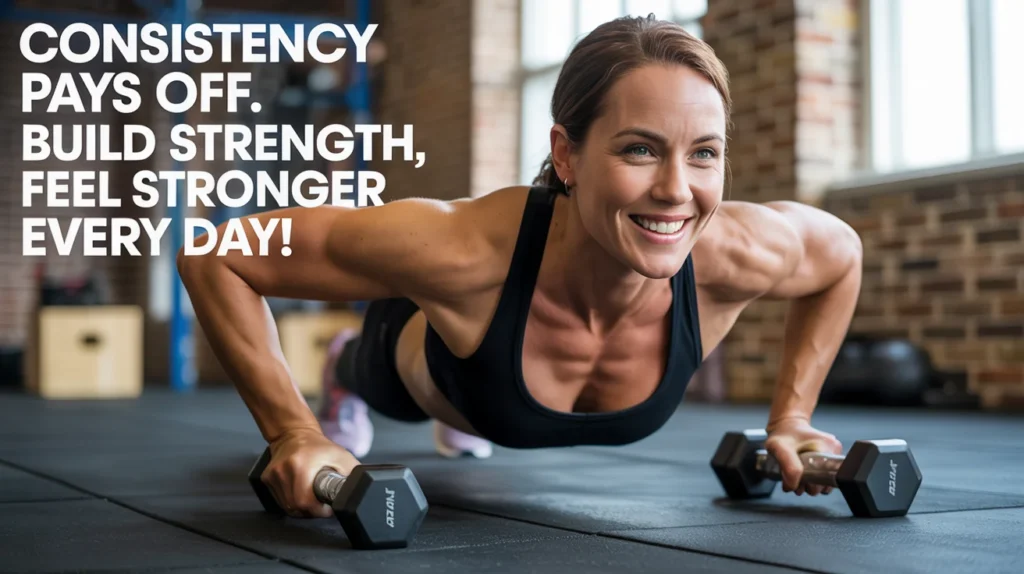
Benefits of Tricep Dips for Moms
Tricep dips offer several benefits for moms, particularly when it comes to building strength in your upper body:
- Arm Toning: Tricep dips are one of the best exercises for toning and tightening the back of your arms, helping you feel more confident in your appearance.
- Improves Upper Body Strength: This exercise strengthens not just your triceps, but also your chest and shoulders, which are essential for everyday tasks like lifting, carrying, and pushing.
- Boosts Confidence: Building strength in your arms can make you feel stronger and more confident, whether you’re picking up your kids or performing other daily activities.
- Engages Core Muscles: By engaging your core for stability, tricep dips also help improve your overall core strength, which is important for posture and balance.

How to Modify Tricep Dips for Different Fitness Levels
You can modify the intensity of Tricep Dips to match your fitness level. Here are a few ways to make them easier or harder:
- Easier Modifications:
- Bend Your Knees: Start with your knees bent and feet flat on the floor to reduce the load on your arms.
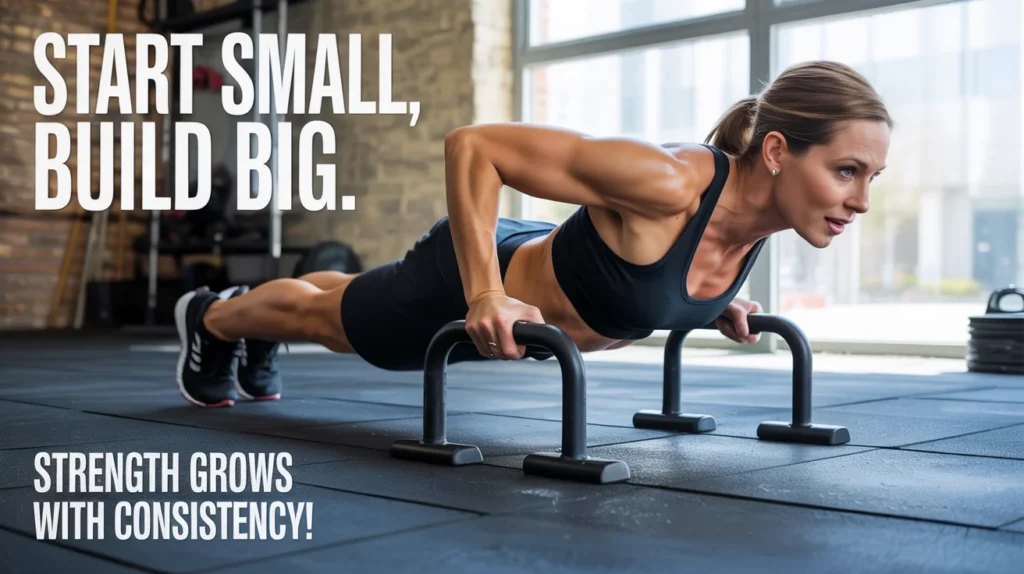
- Use a Higher Surface: Perform the dips on a higher surface (like a sturdy table or a low chair) to decrease the depth of the dip.
- Harder Modifications:
- Straight Legs: Extend your legs fully to increase the difficulty of the movement.
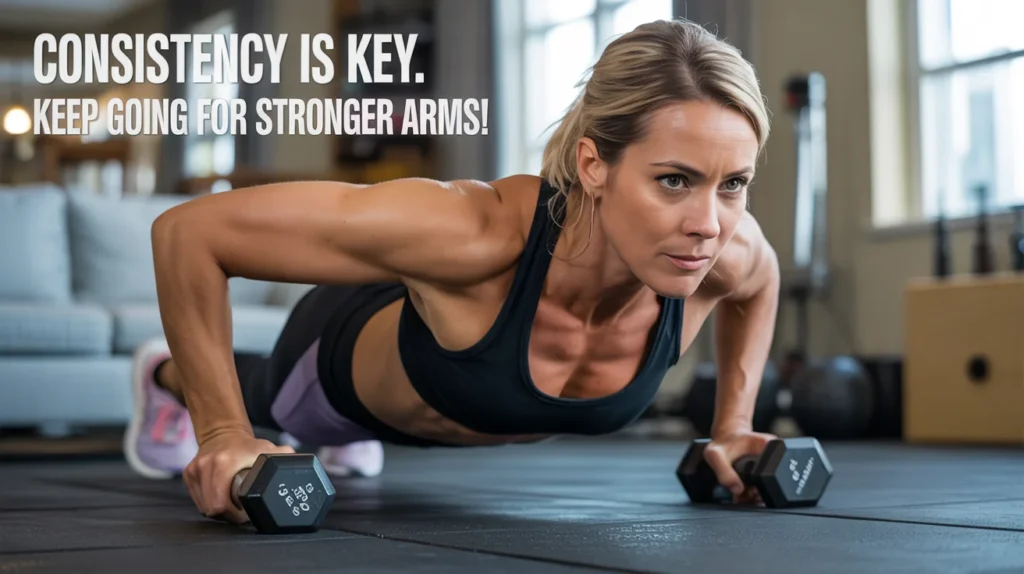
- Add Weights: Place a weight (such as a dumbbell or a weighted plate) on your lap to add resistance as you perform the dips.
- Elevated Feet: Place your feet on a raised surface to increase the challenge, making the exercise harder.
How to Incorporate Tricep Dips Into Your Routine
Here are some ideas for adding Tricep Dips into your workout routine:
- Upper Body Routine: Combine tricep dips with other upper body exercises, such as push-ups and shoulder presses, to create a full-body workout.
- Arm Toning Circuit: Add tricep dips to a circuit with exercises like bicep curls, shoulder raises, and planks for a well-rounded arm workout.
- Bodyweight Routine: Include tricep dips in a bodyweight workout along with squats, lunges, and planks to tone your entire body.

Key Takeaways
- Tricep Dips are an effective, low-impact exercise for toning and strengthening your arms.
- They help improve overall upper body strength, especially in the triceps, shoulders, and chest.
- No equipment is needed, so you can do them at home, at the gym, or even in your living room.
- With just a few minutes each day, Tricep Dips can help you get the toned arms you’ve been working for.
Frequently Asked Questions (FAQ)
Q1: Can I do Tricep Dips every day?
If you’re a beginner, it’s a good idea to rest your arms between workouts to avoid overtraining. Aim for 2-3 times per week, and gradually increase the frequency as you get stronger.
Q2: How do I know if I’m doing Tricep Dips correctly?
Focus on keeping your back close to the surface, your elbows pointing back, and your core engaged. If you feel discomfort in your shoulders or wrists, reassess your form and make adjustments.
Q3: Can I add weights to Tricep Dips?
Yes! Once you get comfortable with the exercise, you can add weights (like holding a dumbbell or placing a weight plate on your lap) to increase the challenge.
Conclusion
Tricep Dips are a quick and efficient way to strengthen and tone your arms, making them perfect for moms with busy schedules. Whether you’re a beginner or more advanced in your fitness journey, tricep dips are adaptable to your level and can easily be done at home or on the go. With consistent practice, you’ll see noticeable improvements in your arm strength, posture, and overall fitness!