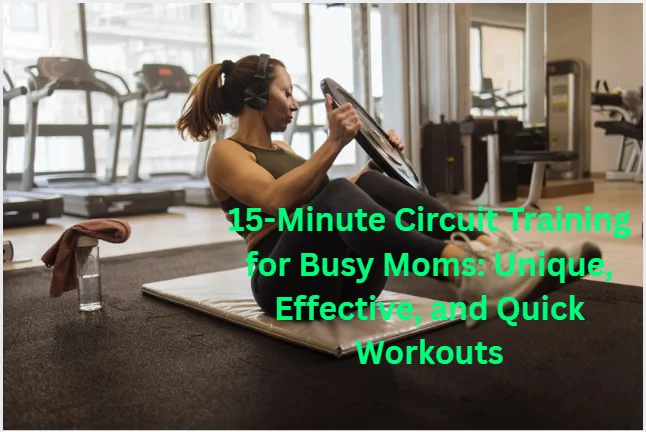
Introduction
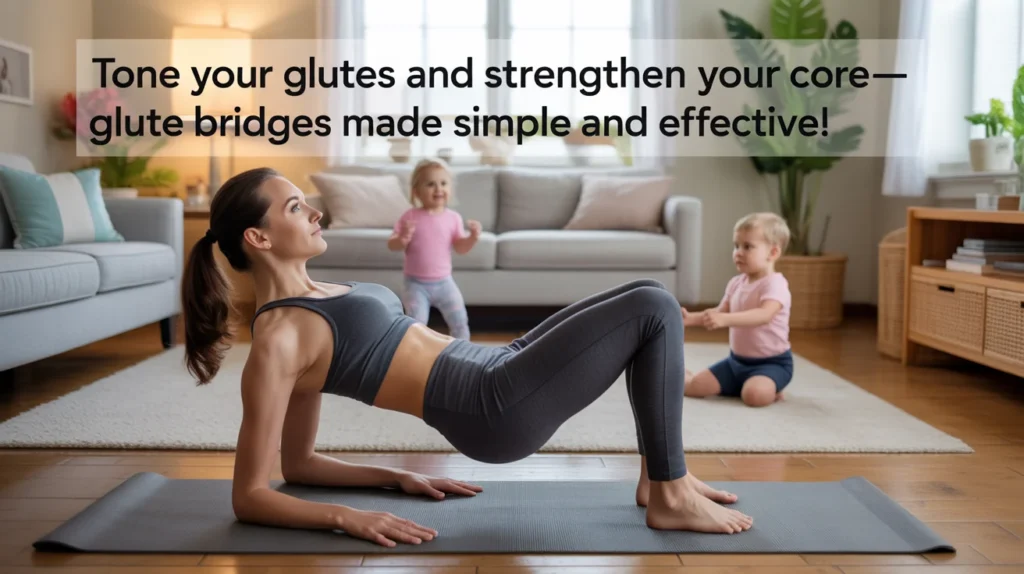
Are you looking to tone your glutes, strengthen your core, and improve your posture, all from the comfort of your home? The glute bridge is a powerhouse exercise that’s ideal for moms—whether you’re squeezing in a quick workout or building strength post-pregnancy. Let’s dive deep into this effective move and discover how you can perfect it, see real results, and incorporate it seamlessly into your daily routine.
What is the Glute Bridge?
This exercise is a simple, yet powerful exercise that targets the glutes, hamstrings, lower back, and core muscles. Unlike many exercises that require bulky equipment, the glute bridge can be performed anywhere and is particularly beneficial for busy moms who need to maximize their time.
By lifting your hips while keeping your feet planted on the floor, this exercise creates tension in the lower body and core, helping you build strength, improve posture, and even alleviate lower back pain. It’s also a fantastic way to activate the glutes and get them working effectively during your workout.
How to Perform a Glute Bridge with Perfect Form
Form is crucial to ensuring you’re getting the most out of your glute and avoiding injury. Follow these five simple steps to perform the exercise correctly:
1. Starting Position
Lie flat on your back with your knees bent and feet flat on the floor, placed hip-width apart. Ensure that your heels are close enough to your glutes that your knees are directly above your ankles.
2. Engage Your Core
Before lifting your hips, tighten your abdominal muscles to stabilize your spine. This is important to protect your lower back and ensure you’re targeting the right muscles.
3. Lift Your Hips
Push through your heels and lift your hips towards the ceiling. As you lift, squeeze your glutes hard at the top of the movement, keeping your core tight.
4. Hold and Squeeze
Pause at the top for 1-2 seconds. This extra squeeze maximizes engagement in your glutes and core, enhancing the effectiveness of the movement.
5. Lower Slowly
Slowly lower your hips back to the starting position, maintaining control throughout the movement. Never let your lower back or pelvis sag.

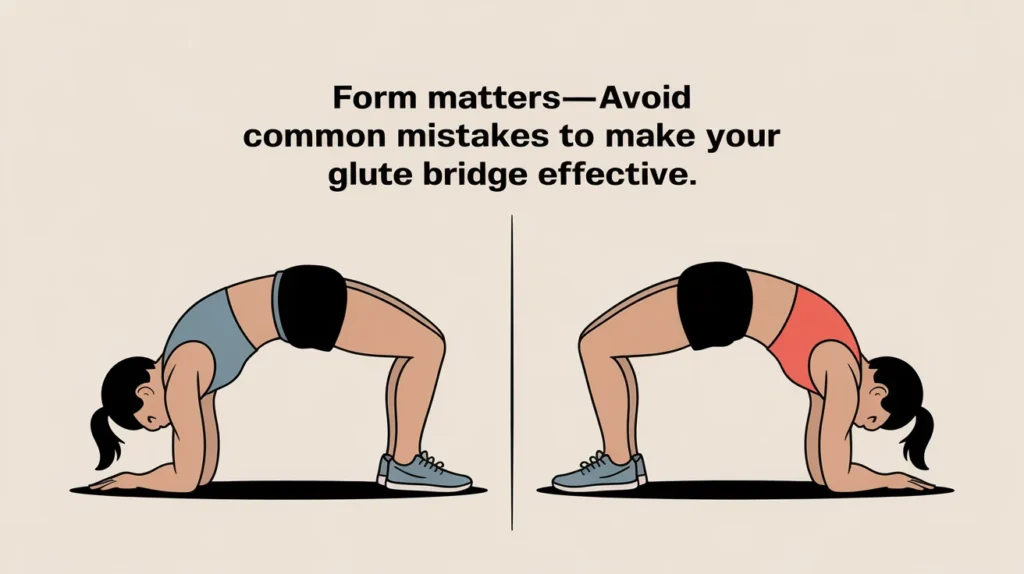
Common Mistakes to Avoid
While this is a simple exercise, there are a few common mistakes that can hinder its effectiveness or lead to injury. Here’s what to watch out for:
1. Arching Your Back
One of the most common mistakes is over-arching your lower back as you lift your hips. This puts unnecessary strain on your spine and reduces the activation of your glutes. To avoid this, keep your pelvis neutral and engage your core.
2. Using Your Lower Back
It’s easy to rely on your lower back to lift your hips, but the focus should be on the glutes. If you feel discomfort in your lower back, reassess your form and ensure you’re pushing through your heels and squeezing your glutes.
3. Not Engaging Your Core
Without engaging your core, you risk putting unnecessary stress on your spine and losing the stability needed for the exercise. Keep your abdominals tight throughout the movement.
Glute Bridge Variations for All Fitness Levels
The glute bridge is highly adaptable and can be modified to suit your fitness level. Whether you’re a beginner or an advanced athlete, there’s a variation for you.
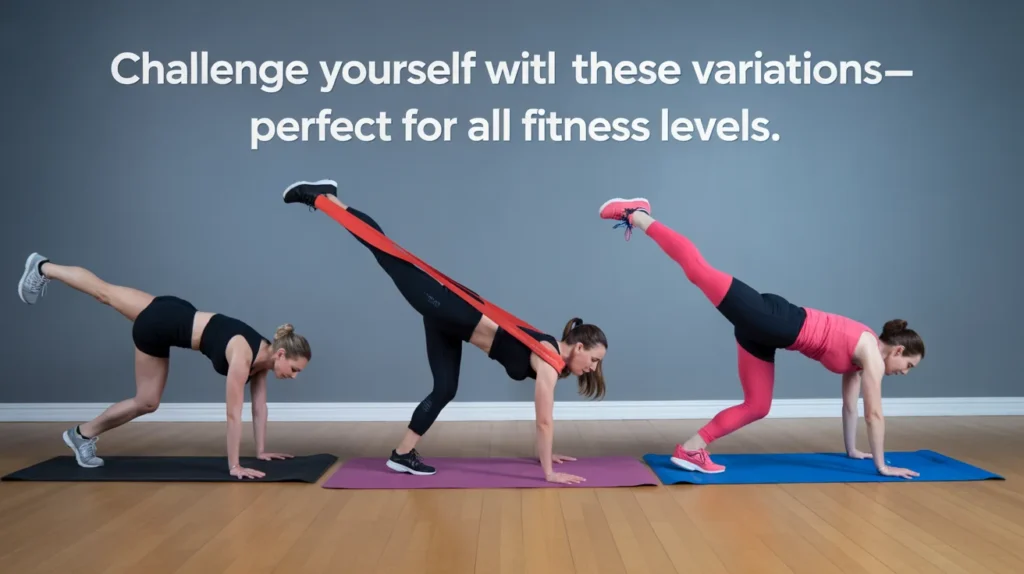
Beginner: Basic Glute Bridge
Start with the standard glute bridge, performing the movement without any additional resistance. Focus on perfecting your form, engaging your glutes and core with each repetition.

Intermediate: Resistance Band Glute Bridge
Add a resistance band around your thighs just above your knees to increase the tension on your glutes. This extra resistance forces your muscles to work harder, making the exercise more challenging.

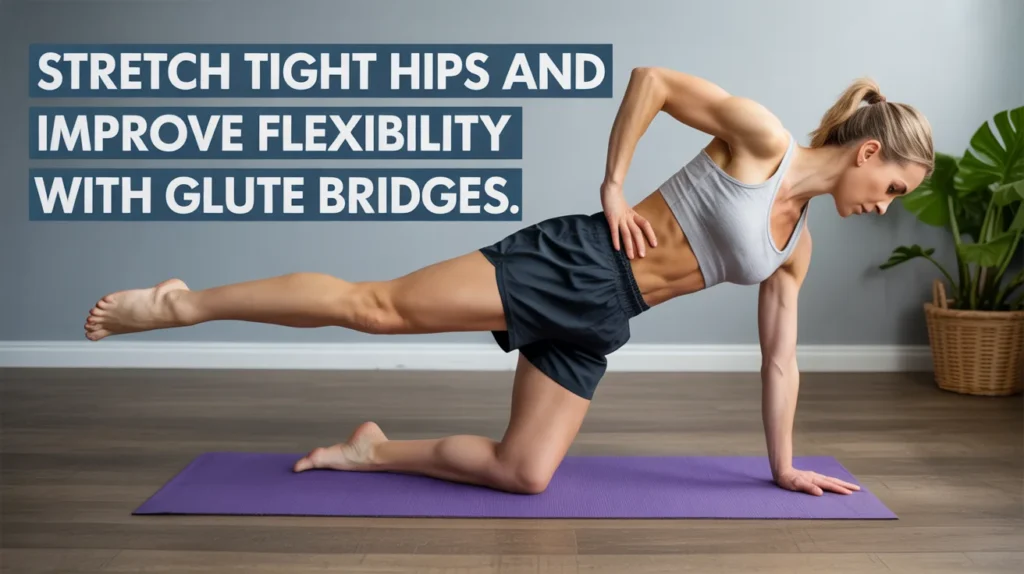
Advanced: Single-Leg Glute Bridge
Once you’ve mastered the basic glute bridge, progress to the single-leg position. Lift one leg off the floor while performing the bridge with the other leg. This variation increases the intensity by targeting each glute individually and demanding more stability.

Elevated Feet Glute Bridge
Another advanced variation is to elevate your feet on a bench or step. This increases the range of motion and challenges your glutes and hamstrings even more.

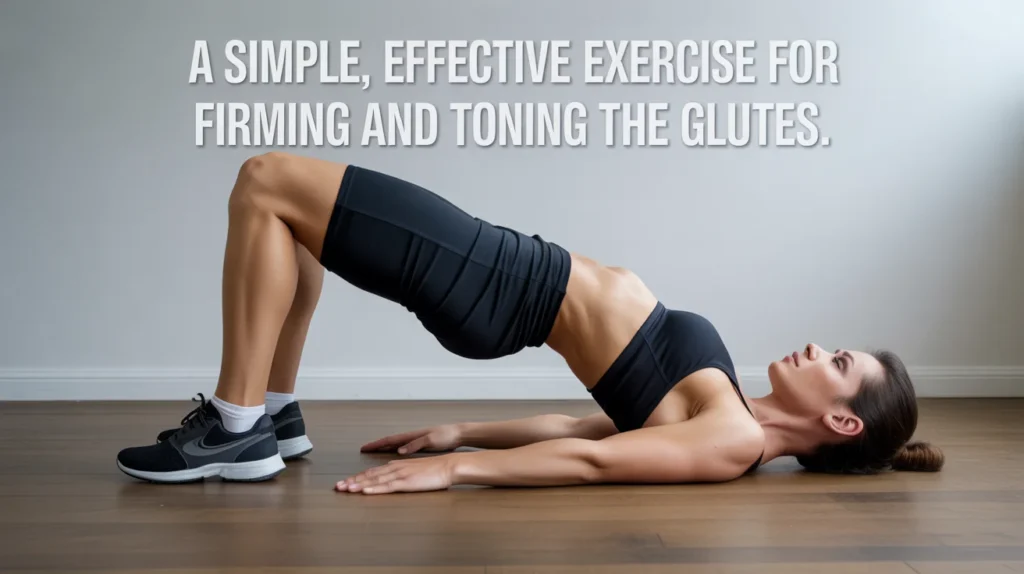
The Incredible Benefits of Glute Bridges
There are several reasons why this exercise should be a staple in your workout routine. Let’s explore the main benefits:
1. Tones Your Glutes and Core
By engaging your glutes and core throughout the exercise, it helps tone and sculpt the lower body, giving you a firmer, more defined physique.
2. Strengthens Your Back
This is excellent for strengthening the lower back muscles. Many people, especially moms, suffer from lower back pain due to prolonged sitting or pregnancy. This helps alleviate pain and prevent future injuries by strengthening these key muscles.
3. Improves Posture
Weak glutes can lead to poor posture and back pain. By regularly performing the glute bridge, you’ll activate the muscles needed for proper posture, helping you stand tall and feel more confident.
4. Enhances Flexibility
It also provides a gentle stretch to the hip flexors, which can become tight from sitting for long periods. This is especially important for moms who are often sitting or bending down.

How to Incorporate Glute Bridges into Your Fitness Routine
The beauty of this exercise is its versatility. You can use it as part of your warm-up, leg day, or even during circuit training. Here are some ideas for incorporating glute bridges into your workouts:
Warm-Up
Before any workout, include 10 glute bridges in your warm-up. This will activate your glutes and core, preparing your body for more intense movements.
Leg Day
It complements other lower-body exercises like squats, lunges, and deadlifts. Incorporating glute bridges into your leg day routine will help target your glutes and hamstrings, improving overall lower-body strength.
Core Routine
This is also a great addition to a core workout. Pair it with exercises like planks and leg raises to target your abs, obliques, and lower back.
Circuit Training
If you enjoy high-intensity workouts, add the glute bridge to your circuit training. Move quickly from one exercise to another with minimal rest to keep your heart rate up and burn more calories.

Glute Bridge FAQs
Q1: How many glute bridges should I do per day?
Start with 2-3 sets of 10-15 reps and gradually increase the number as you become stronger. Aim to perform glute bridges 2-3 times per week for best results.
Q2: Can I do glute bridges if I have lower back pain?
Yes, glute bridges can actually help alleviate lower back pain by strengthening the muscles that support your spine. However, always consult with a healthcare provider before starting any new exercise, especially if you have a history of back issues.
Q3: How do I make the glute bridge harder?
To make the exercise more challenging, try adding a resistance band, using weights, or progressing to more advanced variations like the single-leg glute bridge.

Key Takeaways
- Glute bridges are one of the best exercises to strengthen and tone your glutes, hamstrings, and core.
- Proper form is crucial to maximize the benefits and avoid injury. Keep your core engaged and focus on using your glutes to lift your hips.
- There are various glute bridge variations that can suit your fitness level, from beginners to advanced.
- Incorporate glute bridges into your routine to build a firmer, stronger body and improve posture, flexibility, and back strength.
Final Thoughts
Glute bridges are a simple yet incredibly effective exercise that can help you achieve a firmer, toned lower body and improve overall strength. Whether you’re a new mom looking to regain your fitness or an experienced gym-goer, the glute bridge is a must-have move in your fitness routine.
Start performing glute bridges today, and in just a few weeks, you’ll notice stronger glutes, a tighter core, and improved posture. No matter where you are in your fitness journey, the glute bridge is an exercise that can help you level up and achieve your goals.