Introduction
Being a mom means you are constantly on the move. From chasing after toddlers to carrying groceries and managing household chores, your hips get a serious workout. Sometimes, this constant activity can lead to a painful condition called hip bursitis. It’s a sharp, aching pain on the outside of your hip that can make simple tasks like walking or climbing stairs feel impossible.
The good news is that specific movements and stretches can provide significant relief. This guide is designed for busy moms like you, offering effective Hip Bursitis Exercises that are easy to fit into your packed schedule. You can do these at home to build strength, improve flexibility, and get back to your active life with less pain.

What is Hip Bursitis, and Why Do Moms Get It?
Before we dive into the Hip Bursitis Exercises, it’s helpful to understand what’s happening in your hip. Bursae are small, fluid-filled sacs that act as cushions between your bones and soft tissues, like muscles and tendons.
You have them all over your body, including your hips. Hip bursitis occurs when the bursa on the outer point of your hip, called the trochanteric bursa, becomes inflamed.

This inflammation can be caused by repetitive stress or overuse, which is a common scenario for busy moms. Think about how many times you bend, lift your child, or carry them on one hip. These movements, especially if done with improper form, can irritate the bursa.
Weakness in the hip muscles, particularly the gluteus medius, can also contribute. When these muscles aren’t strong enough to stabilize the pelvis, more stress is placed on the bursa, leading to inflammation and pain.
Key Takeaways
- Hip bursitis is the inflammation of the bursa, a small fluid-filled sac on the outside of your hip.
- It often results from repetitive stress, overuse, or weakness in the hip muscles.
- Moms are particularly susceptible due to daily activities like lifting children and frequent bending.
- Strengthening the hip muscles is crucial for long-term relief and prevention.
Preparing for Your Exercises
Before starting any newHip Bursitis Exercises routine, especially when you’re in pain, it’s wise to check in with a doctor or physical therapist. They can confirm that hip bursitis is the cause of your discomfort and rule out other issues.
Once you have the green light, remember to warm up before each session. A simple 5-minute walk or gentle marching in place is enough to get your blood flowing and prepare your muscles. Always listen to your body. You should feel a gentle stretch or the sensation of your muscles working, not sharp pain. If an exercise hurts, stop doing it.

9 Modern Hip Bursitis Exercises for Busy Moms
If you want relief from hip pain and want exercises that feel fresh and engaging, try including these modern and slightly less common moves. They’re designed to be effective, time-sensitive, and perfect to fit into a busy mom’s routine.
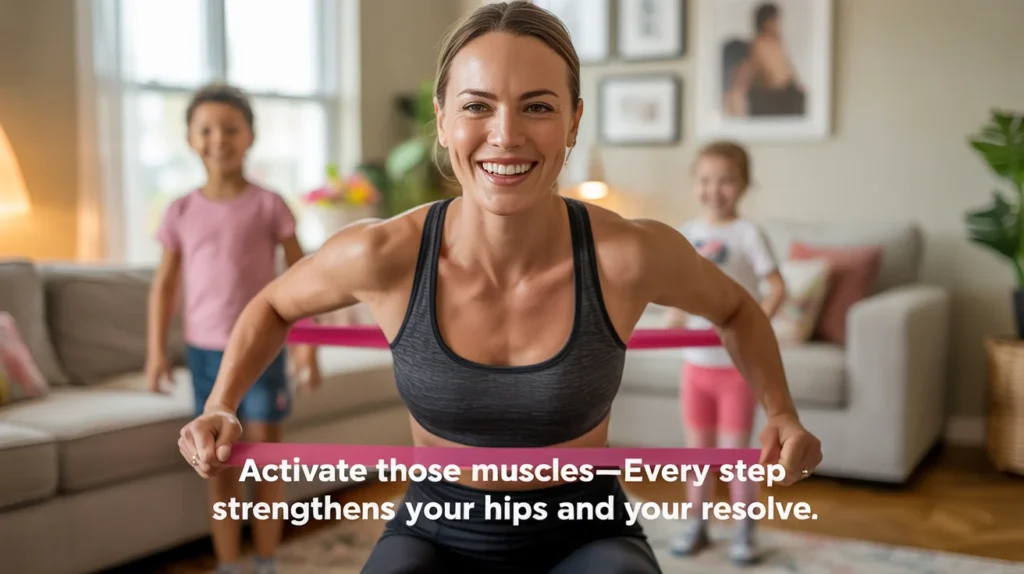
1. Banded Lateral Walks
Adding a resistance band above your knees activates your hip stabilizers and glutes in a way traditional exercises often miss. This exercise not only helps with hip pain but also tones your thighs and glutes.
- How to do it: Place a looped resistance band just above your knees. Stand with feet hip-width apart, knees slightly bent. Step sideways with one foot, then follow with the other, keeping constant resistance in the band. Do 10–12 steps in one direction, then return. Aim for 2 sets.
2. Standing Hip CARs (Controlled Articular Rotations)
This modern mobility drill improves hip joint function and reduces stiffness, which is crucial for long days packed with activity.
- How to do it: Hold onto a chair or wall, shift your weight onto one leg, and lift the other knee toward your chest. Rotate your hip out to the side, then circle your knee behind you, making as big a circle as possible. Reverse halfway. Perform 5-7 slow circles on each leg.

3. Tall Kneeling Hip Flexor Press
This Hip Bursitis Exercises targets the hip flexors and activates your glutes while encouraging length and strength, which supports safer movement in your daily life.
- How to do it: Kneel on both knees, tuck your tailbone under, and gently press your hips forward. Squeeze your glutes and hold for a slow 5-count, then release. Make it dynamic by reaching both arms overhead during the press. Repeat 8–10 times.

4. Single-Leg Romanian Deadlift (Bodyweight or Light Dumbbell)
This trendy strength move works your hamstrings and glutes with a balance challenge, reducing stress on the hips while improving functional strength.
- How to do it: Standing tall, shift weight onto one leg and hinge at your hip, keeping your back straight as you reach the other leg back. Reach both hands toward the floor (use light weights to increase challenge). Return to standing. Perform 10 reps per side, 2 sets.

5. 90/90 Hip Switches
This ground-based mobility exercise opens your hips through a gentle rotational stretch and helps train the deep stabilizing muscles—great for easing stiffness.
- How to do it: Sit on the floor with both knees bent at 90 degrees (front shin in front, back shin to side). Keeping your chest tall, switch both knees to the other side without using your hands. Continue alternating slowly for 10–12 reps.

6. Quadruped Hip Circles
This dynamic warm-up move targets hip mobility and preps your body for other activities.
- How to do it: Get on all fours, making sure your wrists are under your shoulders and knees under your hips. Lift one knee up and make wide, slow circles in both directions, focusing on full range of motion and muscle control. Do 8 circles each direction per leg.

7. Standing Resistance Band Hip Flexion
This exercise activates the front of your hip and the stabilizing muscles, supporting better movement and posture.
- How to do it: Anchor a resistance band to something stable behind you and loop the band around your ankle. Stand tall and pull your knee forward against the resistance, then slowly return. Perform 10 reps then switch legs.

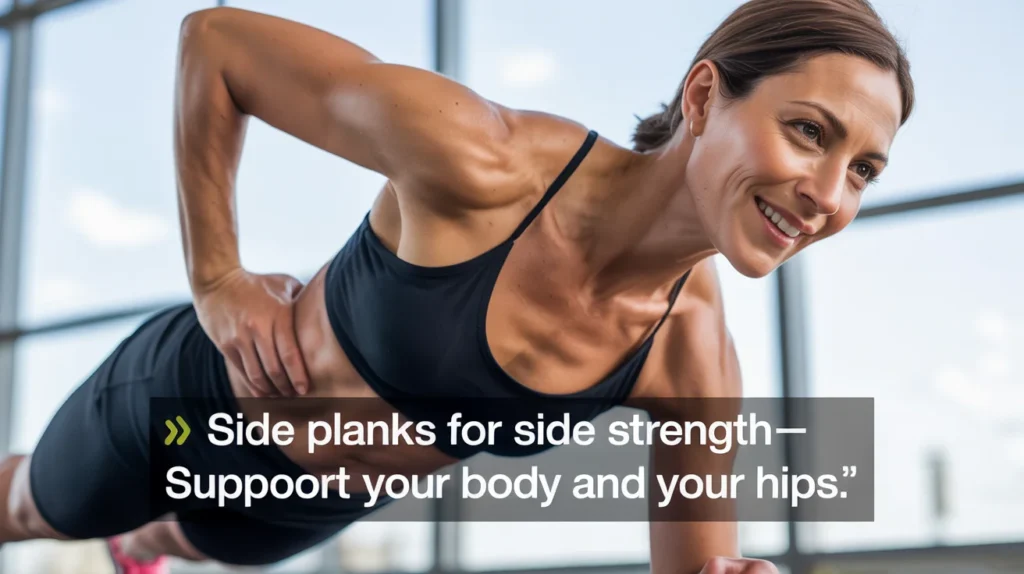
8. Modified Copenhagen Side Plank
Copenhagen side planks target the adductors (inner thigh muscles) and challenge the stabilizers that protect the hip joint, a modern update from the classic side plank.
- How to do it: Lie on your side next to a bench or sturdy chair. Place your top leg (knee bent) on the bench, keeping your bottom leg straight on the ground. Prop up onto your elbow and lift your hips, holding for 15–20 seconds. Switch sides. Repeat twice per side.
9. Seated Figure-4 Stretch with Reach
A modern twist on a classic stretch, this move increases hip mobility and adds an element of dynamic movement.
- How to do it: Sit tall on a sturdy chair, cross one ankle over the opposite knee. Lean forward slightly at the hips until you feel a stretch through your outer hip, then reach your arms forward as far as comfortable. Hold for 20 seconds, release, and switch legs. Do 2 sets per side.

Comparing Exercises: Strengthening vs. Stretching
| Exercise Type | Primary Goal | When to Do It | Examples |
|---|---|---|---|
| Strengthening | Build muscle to support the hip | On non-consecutive days to allow for muscle recovery. | Glute Bridge, Clamshell, Side-Lying Leg Raise |
| Stretching | Increase flexibility and relieve tension | Daily, especially after strengthening or activity. | IT Band Stretch, Piriformis Stretch, Quad Stretch |

Tips for Preventing Hip Bursitis Flare-Ups
Once you start feeling better, the goal is to prevent the pain from returning. Here are some simple adjustments you can make to your daily routine:
- Avoid Repetitive Stress: Be mindful of activities that trigger your pain. If running is a problem, try swimming or cycling instead.
- Improve Your Form: When lifting your child or heavy objects, bend at your knees, not your waist, and use both hands. Avoid carrying your child on one hip for extended periods.
- Maintain a Healthy Weight: Excess weight puts more pressure on all your joints, including your hips.
- Choose Proper Footwear: Wear supportive shoes, especially if you are on your feet a lot. According to the American Academy of Orthopaedic Surgeons, proper footwear can help absorb shock.
- Continue Your Exercises: Consistency is key. Make these Hip Bursitis Exercises a regular part of your routine to keep your hip muscles strong and flexible.

Conclusion
Dealing with hip bursitis can be frustrating, especially when you have a family to care for. But you don’t have to live with the pain. By incorporating these nine targeted Hip Bursitis Exercises into your week, you can actively reduce inflammation, build critical muscle support, and improve your flexibility.
Start slowly, listen to your body, and be consistent. Strengthening the muscles around your hips is your best defense against future flare-ups. You’ll not only relieve your current discomfort but also build a stronger, more resilient body to keep up with the demands of motherhood.

Frequently Asked Questions (FAQ)
Q1: How long does it take for hip bursitis exercises to work?
A: You may start to feel some relief within a week or two of consistent, gentle exercise. However, significant and lasting improvement often takes 4 to 6 weeks as your muscles get stronger. Consistency is more important than intensity.
Q2: Can I do these exercises if my hip is very painful?
A: If you are in severe pain, it’s best to rest and use ice for a couple of days. You can start with gentle stretches, like the piriformis and IT band stretch. Avoid strengthening exercises until the acute pain subsides. Always consult a healthcare professional if the pain is severe.
Q3: How often should I perform these Hip Bursitis Exercises?
A: You can do the stretching exercises daily. For the strengthening exercises, aim for 3-4 times per week on non-consecutive days to give your muscles time to recover and rebuild.
Q4: Is walking good for hip bursitis?
A: Gentle walking on flat surfaces can be beneficial as it keeps the joint mobile. However, long walks, fast-paced walking, or walking on uneven terrain can aggravate the condition. Pay attention to how you feel and don’t push through pain. For more information, Johns Hopkins Medicine provides useful guidance on managing hip pain.